> ## Documentation Index
> Fetch the complete documentation index at: https://docs.ravenna.ai/llms.txt
> Use this file to discover all available pages before exploring further.
# Set up an AI agent
> Create your first Ravenna AI agent, give it rules, knowledge, and tools, test it safely in Testing Mode, then deploy it to a channel.
export const ArcadeEmbed = ({code, title = 'Demo', aspect = 56.25}) => {
const arcadeIframeRef = useRef(null);
useEffect(() => {
function onArcadeIframeMessage(e) {
if (e.origin !== 'https://demo.arcade.software' || !e.isTrusted) return;
const arcadeIframe = arcadeIframeRef.current;
if (!arcadeIframe || !arcadeIframe.contentWindow) return;
if (e.data.event === 'arcade-init') {
arcadeIframe.contentWindow.postMessage({
event: 'register-popout-handler'
}, '*');
}
if (e.data.event === 'arcade-popout-open') {
arcadeIframe.style['position'] = 'fixed';
arcadeIframe.style['z-index'] = '9999999';
}
if (e.data.event === 'arcade-popout-close') {
arcadeIframe.style['position'] = 'absolute';
arcadeIframe.style['z-index'] = 'auto';
}
}
window.addEventListener('message', onArcadeIframeMessage);
const arcadeIframe = arcadeIframeRef.current;
if (arcadeIframe && arcadeIframe.contentWindow) {
arcadeIframe.contentWindow.postMessage({
event: 'register-popout-handler'
}, '*');
}
return () => {
if (arcadeIframe && arcadeIframe.contentWindow) {
arcadeIframe.contentWindow.postMessage({
event: 'unregister-popout-handler'
}, '*');
}
window.removeEventListener('message', onArcadeIframeMessage);
};
}, []);
const embedUrl = `https://demo.arcade.software/${code}?embed&embed_mobile=tab&embed_desktop=inline`;
return
;
};
An agent is the thing employees actually talk to. It answers from your knowledge, fills in forms, runs tools, and escalates to a human when it cannot finish the job. Everything you built earlier in this track is what the agent draws on.
**Time:** about 30 minutes, including testing.
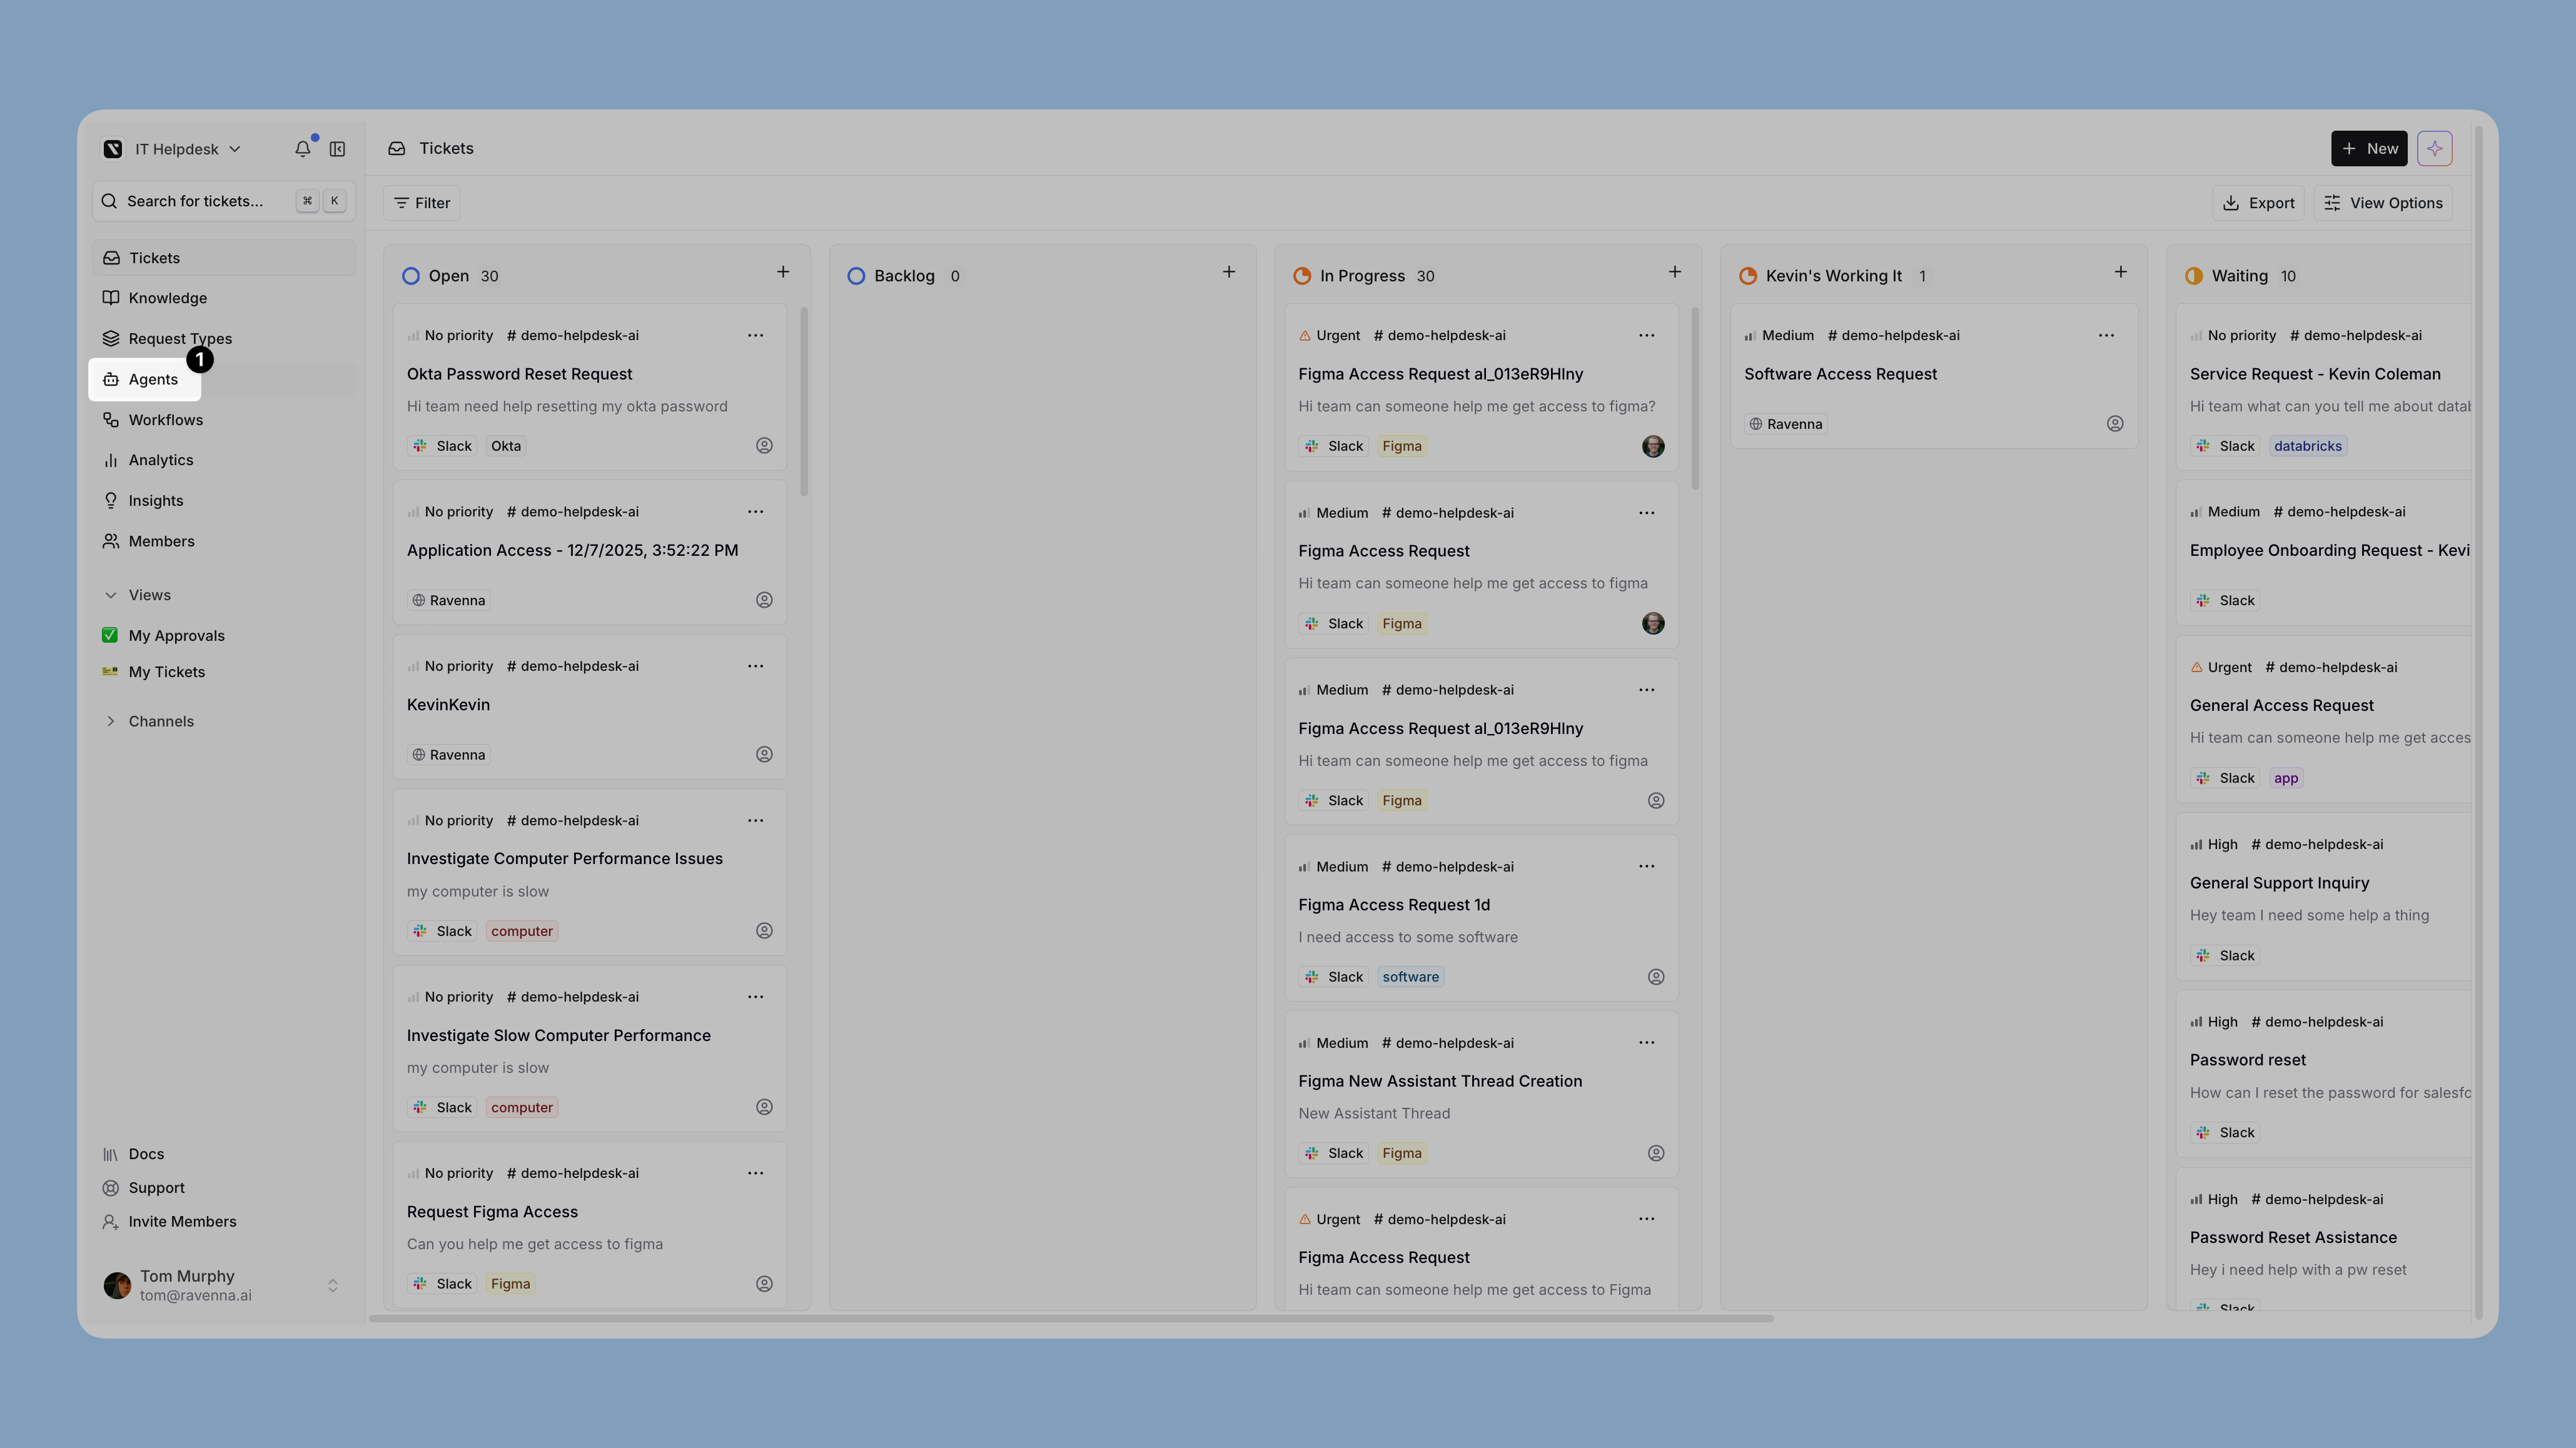
Click **Agents** in the left sidebar.
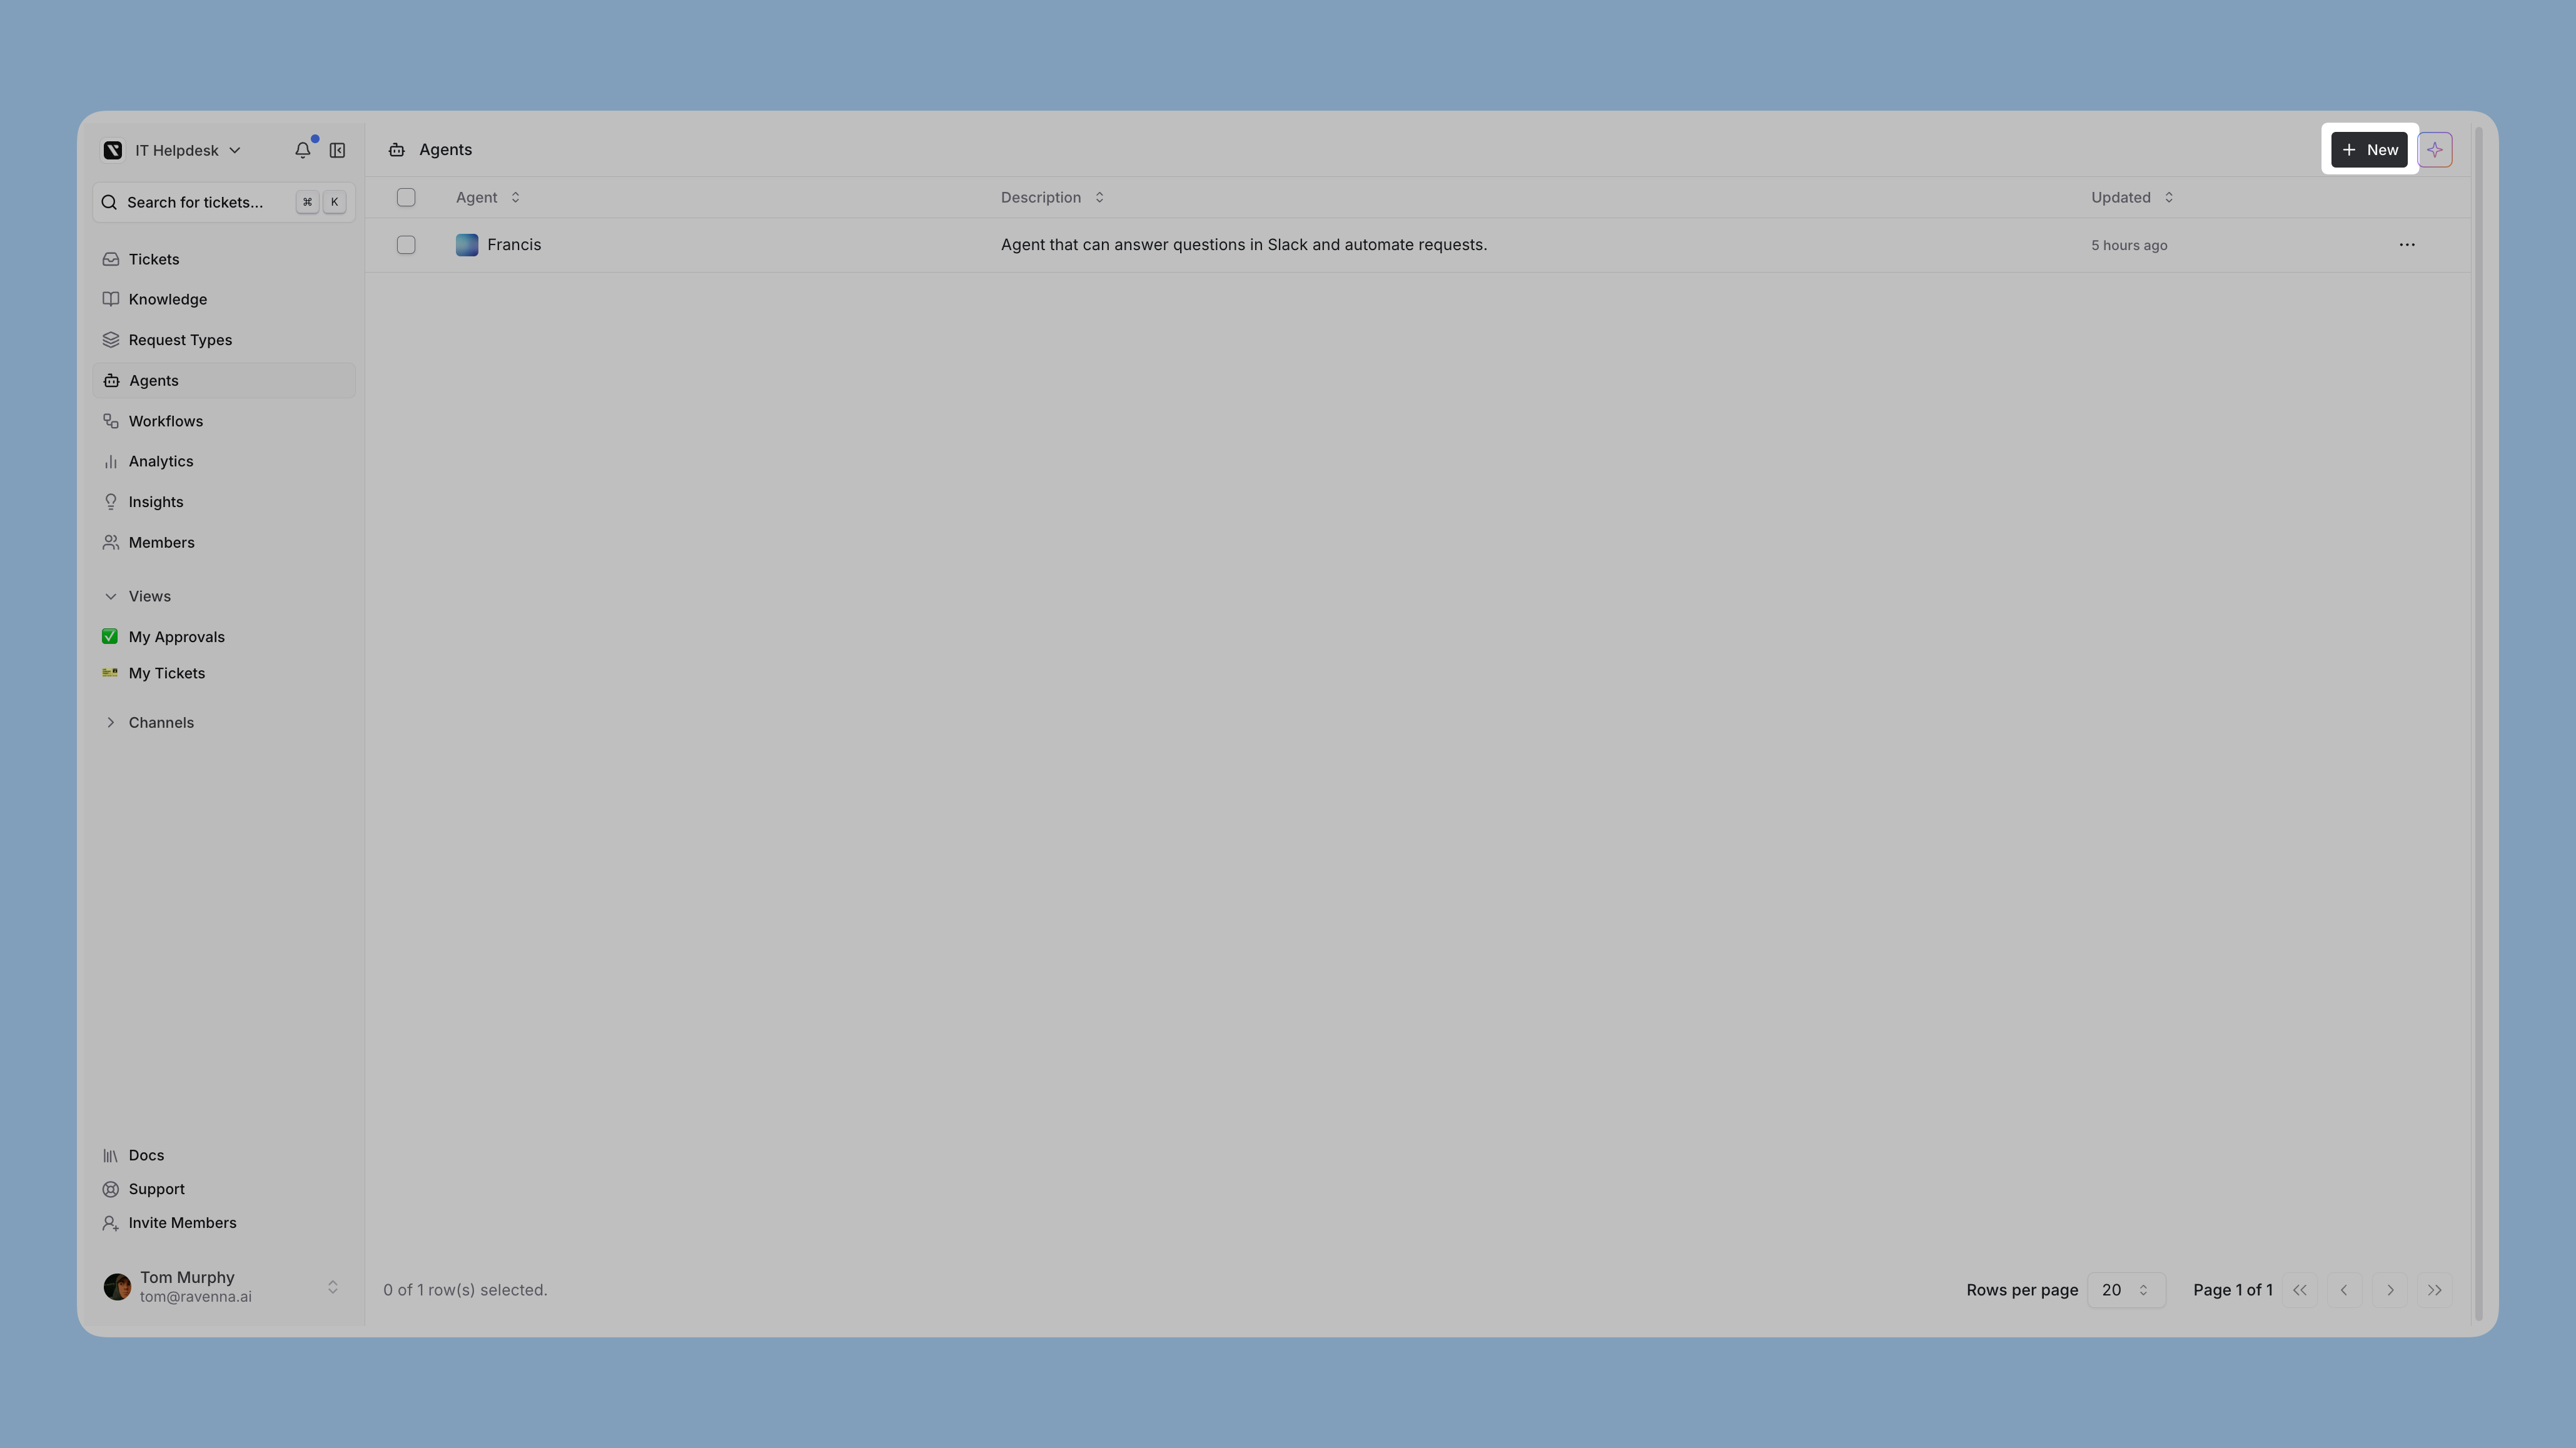
Click **New**.
Give it a name and a description that says what it handles.
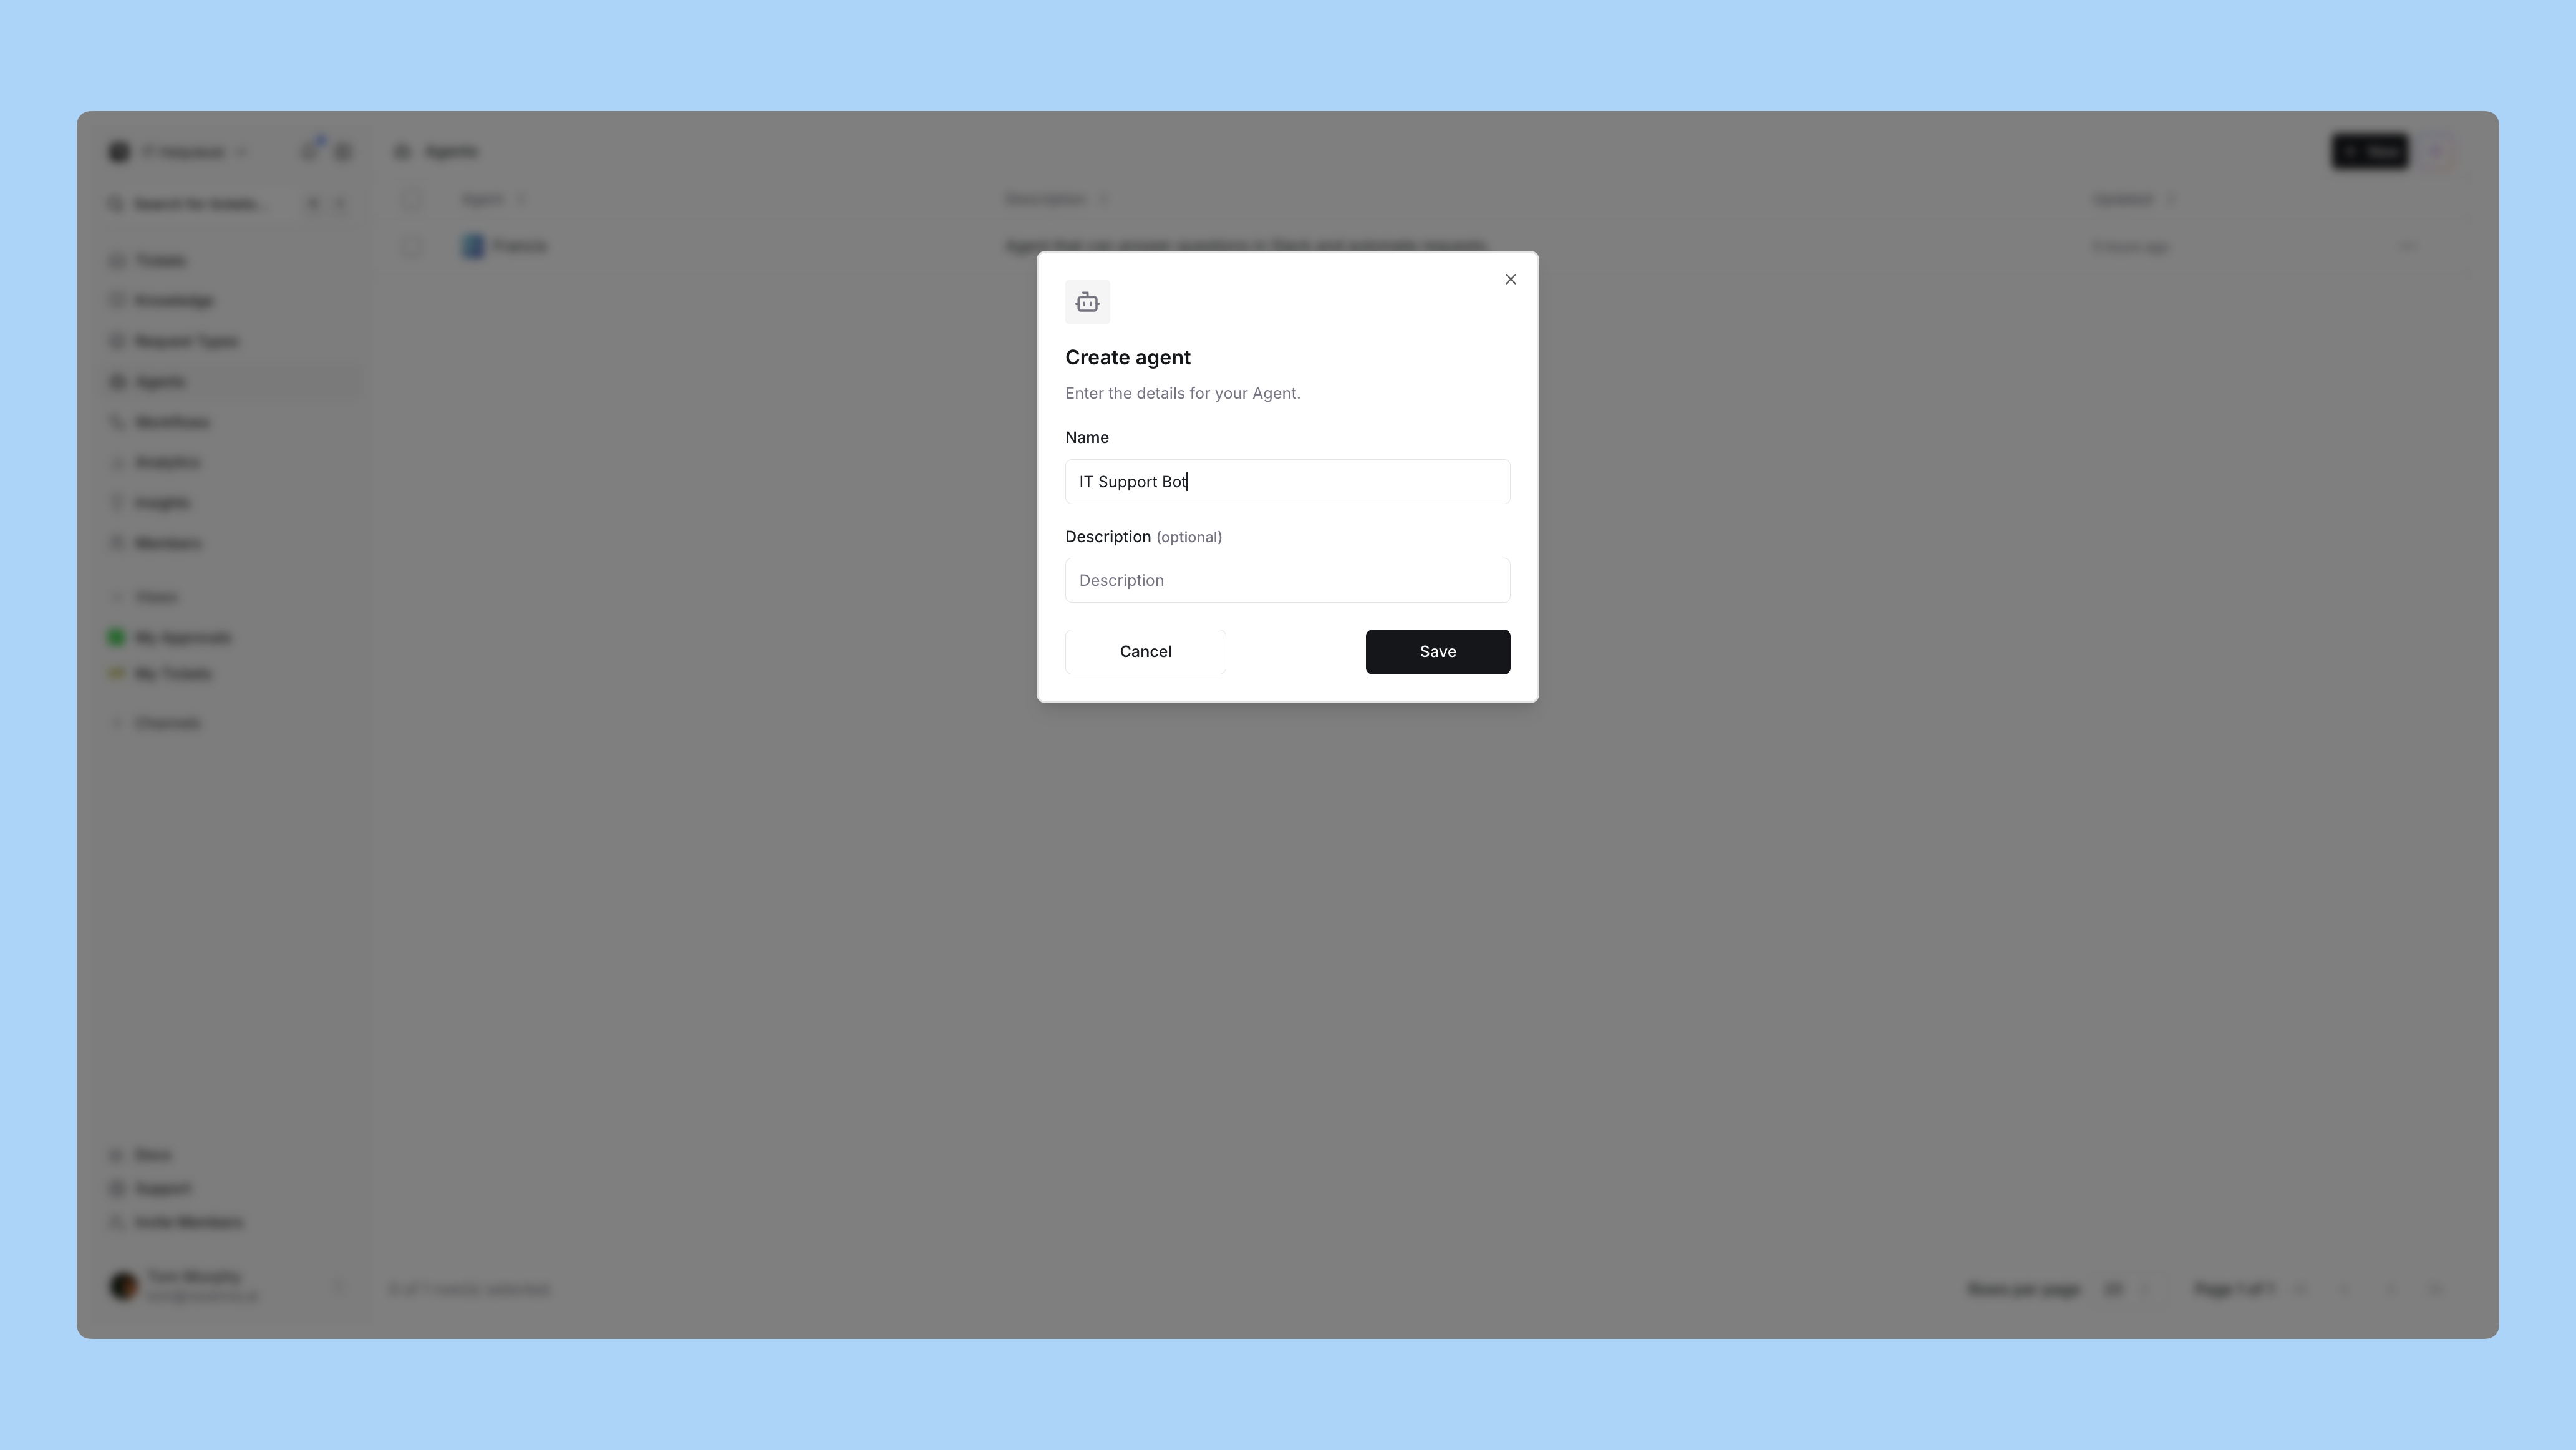
Name it something your employees will address in Slack. Teams that give the agent a real name get more traffic than teams that call it "IT Bot".
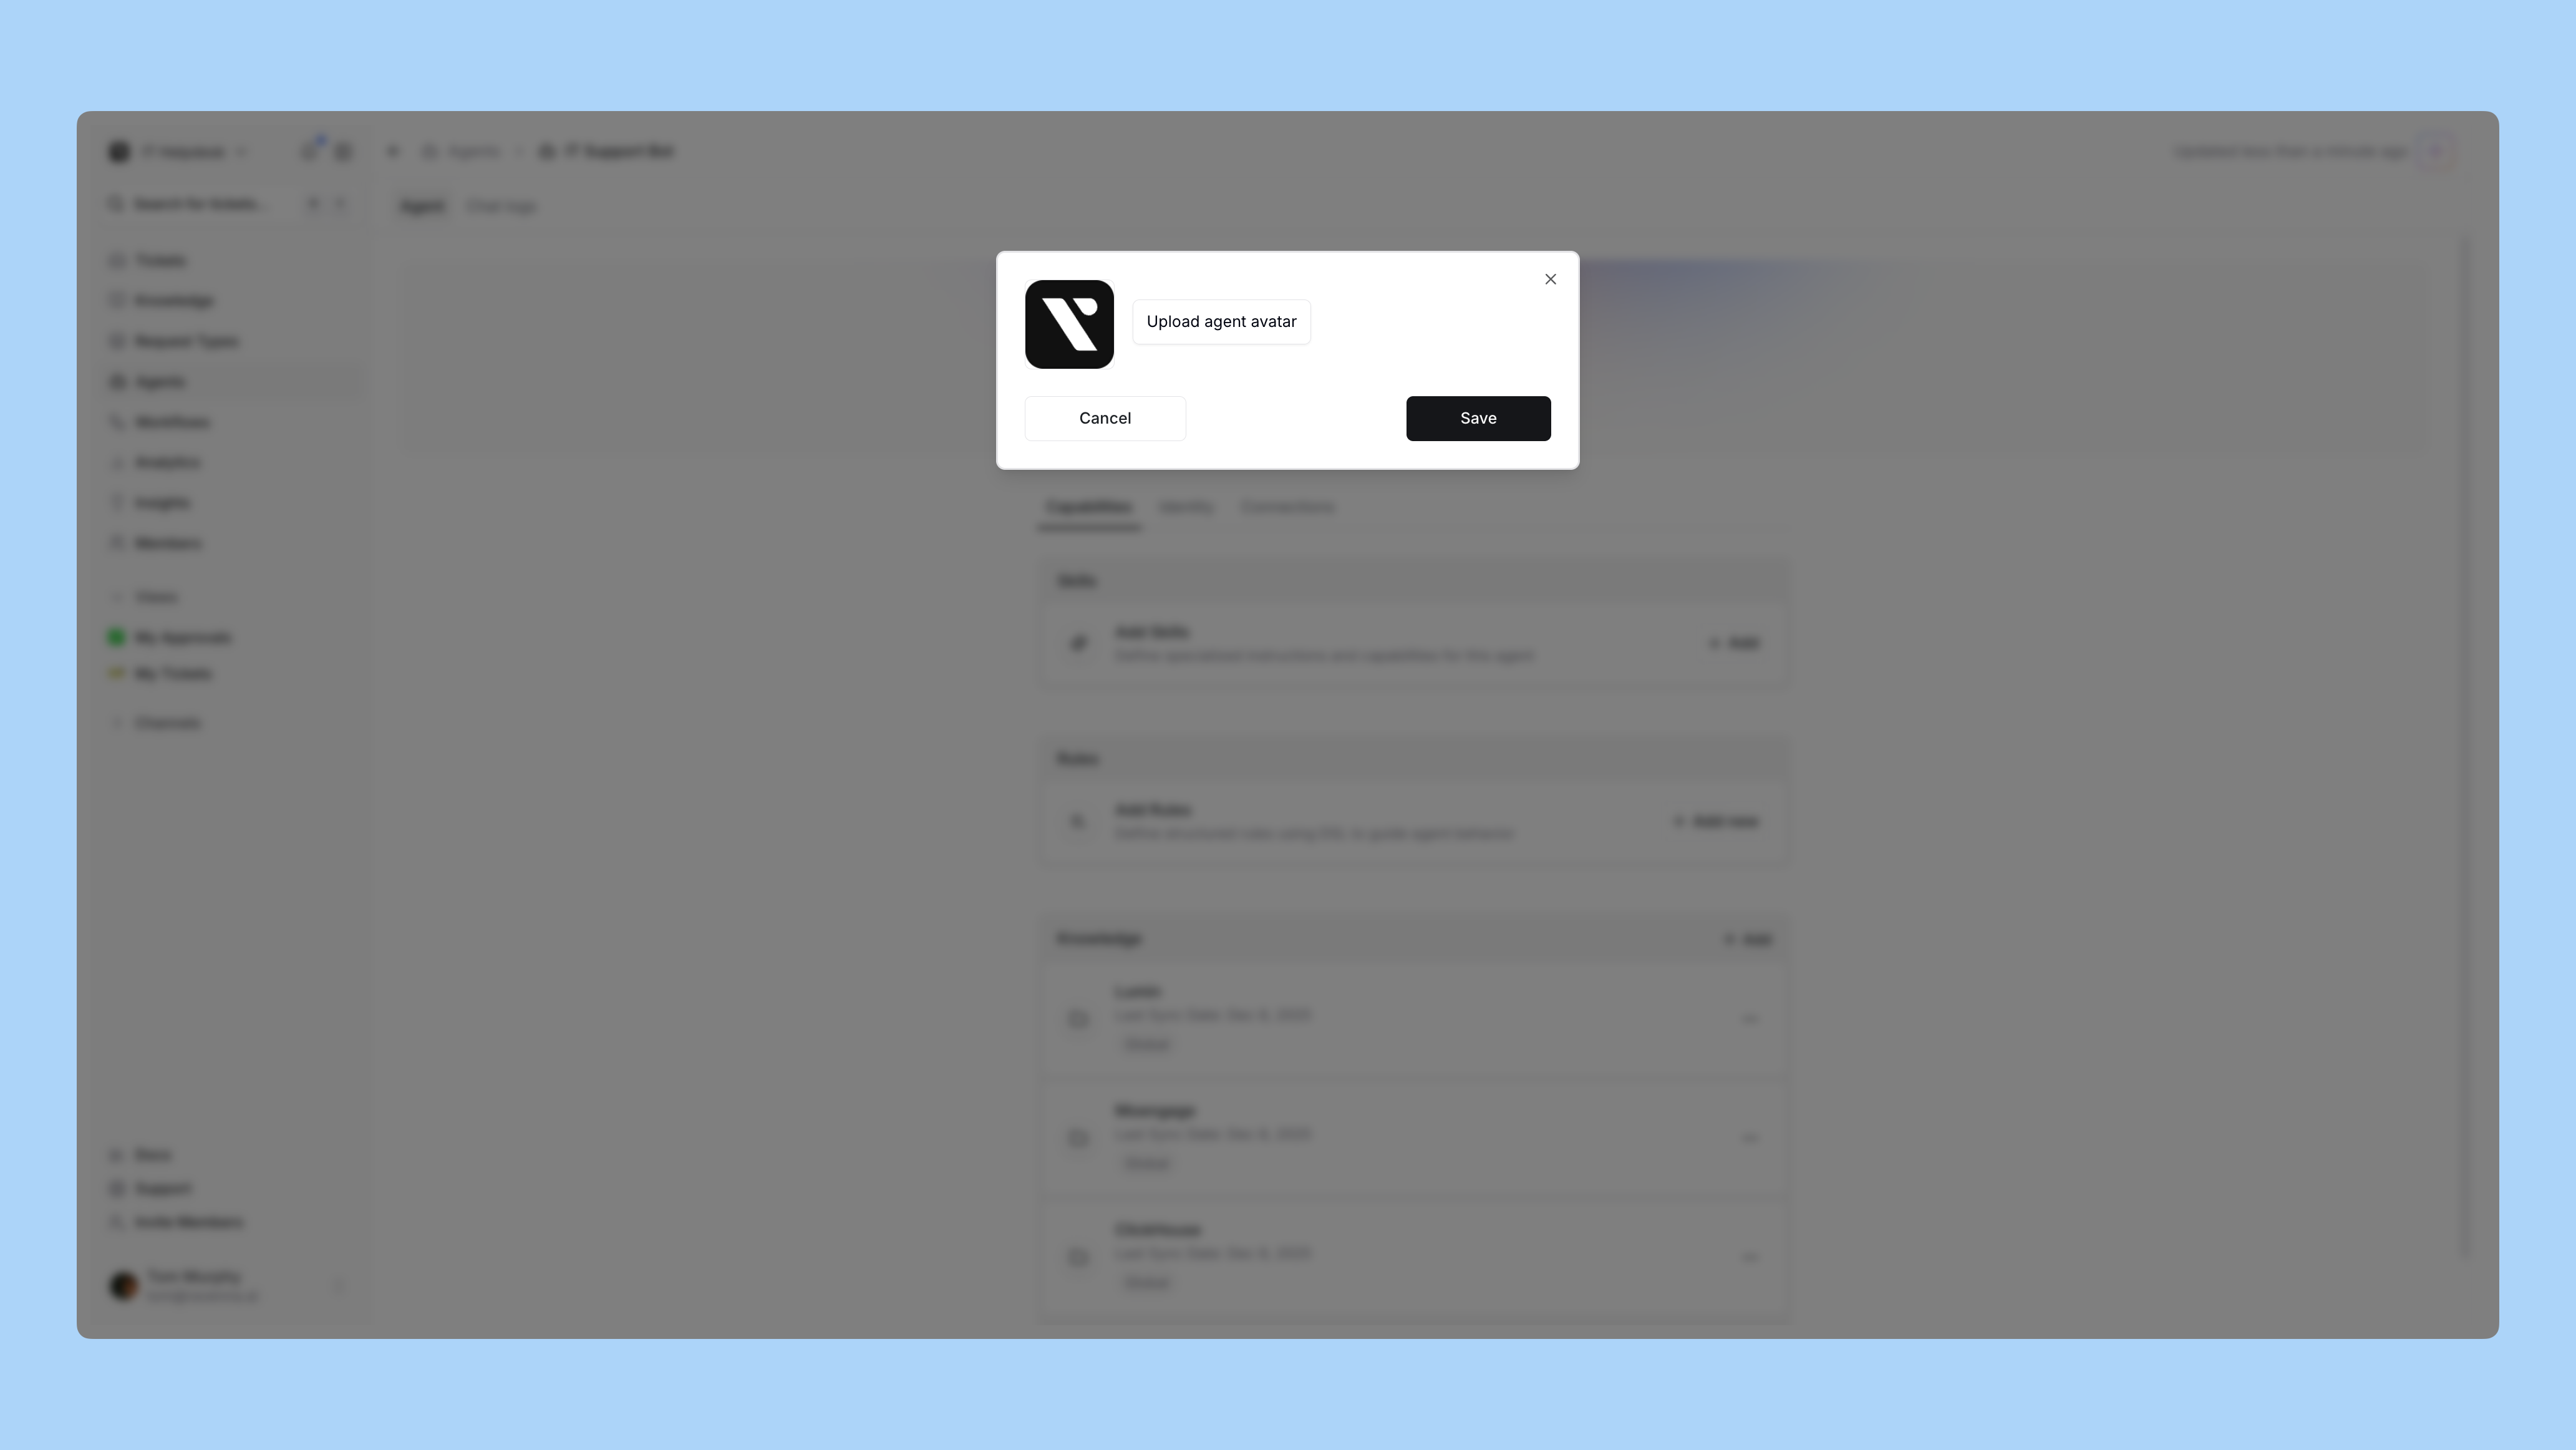
Images must be PNG, GIF, or WebP for Slack compatibility, under 1MB, and are resized to 512x512.
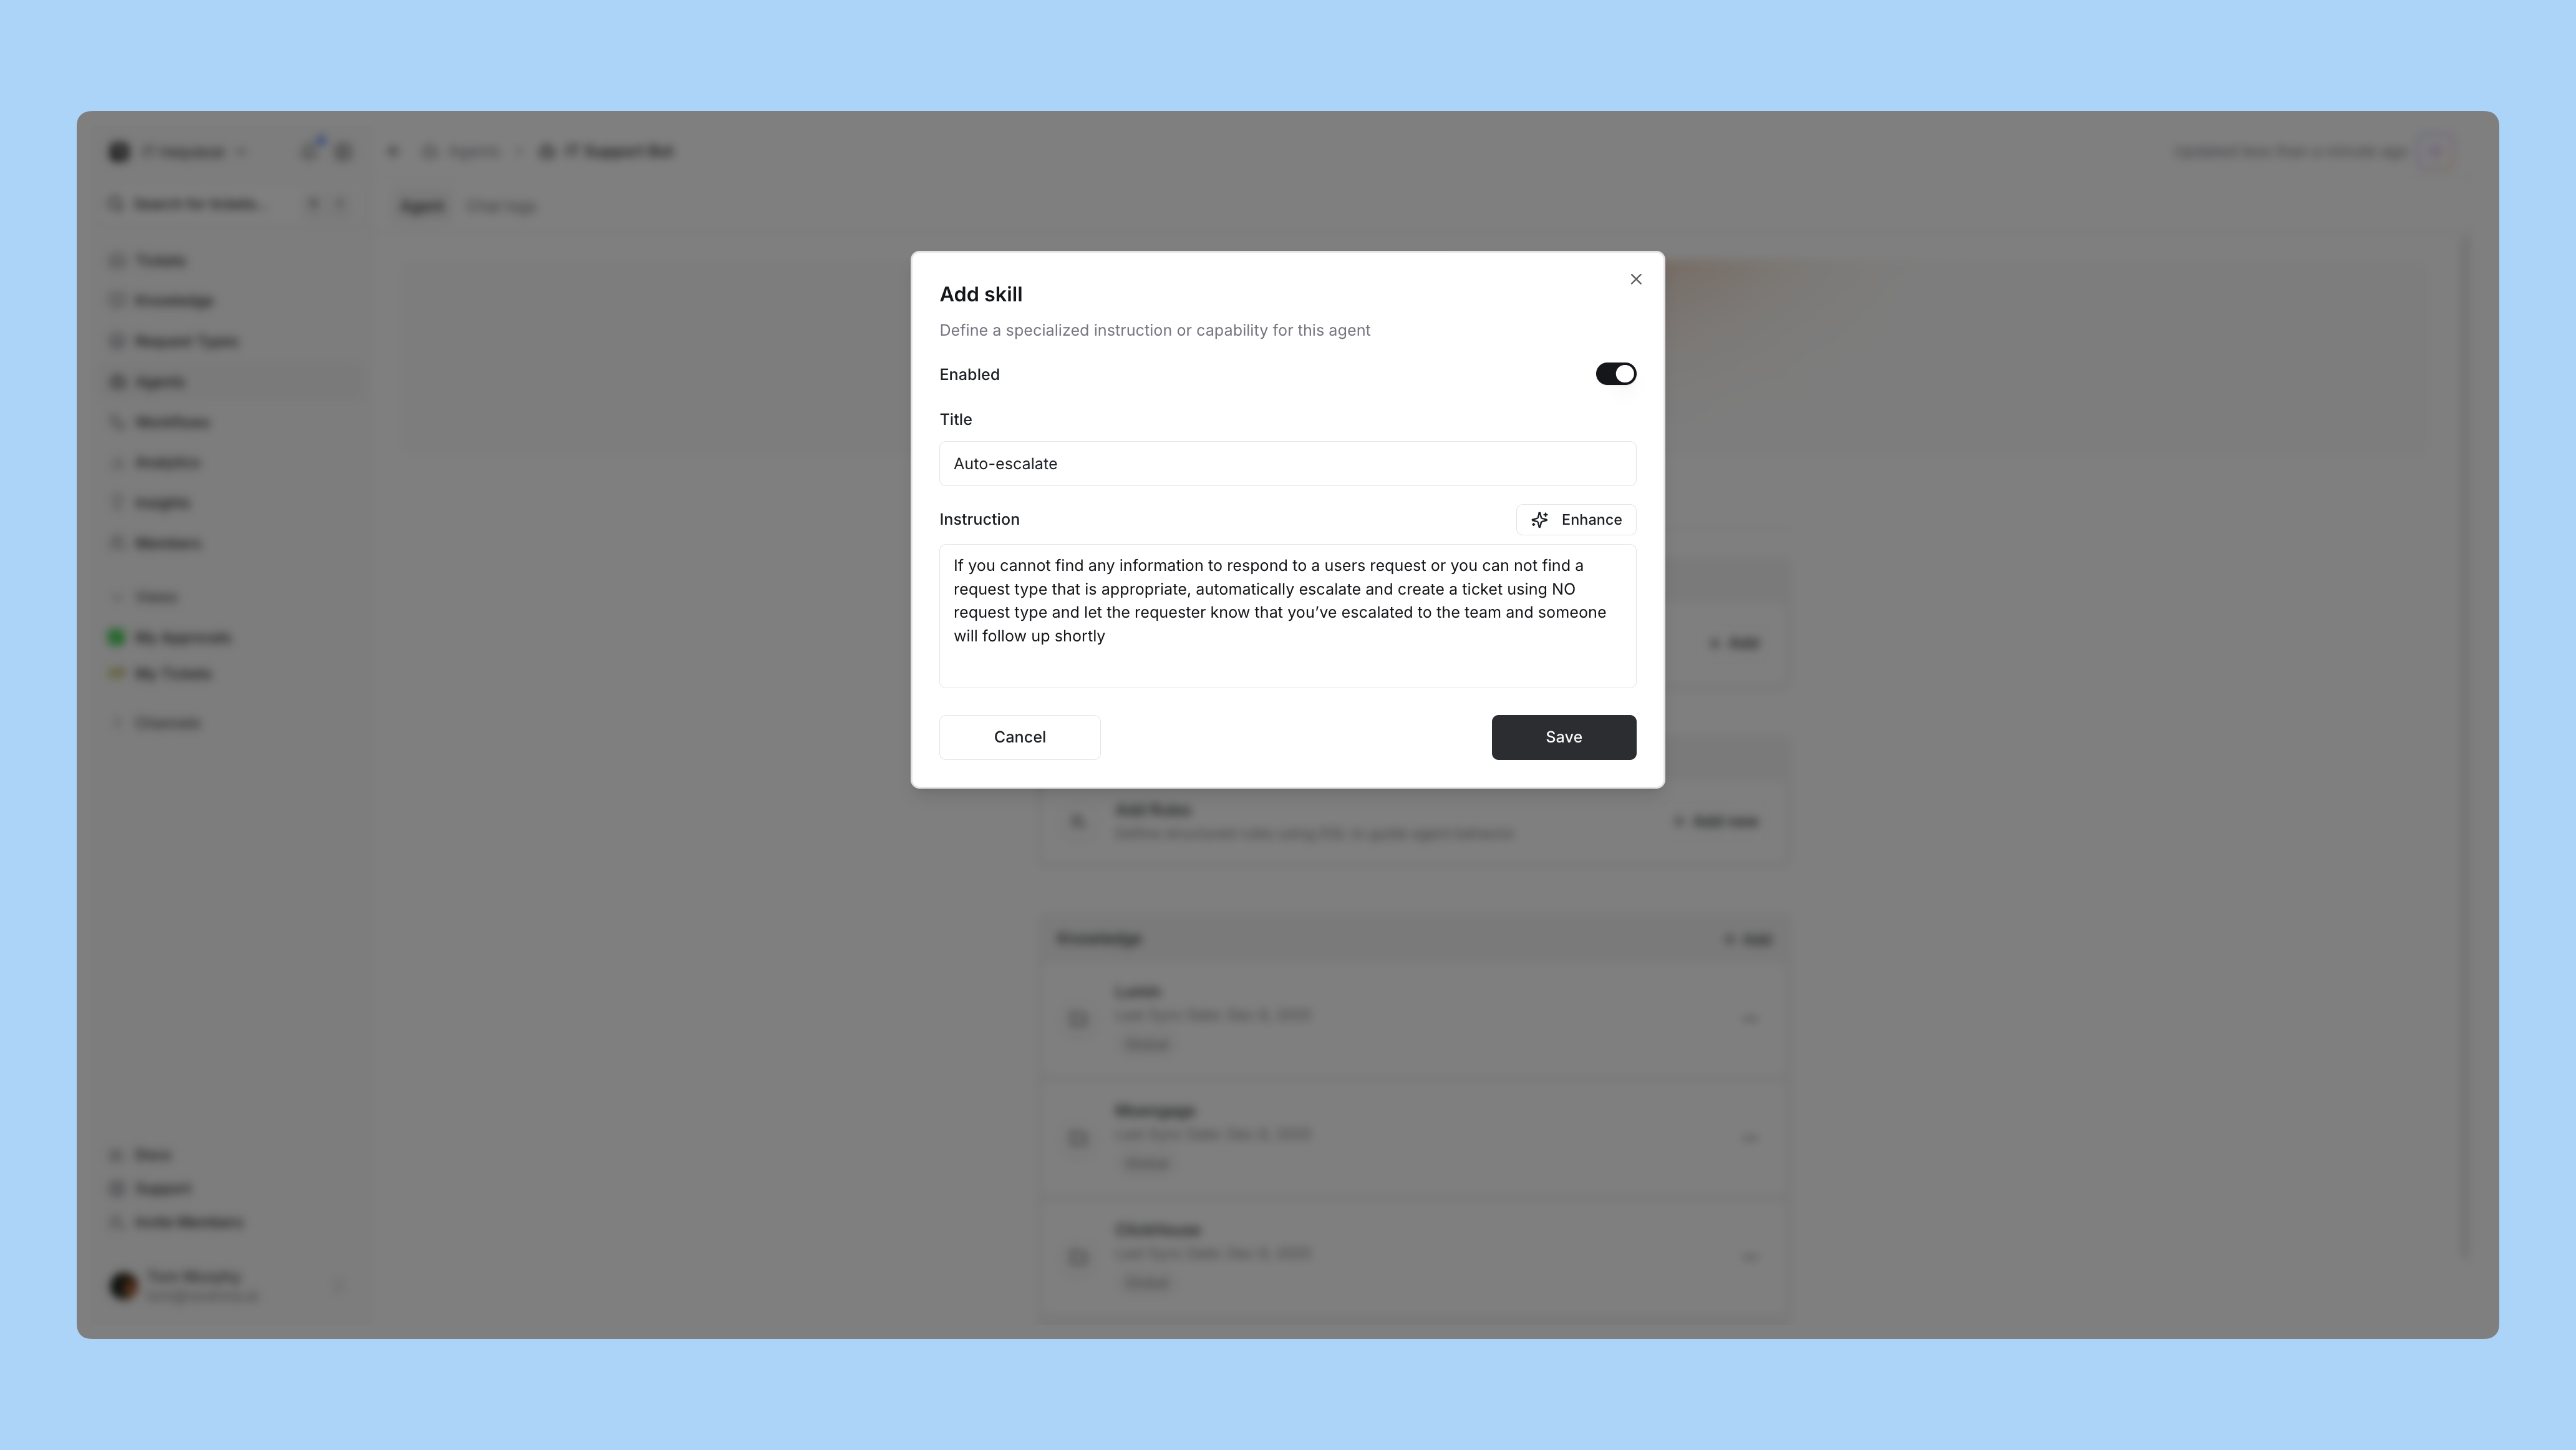
A rule is a natural language instruction that teaches the agent one capability. Use `@` to reference the forms, knowledge folders, categories, and tools you set up earlier.
Start with two or three, not twenty. For the IT desk built in this track:
When someone reports being locked out of MFA, create a ticket with @MFA reset
and set @Category - Account issues. If they say they are fully locked out of
every device, set priority to High.
For questions about laptop setup, VPN, or software licences, search
@IT runbooks and answer directly. Cite the article you used.
Learn more about [writing rules](/documentation/automate/agents/configure#rules), and read [writing agent rules](/guides/best-practices/writing-agent-rules) for what belongs in a rule versus the custom prompt
Escalation is what happens when the agent cannot finish. Left alone, it escalates only after knowledge and tools come up empty, creates a ticket, and tells the requester a human is taking over.
Override that when your team has its own handoff. Escalation instructions accept the same `@` mentions as rules, so you can name the form, category, and status the escalated ticket should carry, which is how a workflow picks the ticket up afterwards.
Before escalating, check @IT runbooks one more time. If still unresolved,
create a ticket with @General support and tell the requester that a
specialist will follow up within one business day.
Learn more about [escalation instructions](/documentation/automate/agents/configure#escalation-instructions)
Select the knowledge folders this agent may search. Agents only reach knowledge you grant them, and the folder's own channel scoping applies on top.
Learn more about [scoping knowledge](/documentation/automate/knowledge/overview#scoping-knowledge)
Tools are what turn the agent from an answering machine into a resolver: looking a user up, resetting a password, adding someone to a group.
Every tool in a rule carries an **execution policy**, set per rule rather than globally:
* **Auto-execute** for read-only lookups.
* **Requires confirmation** for write actions where a "Should I proceed?" prompt is enough. This is the default for creates, updates, and deletes.
* **Requires approval** for anything high impact. The agent buffers the call, opens an approval round, and only runs the tool once the round clears. Approvers default to workspace admins, or you can point it at an approval template.
Keep the lookup on auto-execute and gate the change. That combination is what makes an agent safe to leave running.
Learn more about [tool execution policies](/documentation/automate/agents/configure#tool-execution-policies)
If a tool is a Foundry function that takes an API key, pin that input to a Vault credential under **Input settings**. The agent never sees the value, only a reference is stored, and the rule will not save while a secret input is unpinned.
Learn more about [tool input settings](/documentation/automate/agents/configure#tool-input-settings)
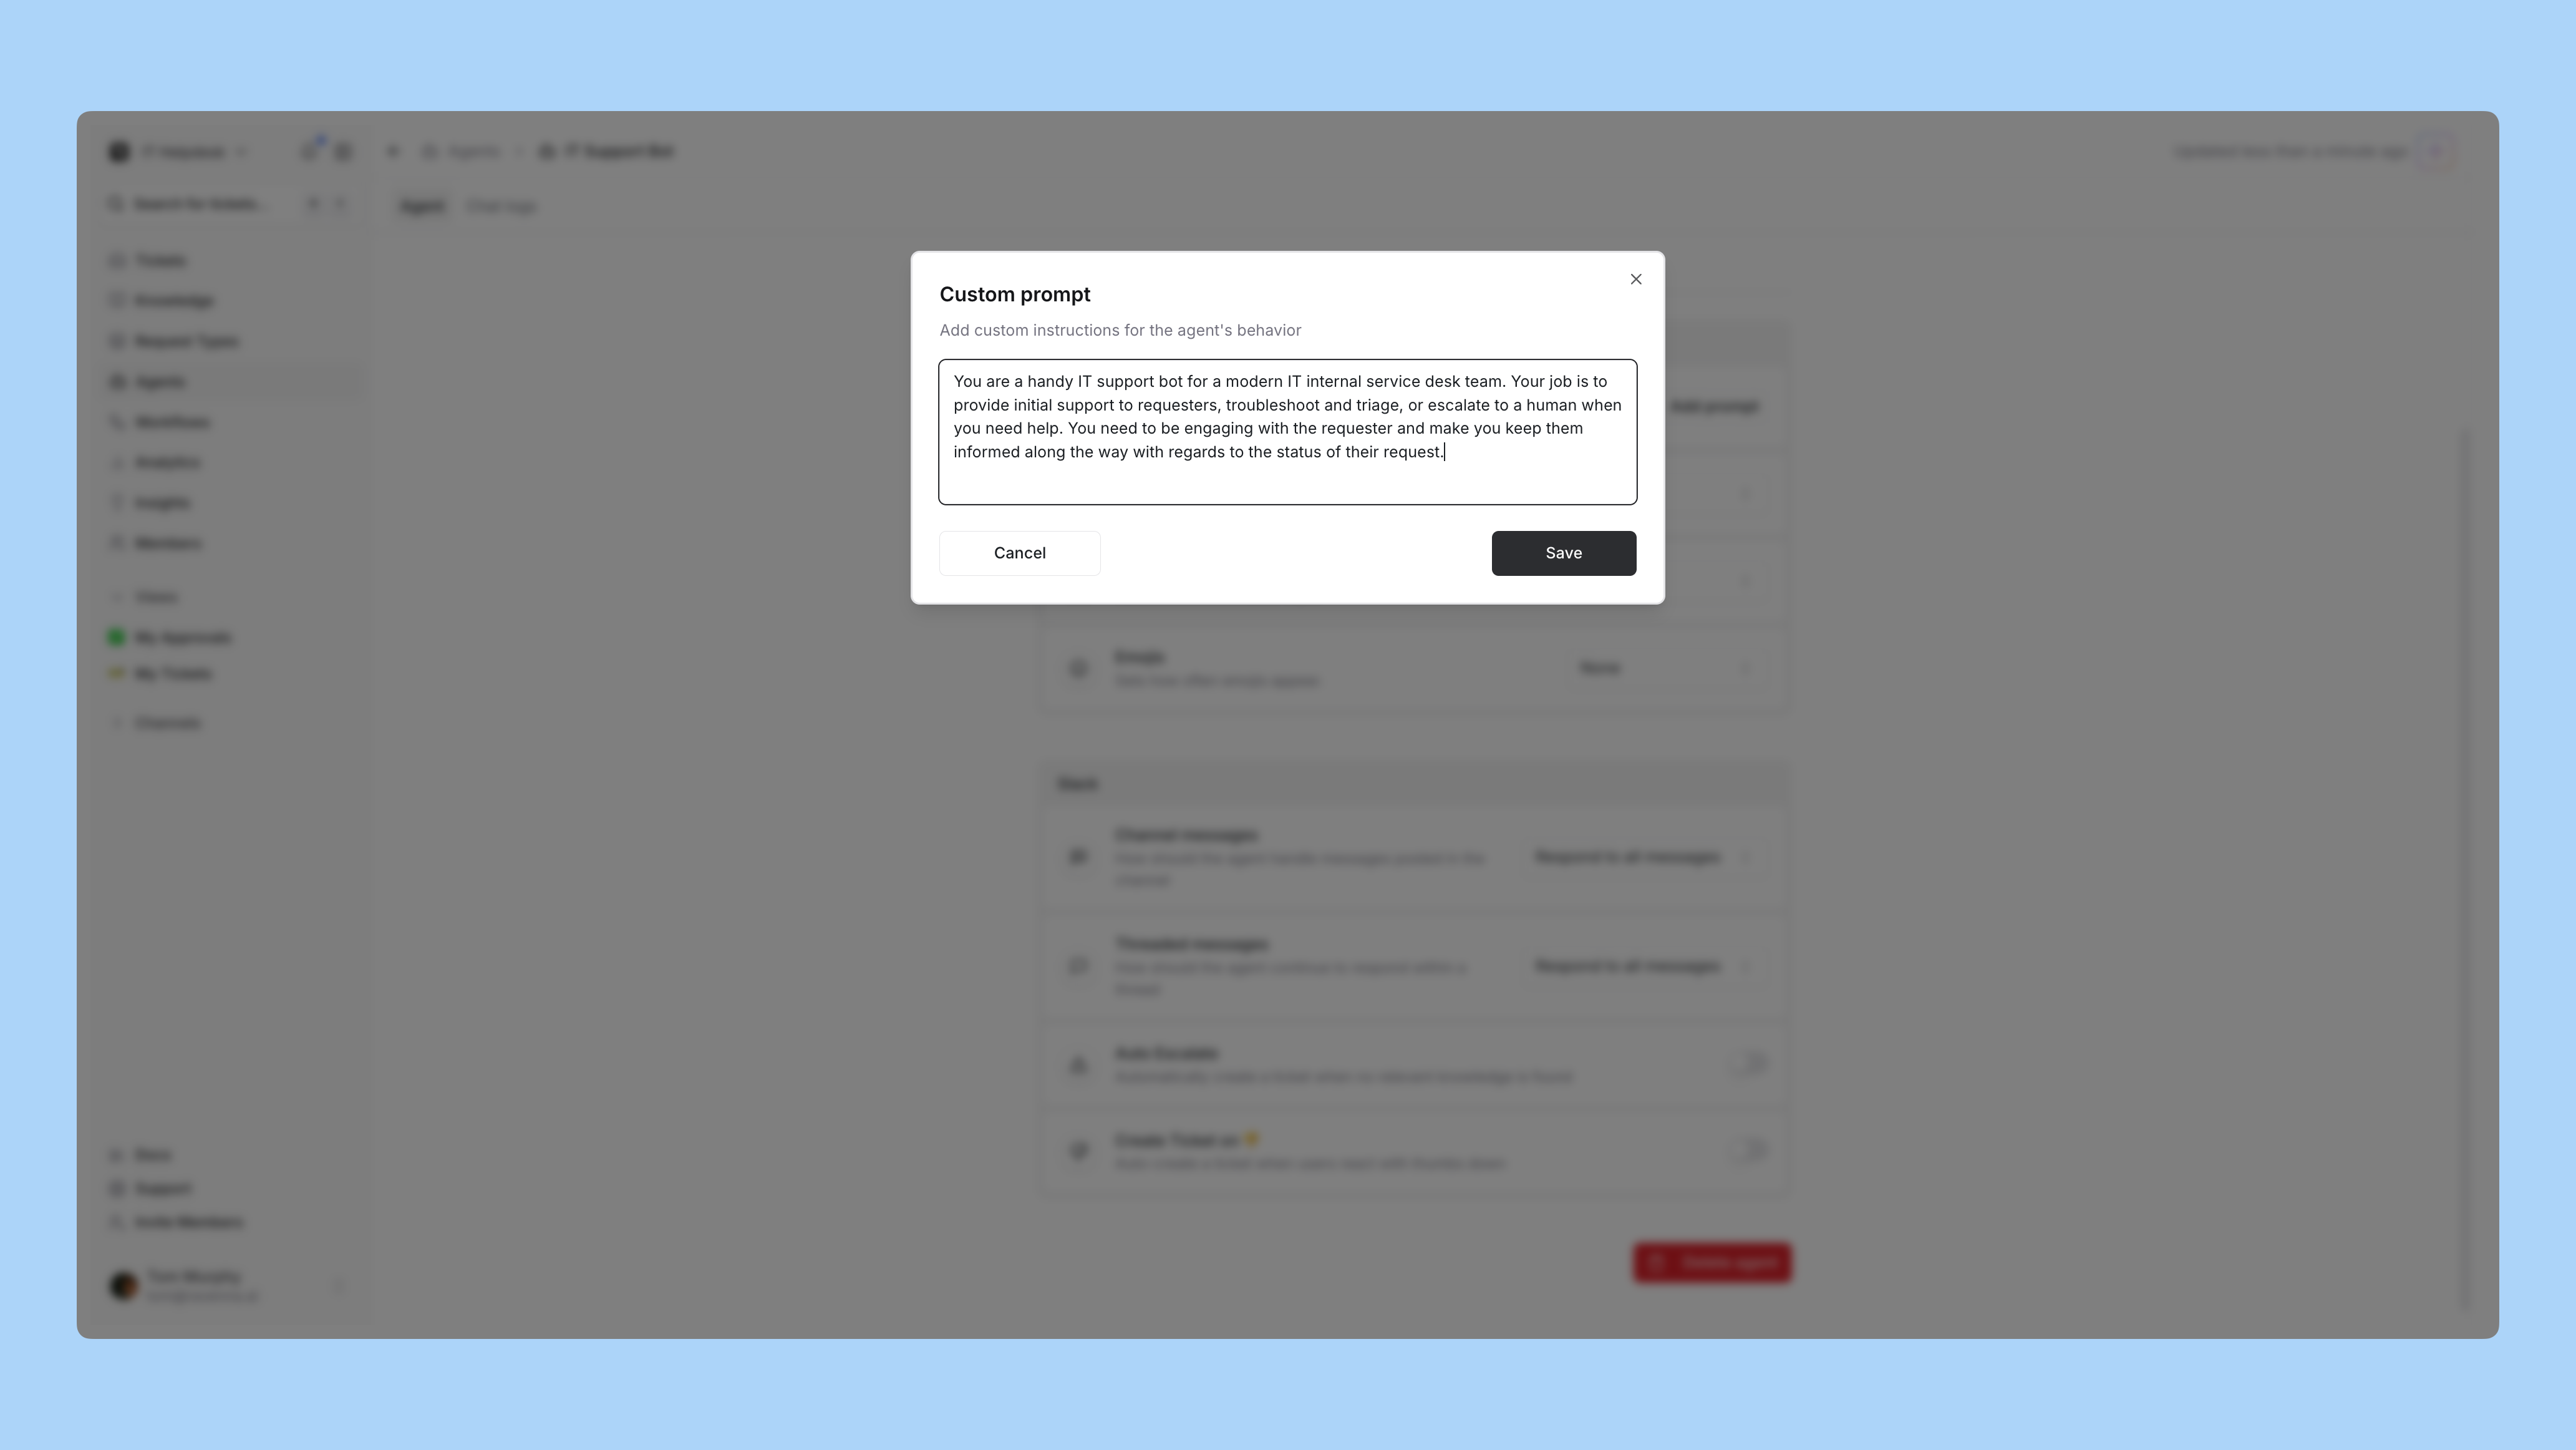
Tone, response length, and emoji use are structured settings, so use them rather than describing tone in a custom prompt. A custom prompt silently overrides all three.
Two settings worth deciding now:
* **Auto-respond** lets the agent answer tickets that arrive by email or from Jira, Linear, and GitHub, with an optional delay so context can land first.
* **Conversational form filling** collects short forms one question at a time in chat instead of showing a form. It applies to forms at or under the field threshold, three by default, and never to private forms.
Learn more about [personality](/documentation/automate/agents/customize#personality), [auto-respond](/documentation/automate/agents/customize#auto-respond), and [conversational form filling](/documentation/automate/agents/customize#conversational-form-filling)
Use the chat panel on the agent page. A yellow **Testing Mode** banner confirms the session is sandboxed: the agent matches rules, calls tools, and picks responses for real, but nothing is written and nothing posts to Slack or Teams.
Expand the **Debug** disclosure under each response to see which rules matched, which tools ran and with what inputs, and how the agent classified its own answer. That is how you find out a rule is not firing, rather than guessing from a bad reply in production.
Learn more about [Testing Mode](/documentation/automate/agents/deploy-monitor#testing-mode)
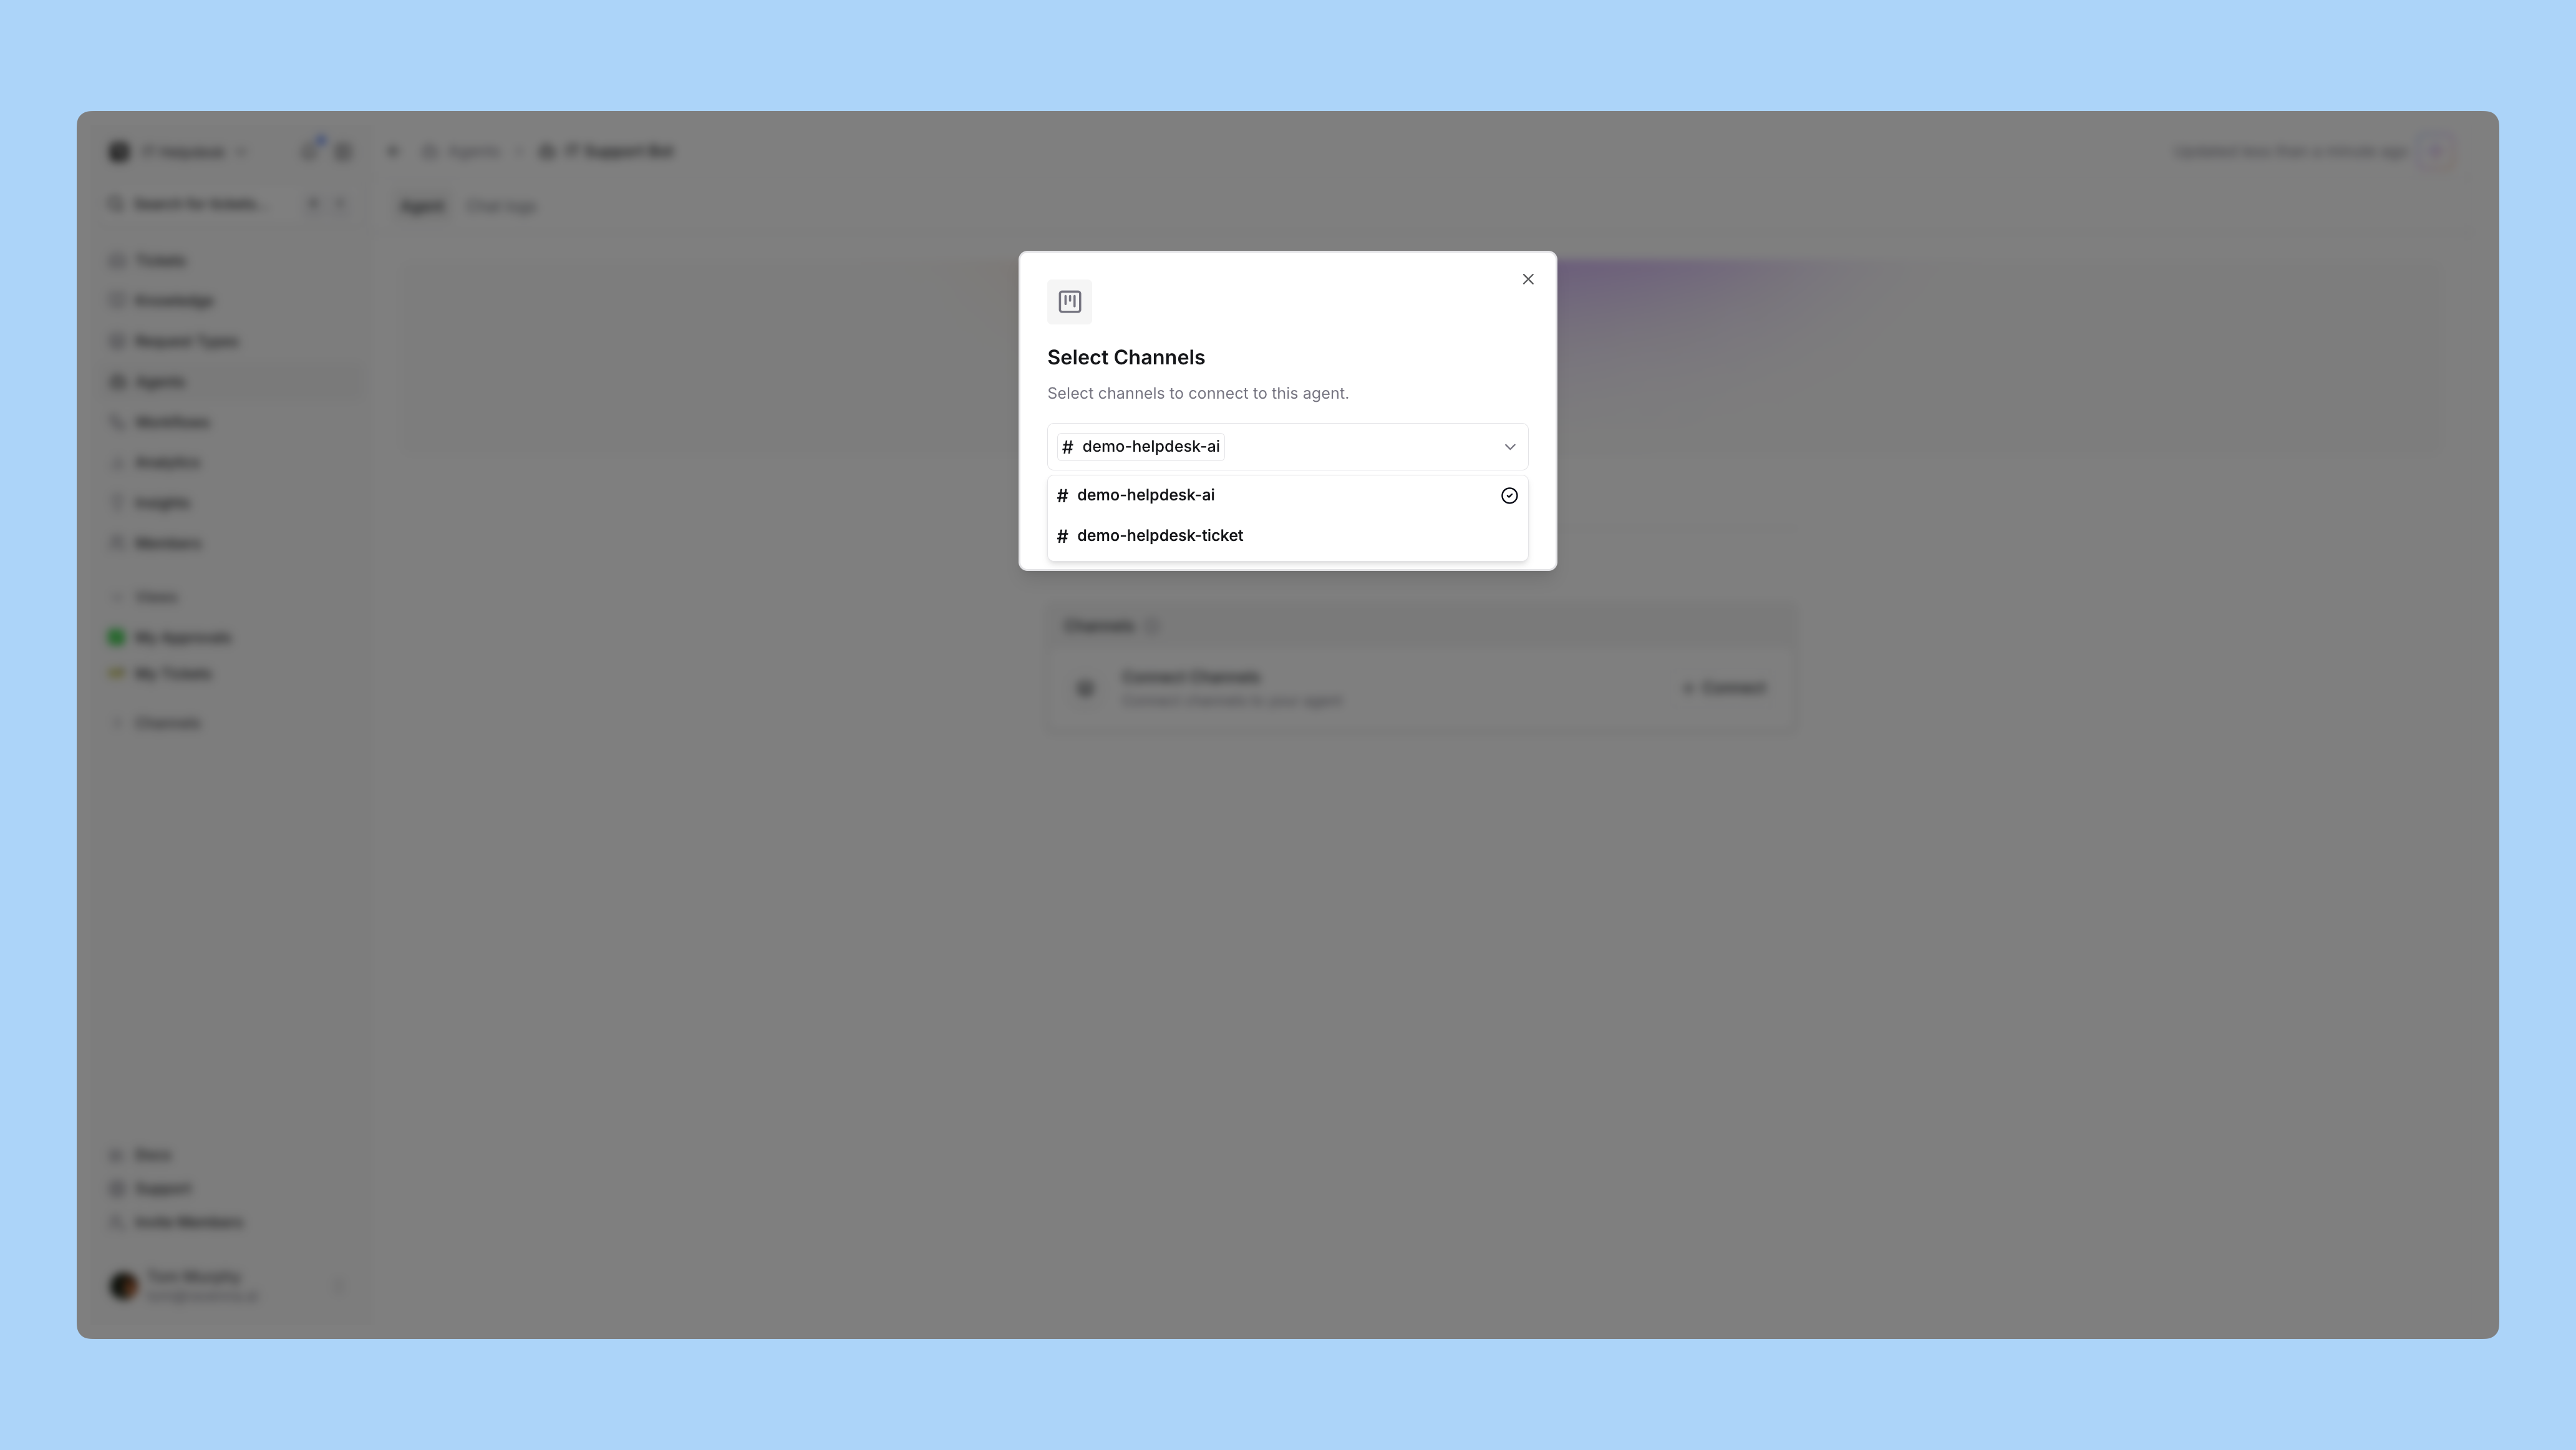
In **Connections**, add the channel you set up earlier. One agent per channel, and you can add or remove channels at any time.
Learn more about [deploying agents](/documentation/automate/agents/deploy-monitor#connections)
## Agents and workflows do different jobs
An agent handles the conversation. A workflow handles the deterministic sequence. They do not call each other directly: the agent creates or updates a ticket, and the ticket's state is what a workflow triggers on. That is why escalation instructions let you set a form, category, and status. Those are the handoff.
Learn more about [agents compared with workflows](/documentation/automate/agents/overview#agents-vs-workflows)
## What to watch in week one
Open **Chat logs** on the agent page. Every conversation is recorded with the result the agent assigned itself, the requester, the channel, and any thumbs up or down.
* A high **Missing Knowledge** rate means the gap is in your documentation, not the agent.
* A high escalation rate on questions you know are documented usually means a rule is missing or too narrow.
* Frequent requests for more information often means a form is asking for things the agent could have inferred.
Learn more about [chat logs and debugging patterns](/documentation/automate/agents/deploy-monitor#chat-logs)
## Next
Everything is built. Now open it up.
Run the pre-launch checks, announce it to your team, and know what to look at on day two.
## Related topics
- [Set up knowledge](/guides/day-one/set-up-knowledge.md)
- [Writing agent rules](/guides/best-practices/writing-agent-rules.md)
- [Copilot](/documentation/automate/copilot/overview.md)
- [Day one](/guides/day-one/overview.md)
- [AI assistant](/integrations/microsoft-teams/ai-assistant.md)