> ## Documentation Index
> Fetch the complete documentation index at: https://docs.ravenna.ai/llms.txt
> Use this file to discover all available pages before exploring further.

# Setting up a Form

> Build a Ravenna form with system and custom fields to collect structured information from requesters and route every ticket to the right team.

A Form in Ravenna acts as a form template that captures the exact information your team needs when someone submits a request. Use system fields like requester, description, and priority — and add custom fields for team-specific details. This ensures every request is clear and actionable from the start.

<Info>**Note:** Forms were previously called Request Types. All existing functionality remains the same.</Info>

<Tabs>
  <Tab title="Interactive walkthrough">
    <div style={{ position: 'relative', paddingBottom: 'calc(62.55208333333333% + 41px)', height: 0, width: '100%' }}>
      <iframe src="https://demo.arcade.software/P53SiU23YEk5yiVUoJ2w?embed&embed_mobile=tab&embed_desktop=inline&show_copy_link=true" title="Setting up a Form" frameBorder="0" loading="lazy" allowFullScreen allow="clipboard-write" style={{ position: 'absolute', top: 0, left: 0, width: '100%', height: '100%', colorScheme: 'light' }} />
    </div>
  </Tab>

  <Tab title="Step-by-step">
    <Steps>
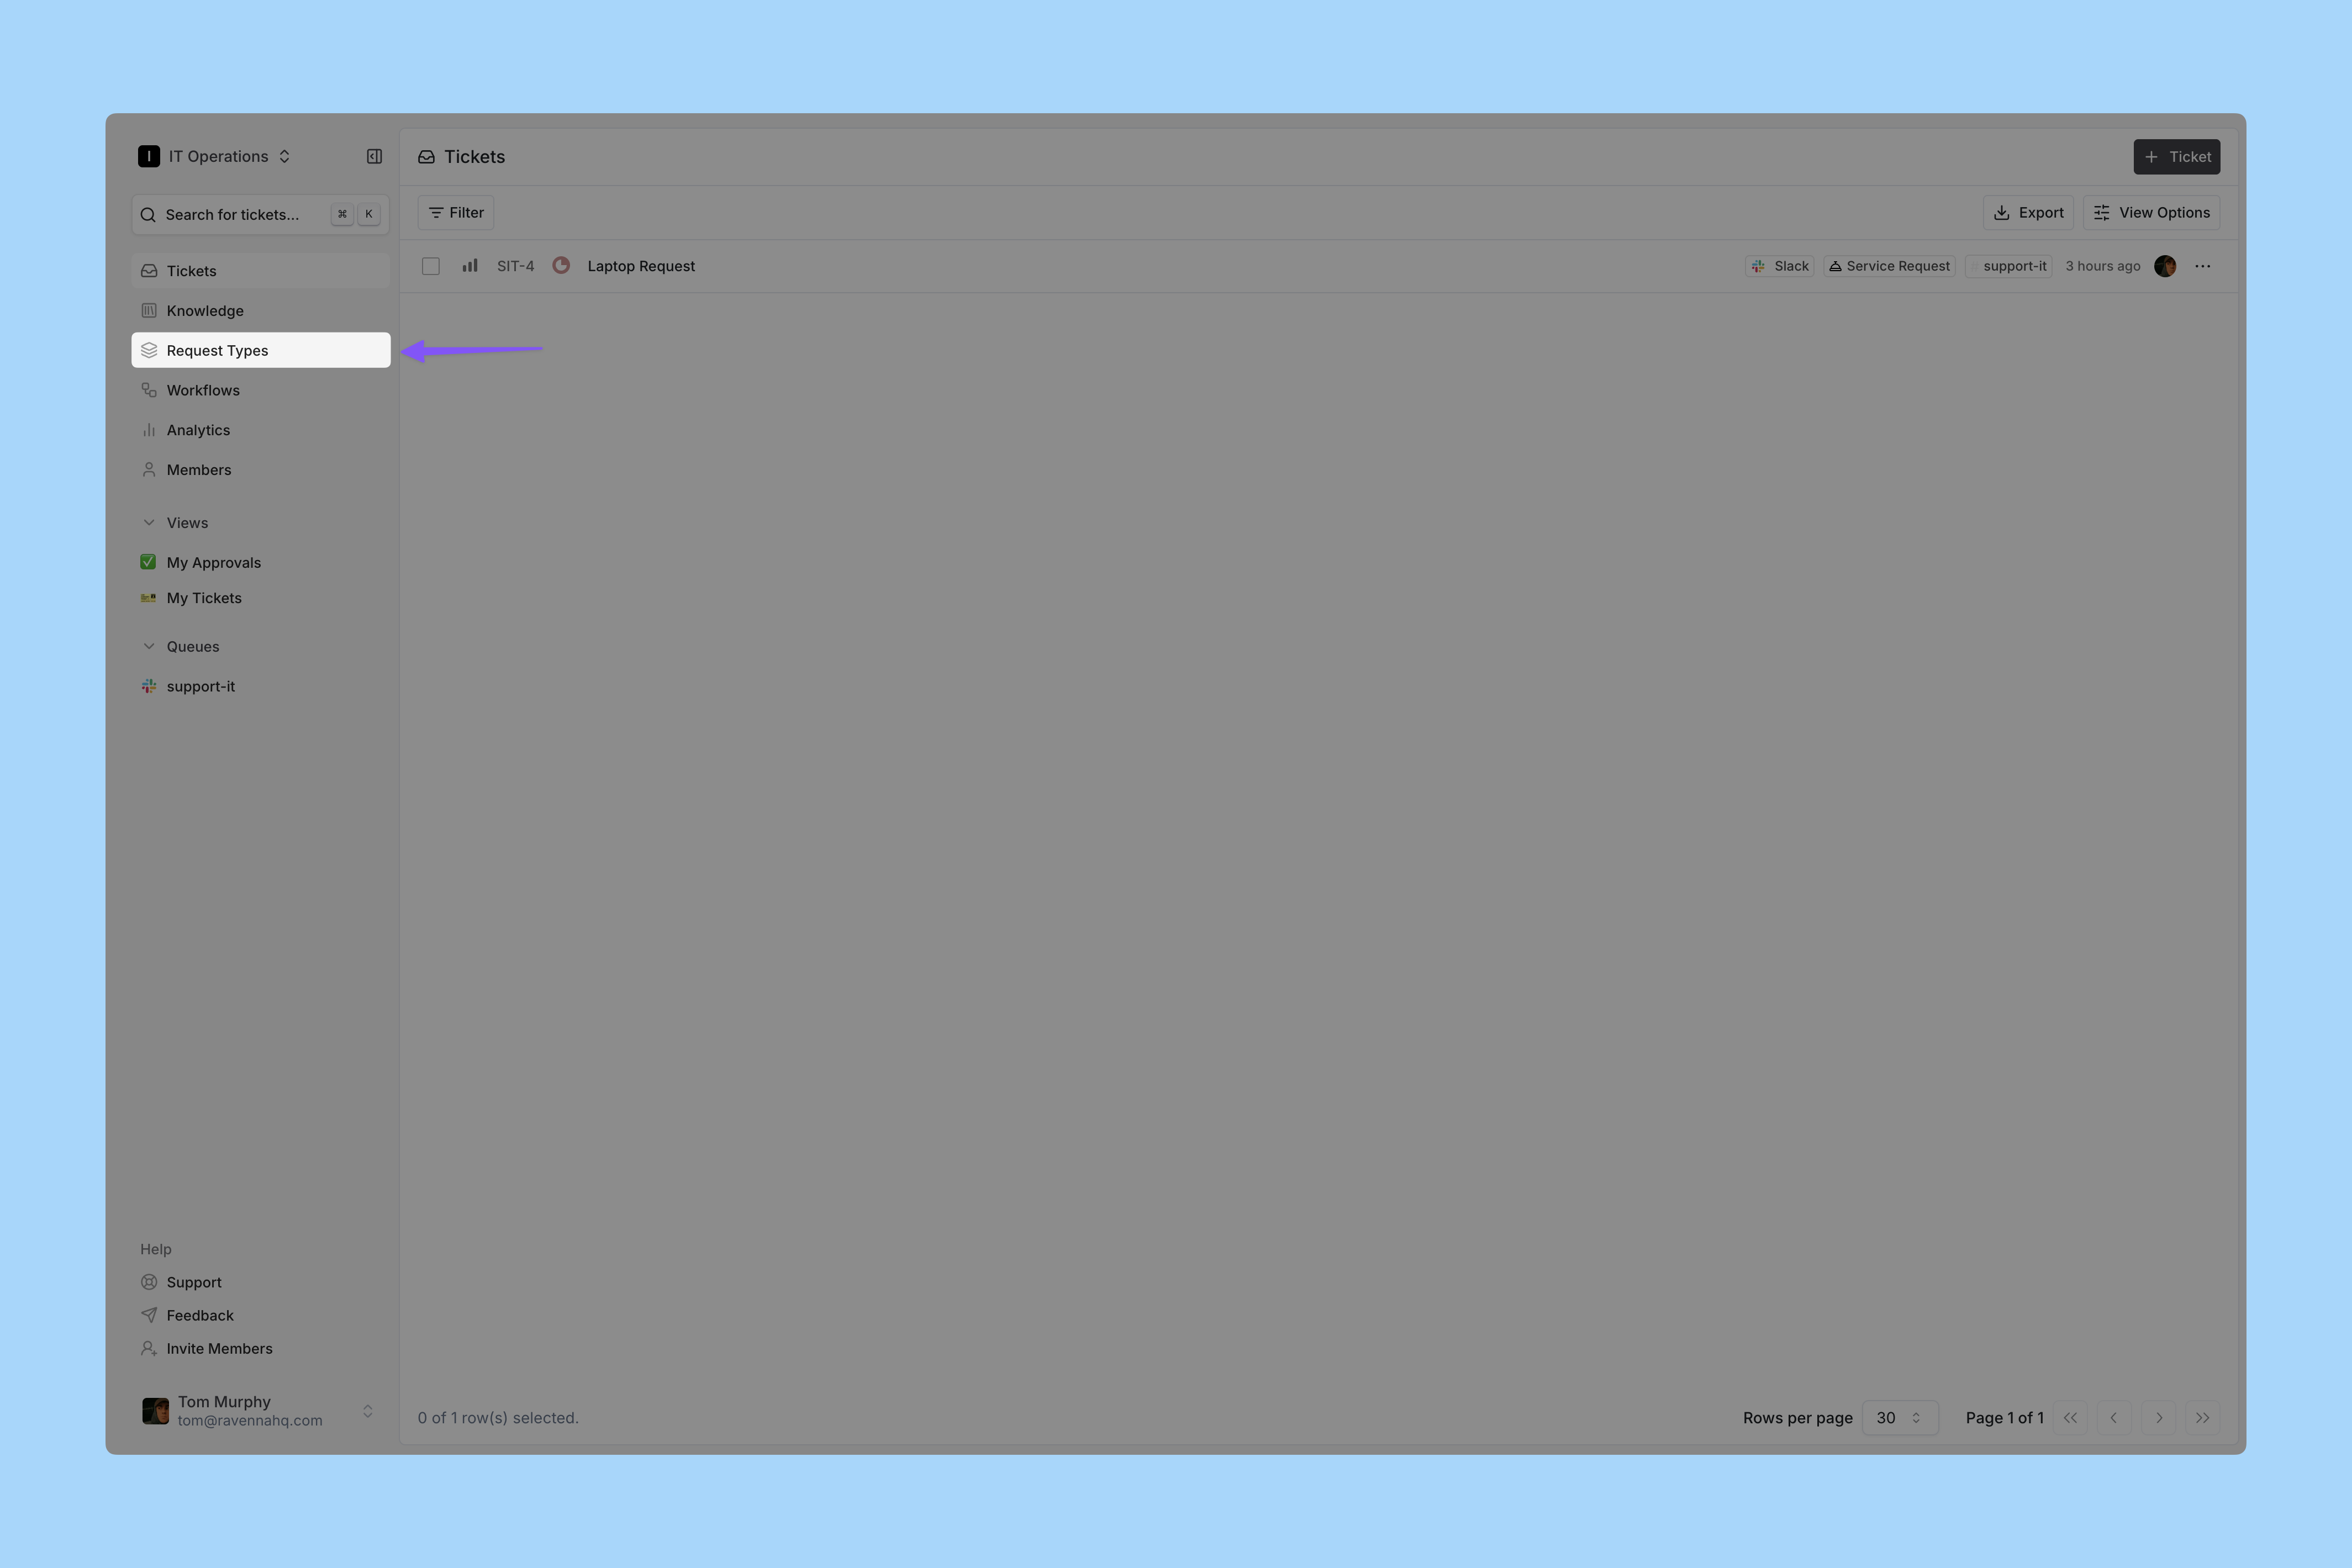
      <Step title="Go to Forms">
        Click <strong>Forms</strong> in the left sidebar.

        <Frame>
          ![Forms Page](https://d1kzozfjh72w00.cloudfront.net/documentation/screenshots/guides/getting-started/request-types/1.png)
        </Frame>
      </Step>

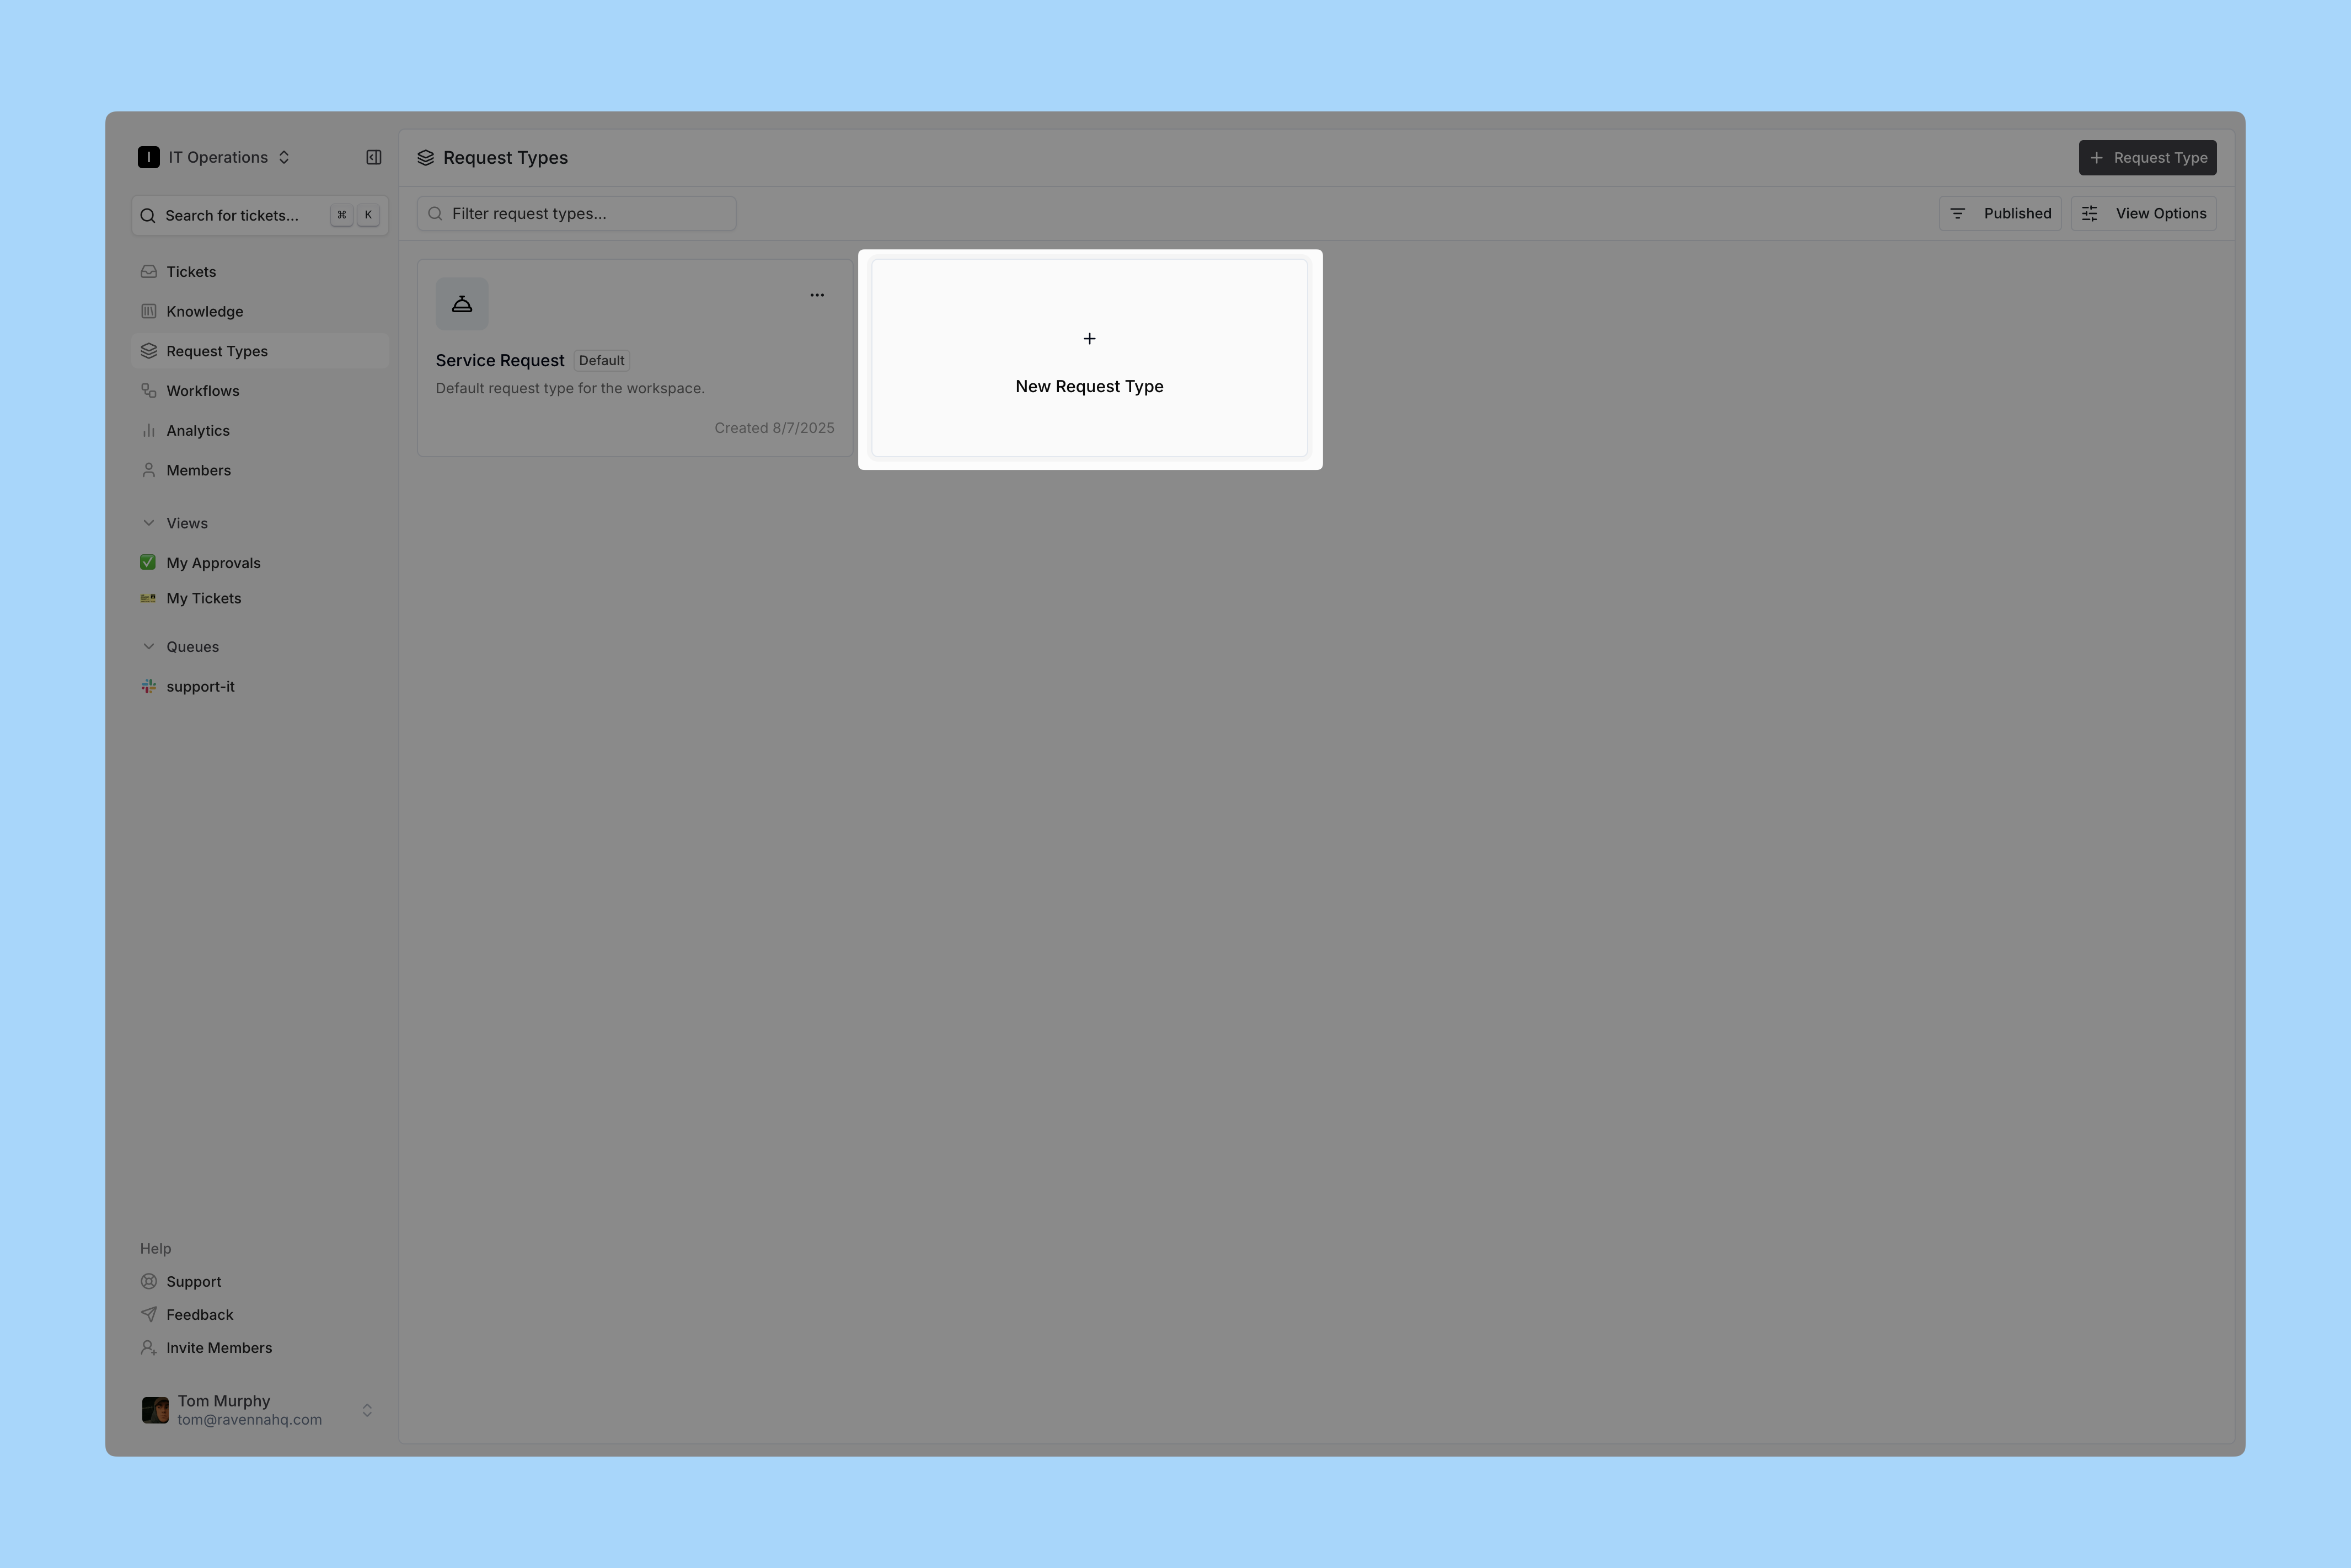
      <Step title="Add a new Form">
        Click the box to create a new Form.

        <Frame>
          ![New Form](https://d1kzozfjh72w00.cloudfront.net/documentation/screenshots/guides/getting-started/request-types/2.png)
        </Frame>
      </Step>

      <Step title="Enter Form details">
        Fill in the form by:

        * Selecting an icon that represents your form
        * Naming it clearly and simply; employees see this name in Slack
        * Adding a description that explains when to use this form

        For this demo, we create an <em>MFA Reset</em> form.

        <Frame>
          ![New Form](https://d1kzozfjh72w00.cloudfront.net/documentation/screenshots/guides/getting-started/request-types/3.webp)
        </Frame>
      </Step>

      <Step title="Open your new Form">
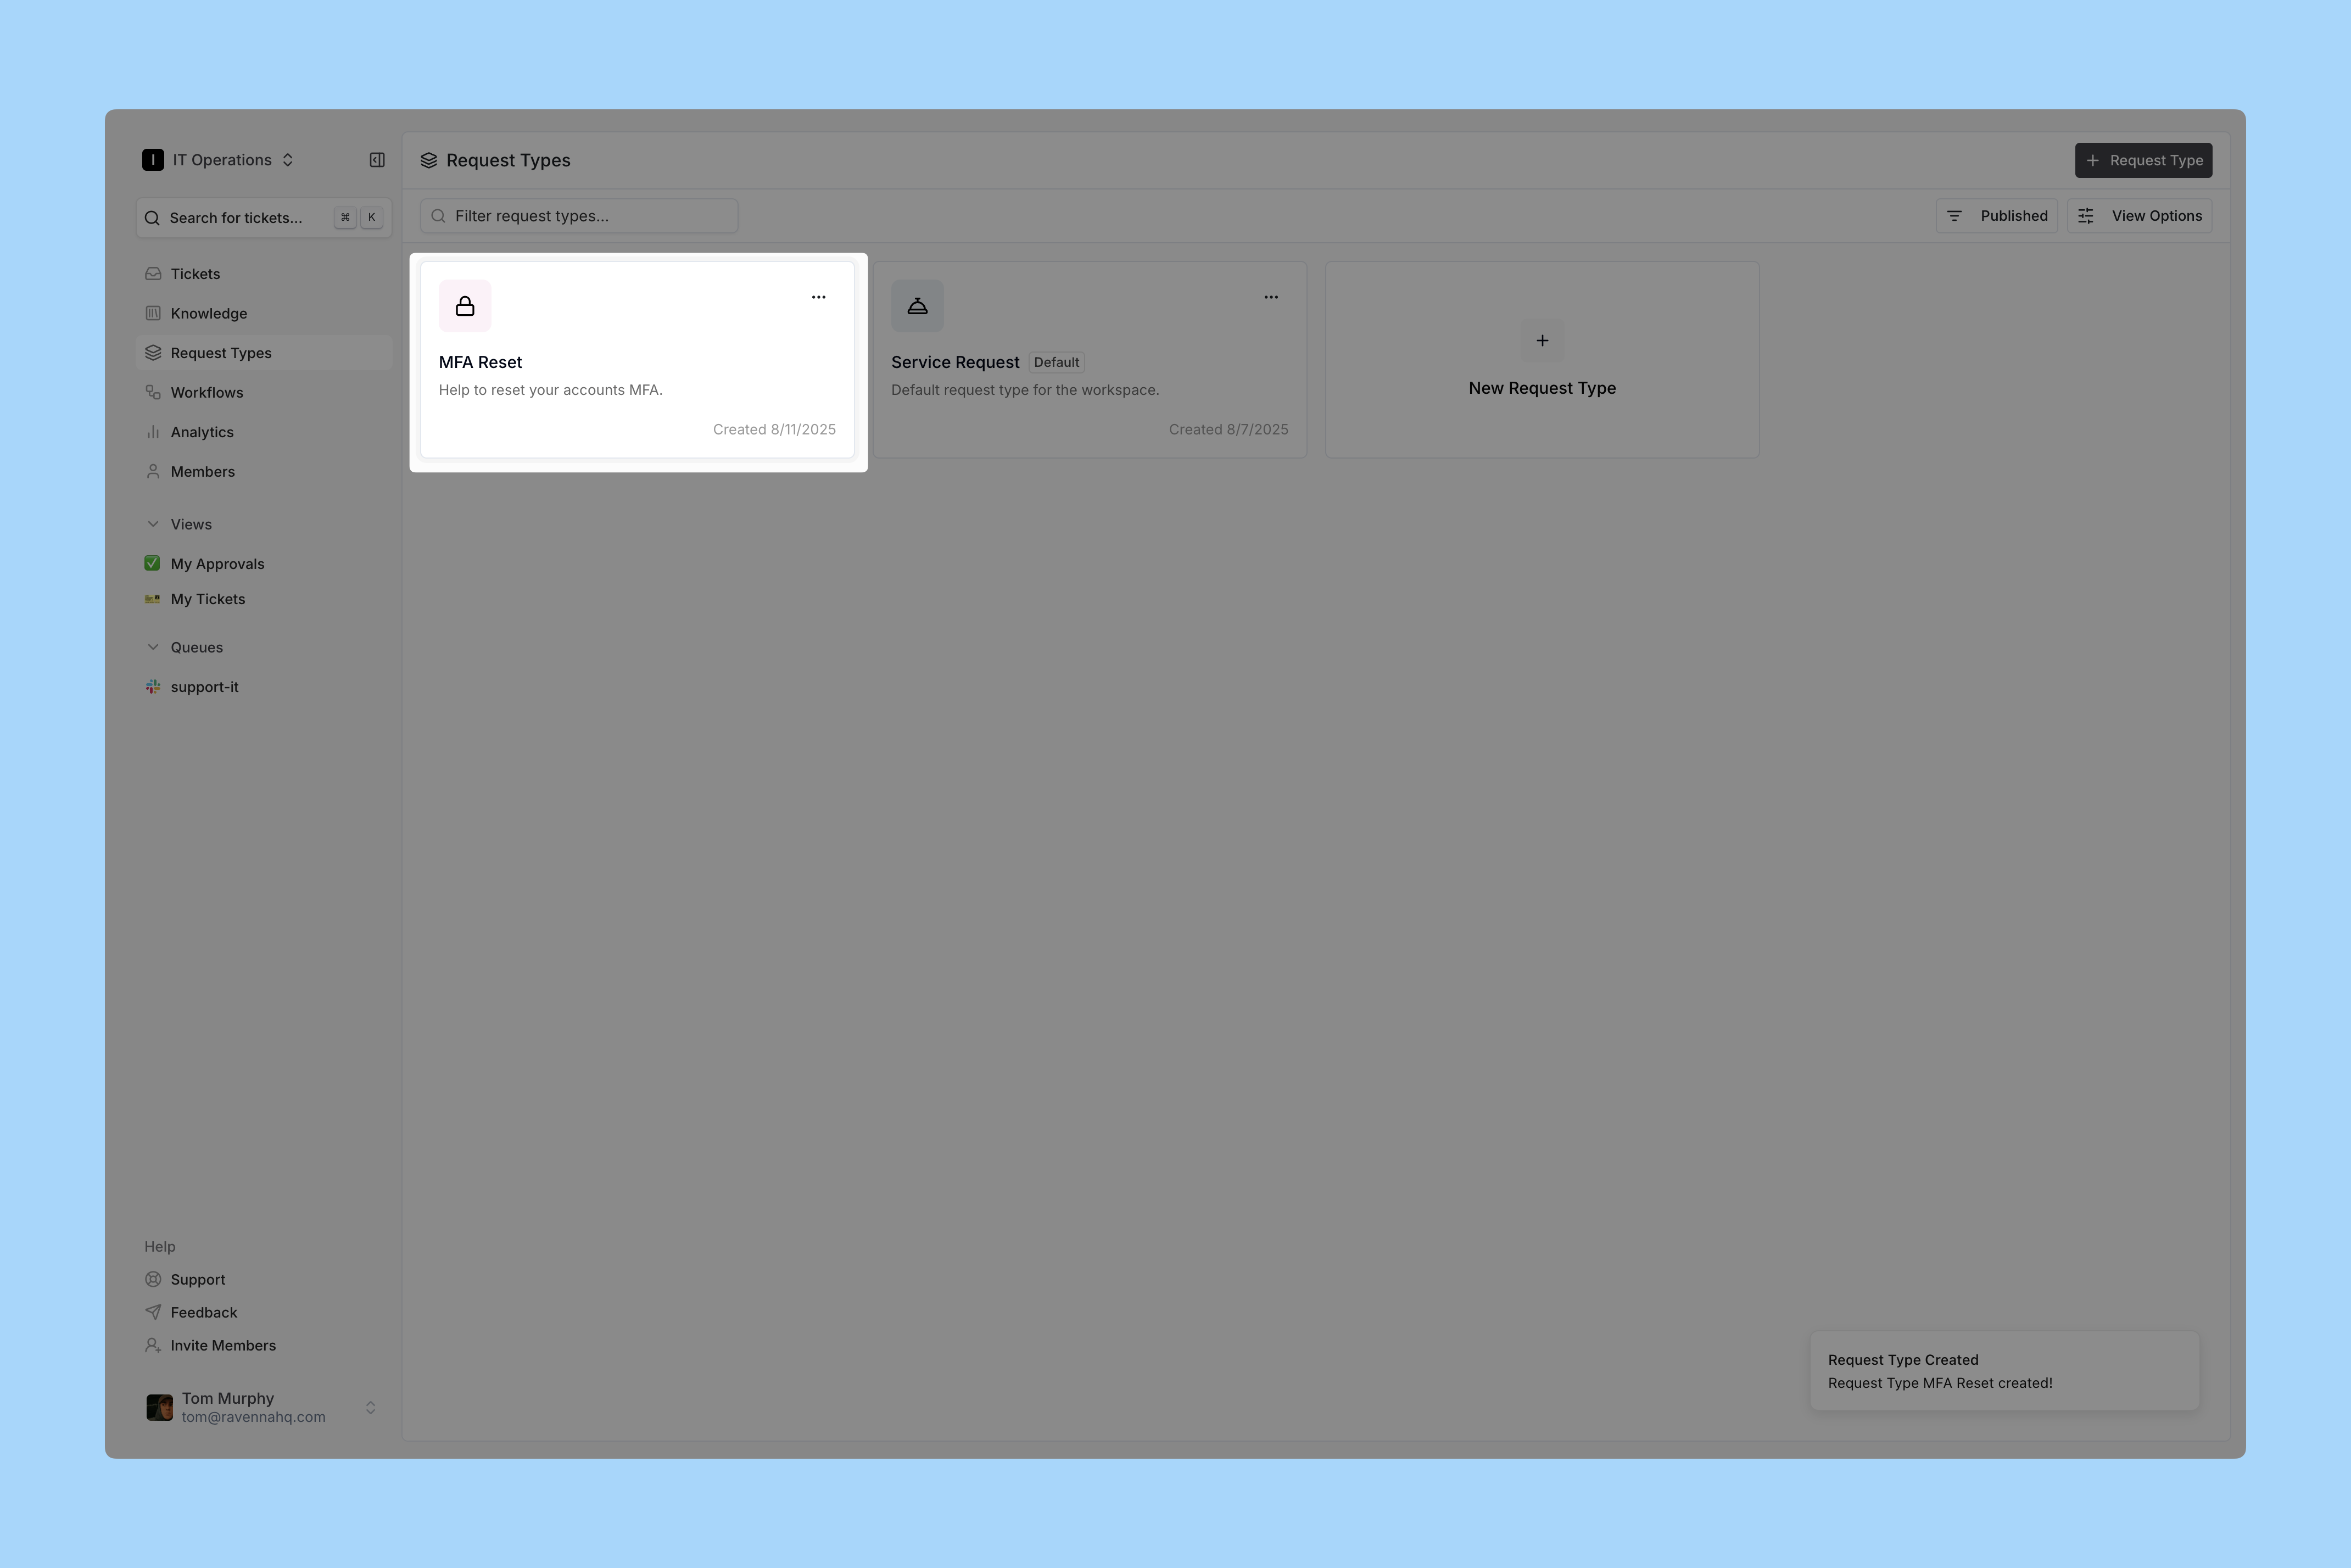
        Open it by clicking the card or selecting Edit from the three-dot menu.
        <Frame>
          ![Open Form](https://d1kzozfjh72w00.cloudfront.net/documentation/screenshots/guides/getting-started/request-types/4.png)
        </Frame>
      </Step>

      <Step title="Add fields">
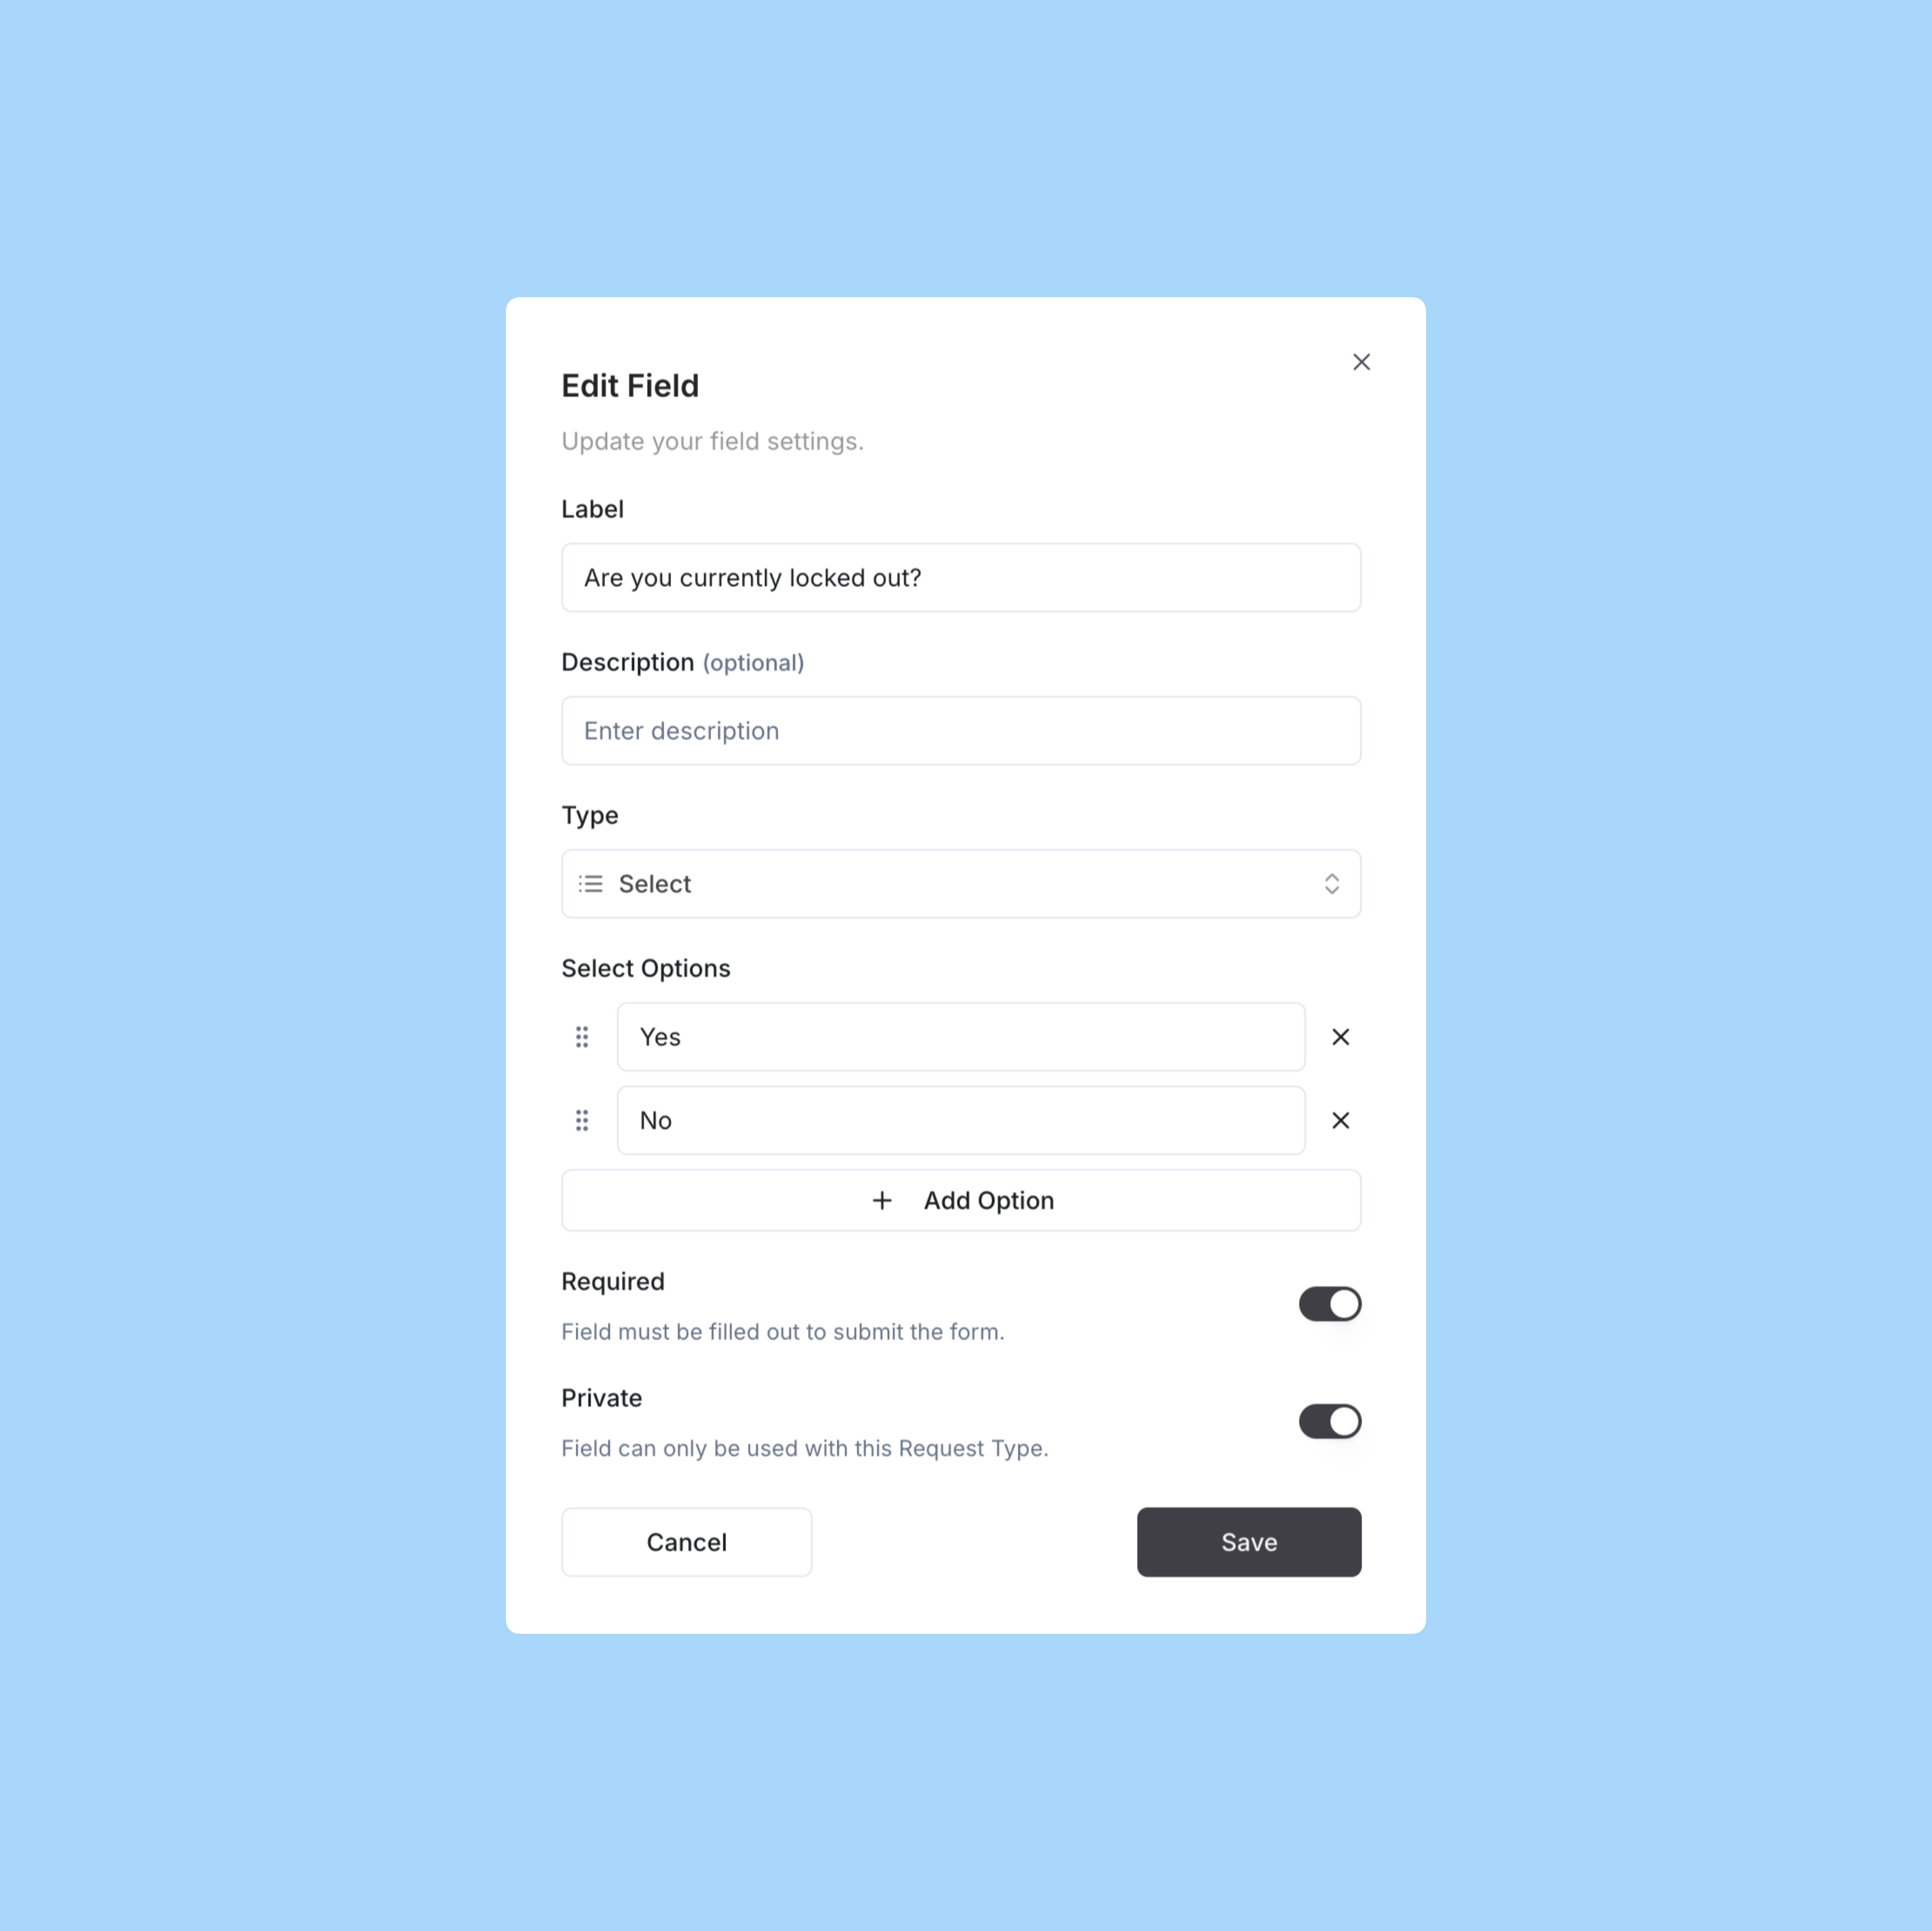
        Build your Form structure. Every form must have at least one field configured.

        For the <strong>MFA Reset</strong> type, add:

        * A custom Select option to find out if the user is locked out
        * A custom Text field to confirm the email for the MFA reset
        <Frame>
          ![Add Fields](https://d1kzozfjh72w00.cloudfront.net/documentation/screenshots/guides/getting-started/request-types/5.webp)
        </Frame>
      </Step>

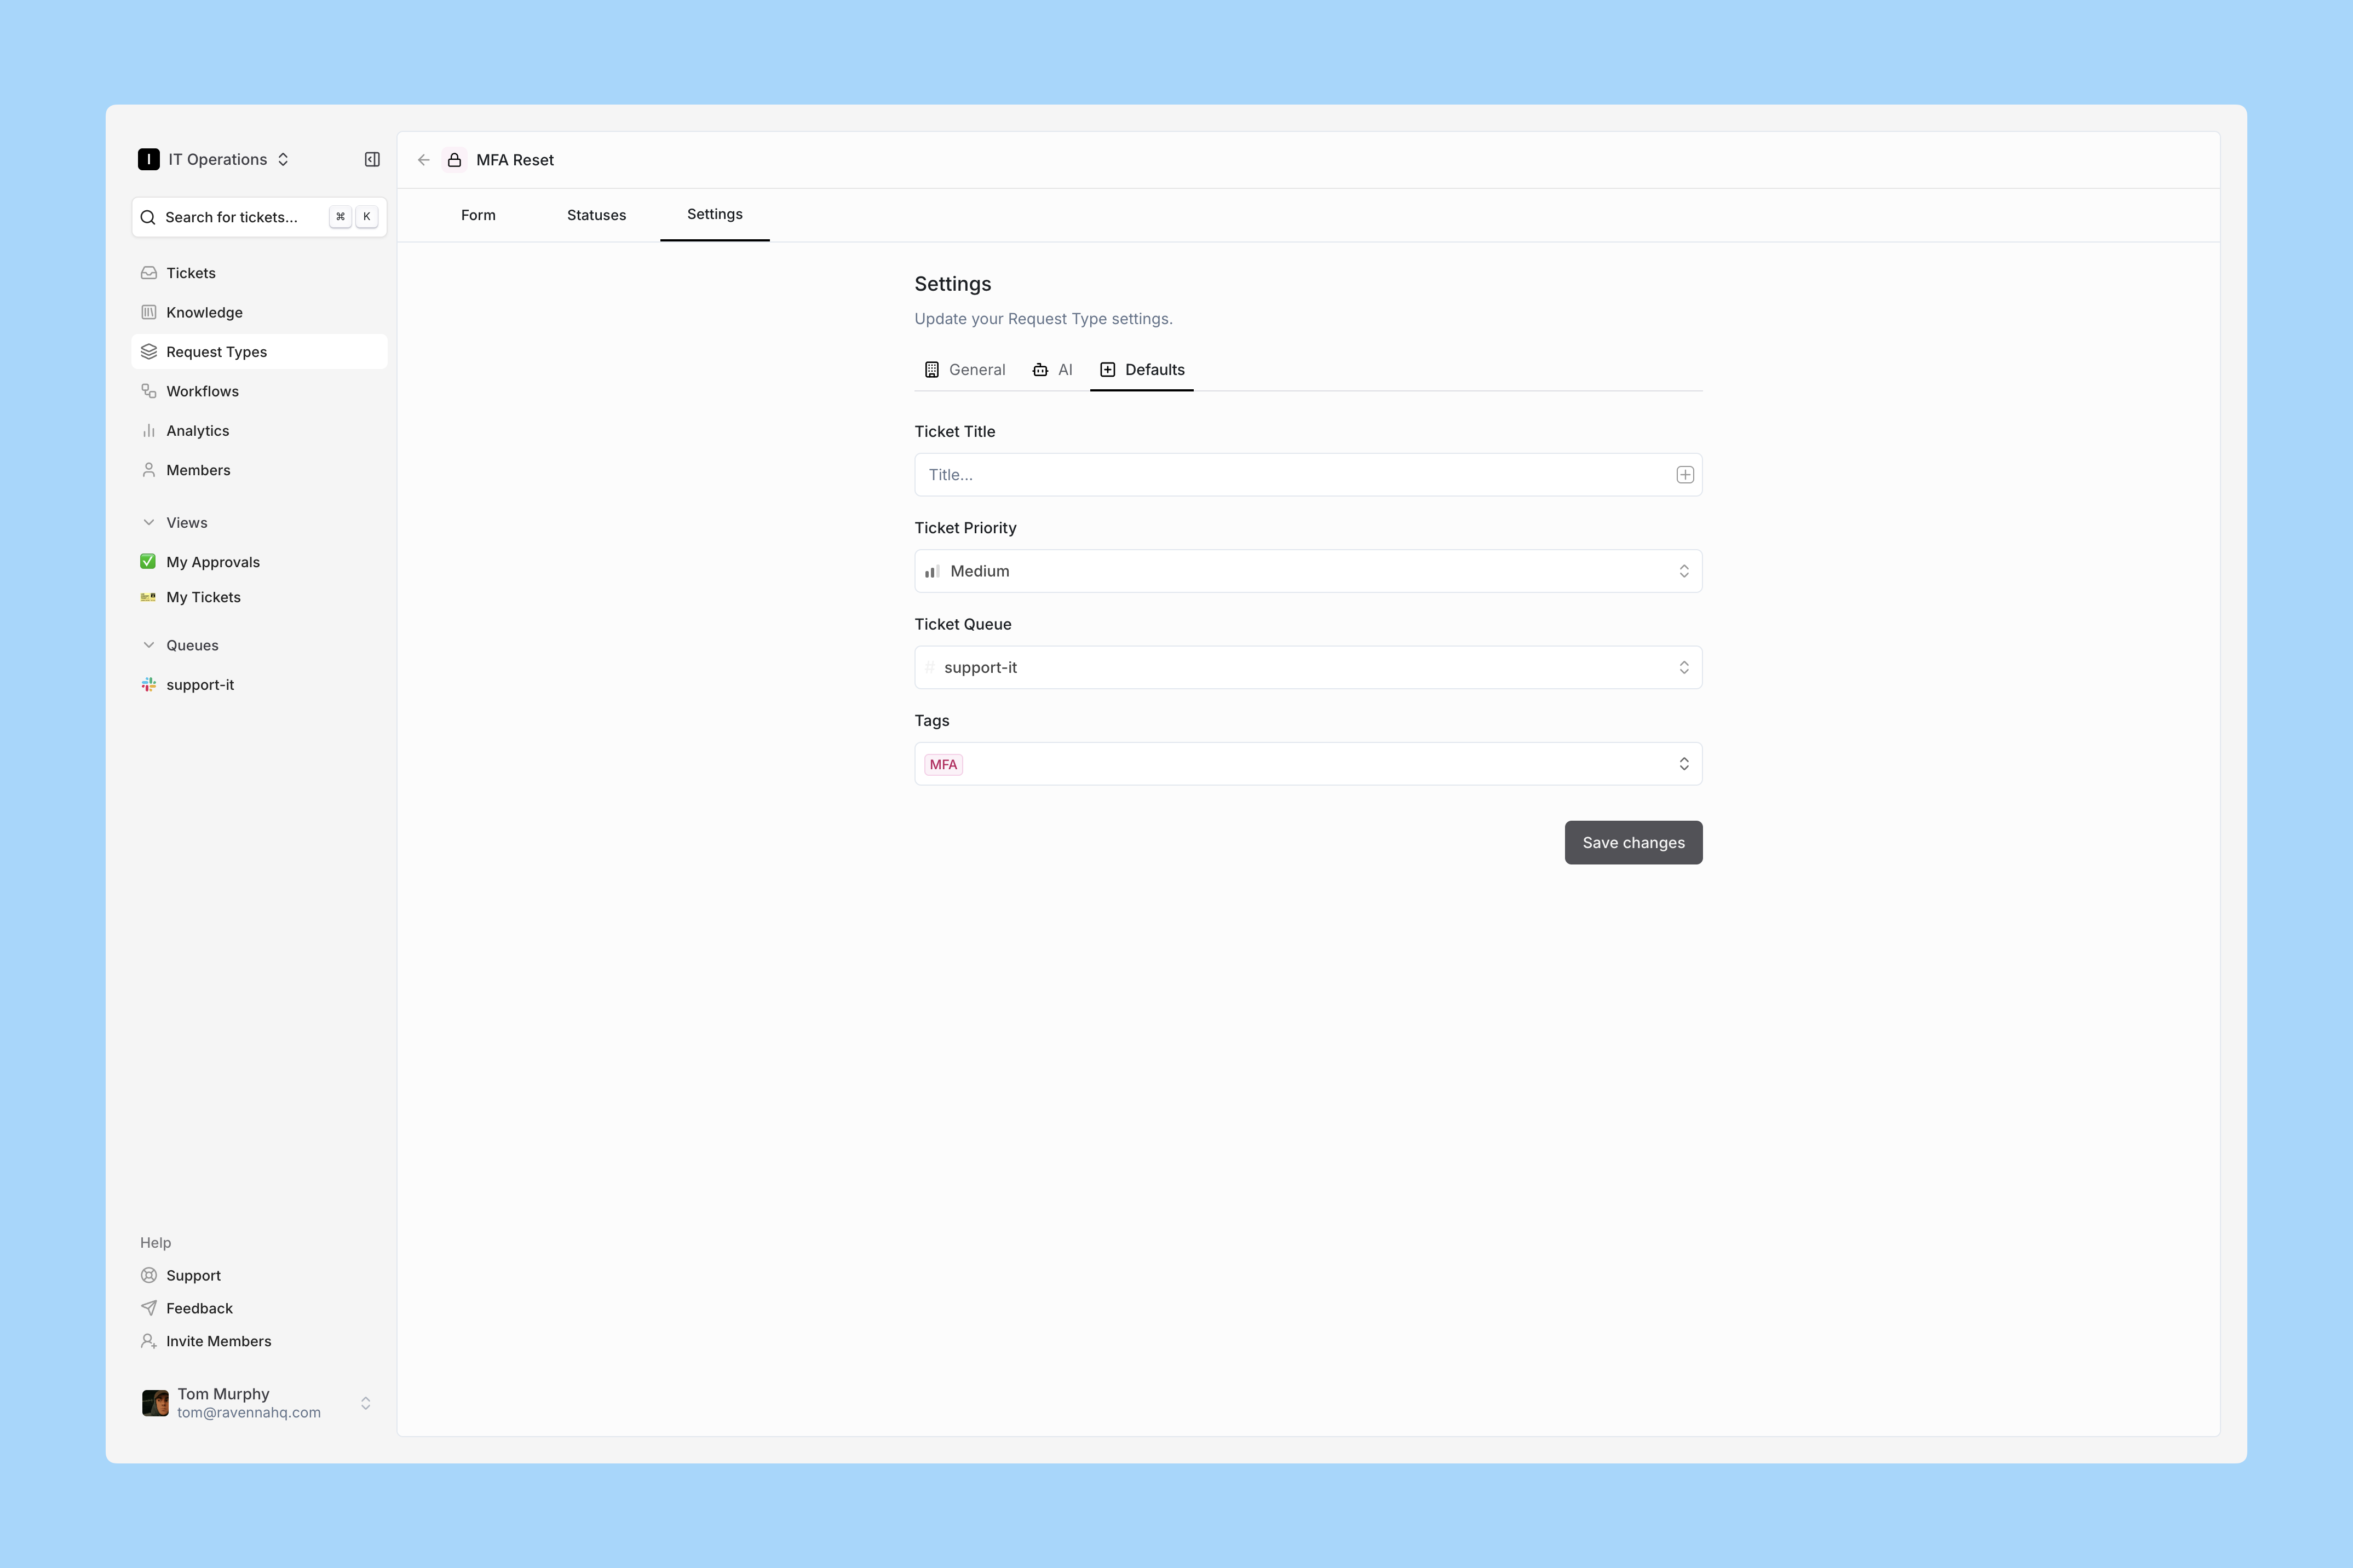
      <Step title="Set Default Ticket Options">
        Click the <code>Defaults</code> tab.

        <Frame>
          ![Default Settings](https://d1kzozfjh72w00.cloudfront.net/documentation/screenshots/guides/getting-started/request-types/7.png)
        </Frame>

        Pre-set defaults apply to all tickets using this form. For example:

        * Priority level
        * Tags
        * Assignee (to assign ownership)
        * Channel (to publish tickets to a public channel)

        In this demo, the <code>Tag</code> and <code>Channel</code> ensure tickets always post a Ticket Mirror in the public channel and auto-tag with <strong>MFA</strong>.

        You can further automate tickets with <strong>Workflows</strong>, which we cover next.
      </Step>
    </Steps>
  </Tab>
</Tabs>

<Info>
  Newly created forms start in **Draft** status so you can finish configuring them before end users see them. When you're ready, open the form detail page and use the Publish/Draft toggle in the header to publish it. You can manage a form's full lifecycle (Draft, Published, Archived) and configure audience access from the same page. Learn more about [form lifecycle and audience settings](/documentation/tickets/forms/overview#form-lifecycle).
</Info>