> ## Documentation Index
> Fetch the complete documentation index at: https://docs.ravenna.ai/llms.txt
> Use this file to discover all available pages before exploring further.

# Setting up your first Workspace

> Create and configure your first Ravenna workspace, sign in with the invited email, and start managing tickets for an IT, HR, or operations team.

<Warning>
  To start this step you must have been invited to your Ravenna Organization by our team. If you have not yet been invited, please follow the guide [Request Access](/guides/day-one/request-access).
</Warning>

<Tabs>
  <Tab title="Interactive walkthrough">
    <div style={{ position: 'relative', paddingBottom: 'calc(53.02083333333333% + 41px)', height: 0, width: '100%' }}>
      <iframe src="https://demo.arcade.software/SRH9f6mSFRl6qcKxsSf1?embed&embed_mobile=tab&embed_desktop=inline&show_copy_link=true" title="Setting up your first Workspace" frameBorder="0" loading="lazy" allowFullScreen allow="clipboard-write" style={{ position: 'absolute', top: 0, left: 0, width: '100%', height: '100%', colorScheme: 'light' }} />
    </div>
  </Tab>

  <Tab title="Step-by-step">
    <Steps>
      <Step title="Sign in to Ravenna">
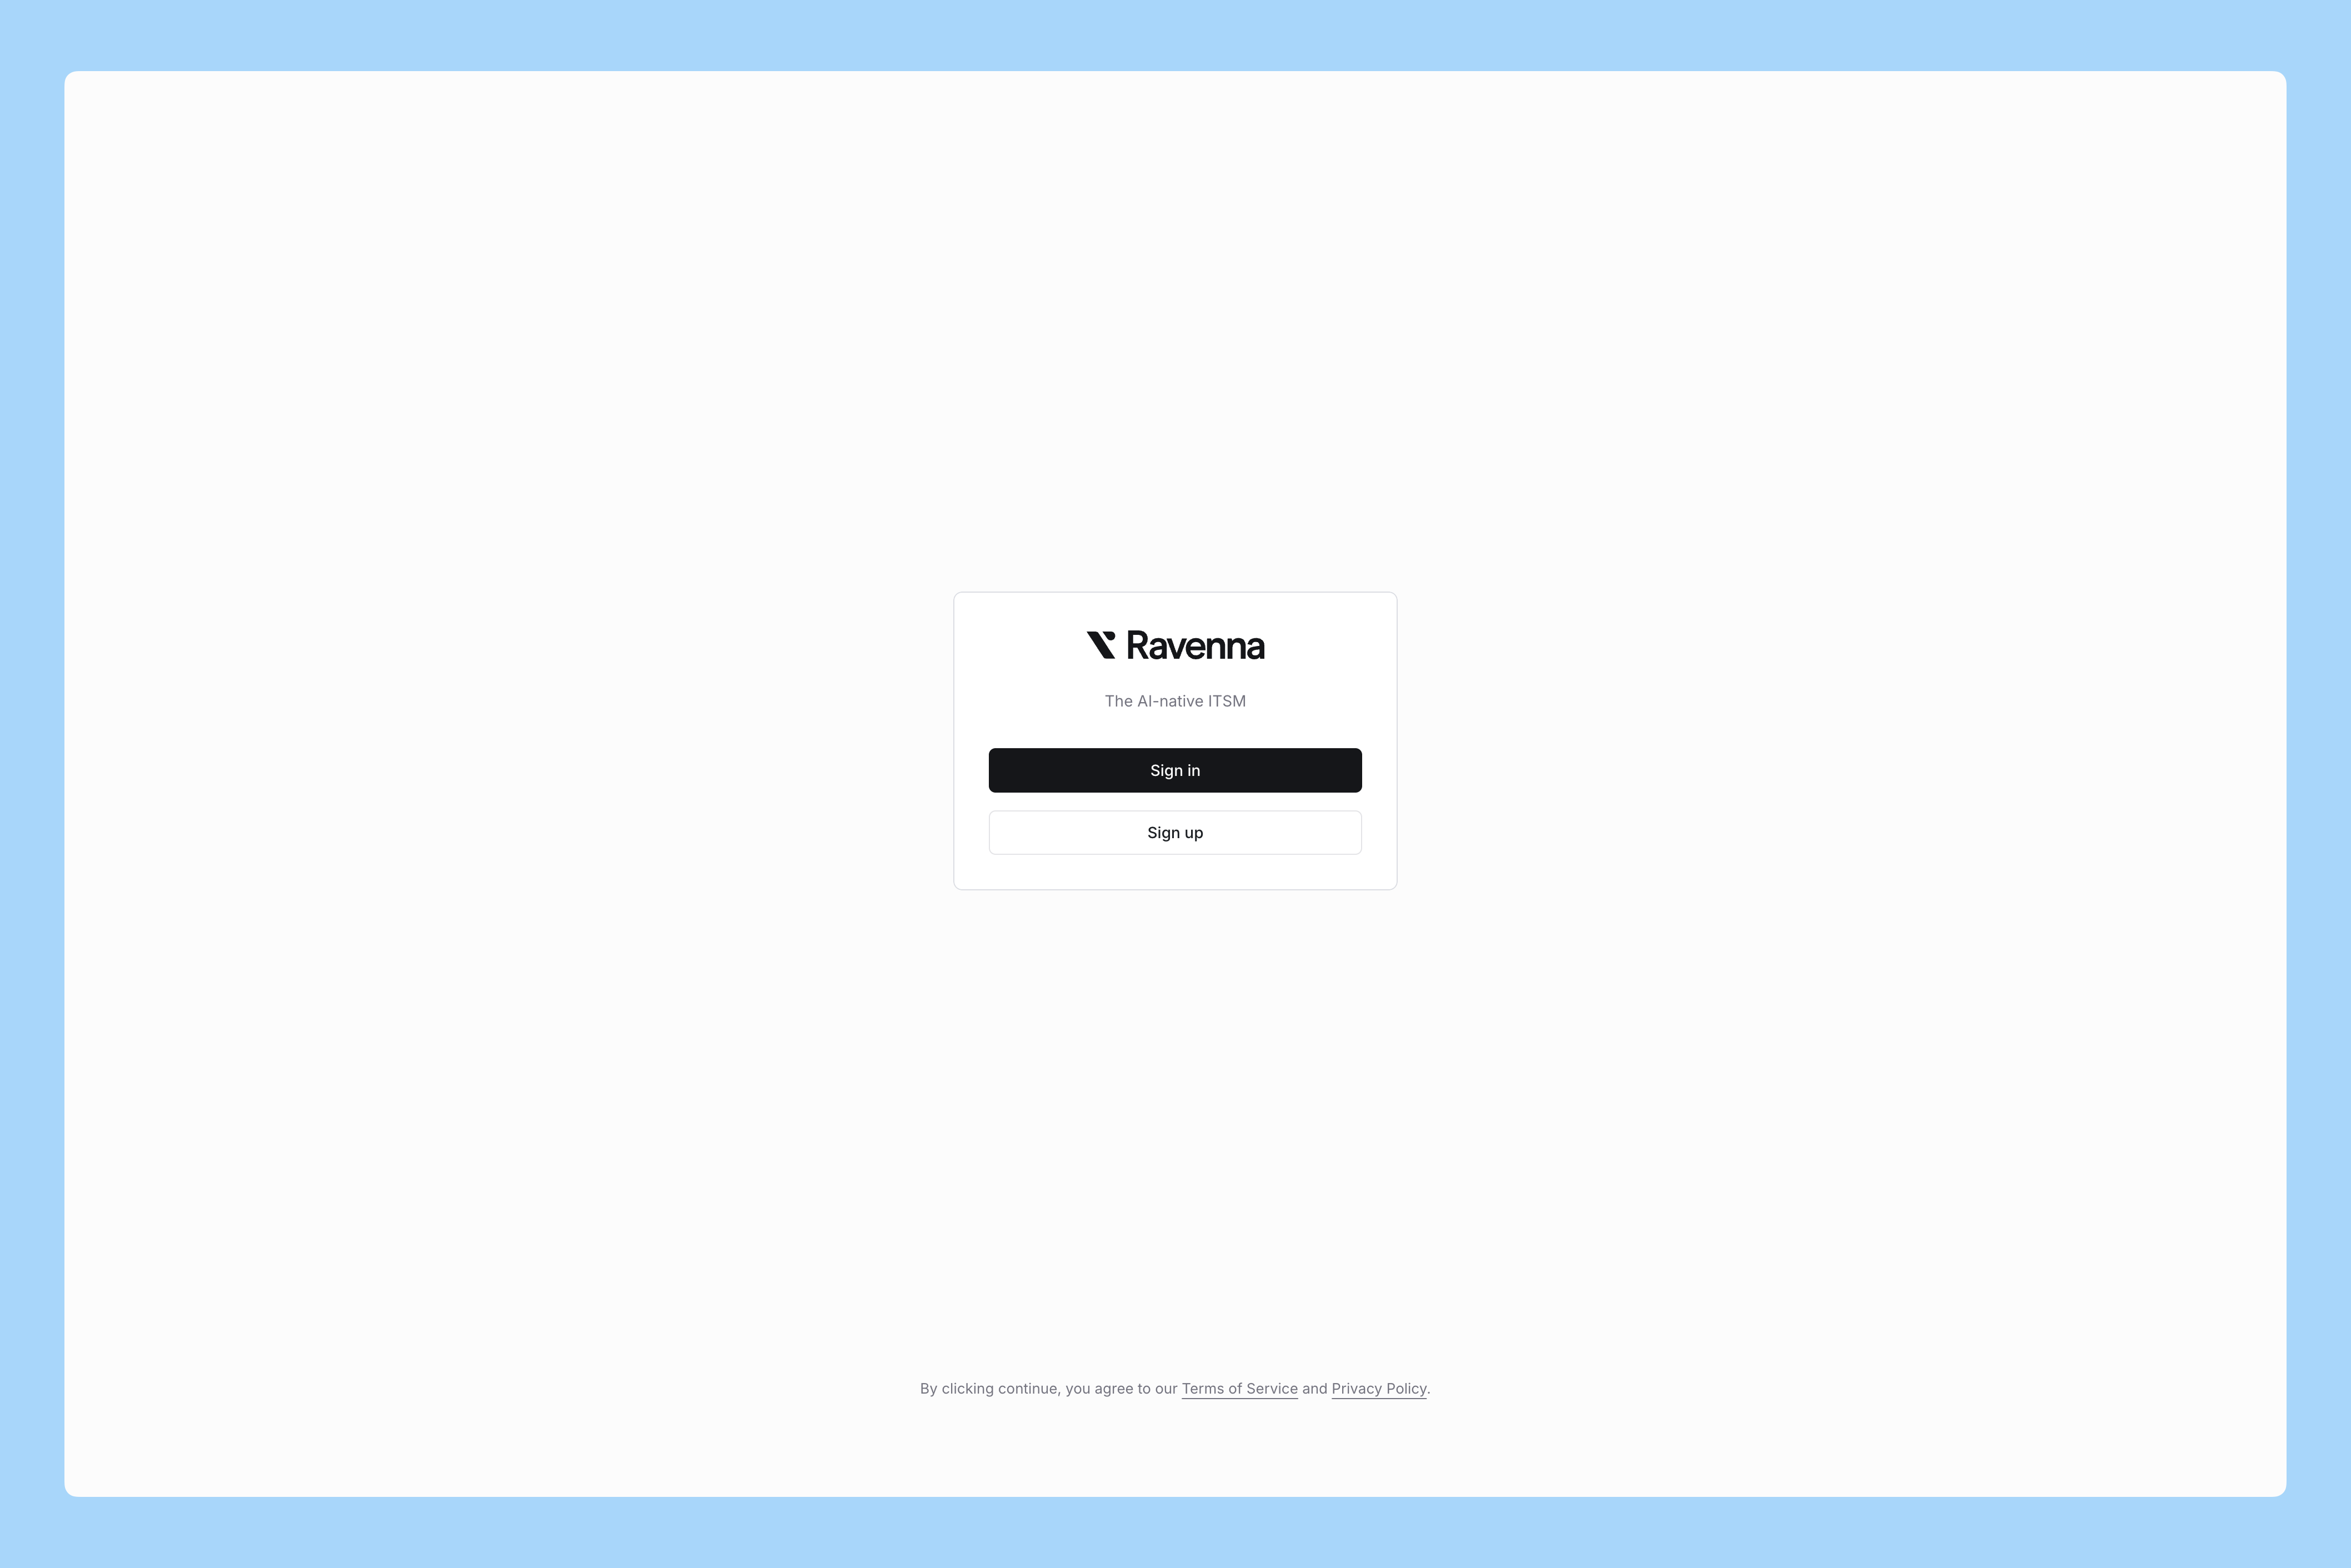
        Go to <Tooltip tip="https://app.ravenna.ai">Ravenna</Tooltip> and sign in with the email invited by the Ravenna team to your Organization. You can sign in using your email or Google account.
        <Frame>
          ![Sign-in](https://d1kzozfjh72w00.cloudfront.net/documentation/screenshots/guides/getting-started/workspace-setup/1.webp)
        </Frame>
      </Step>

      <Step title="Set up your first Workspace">
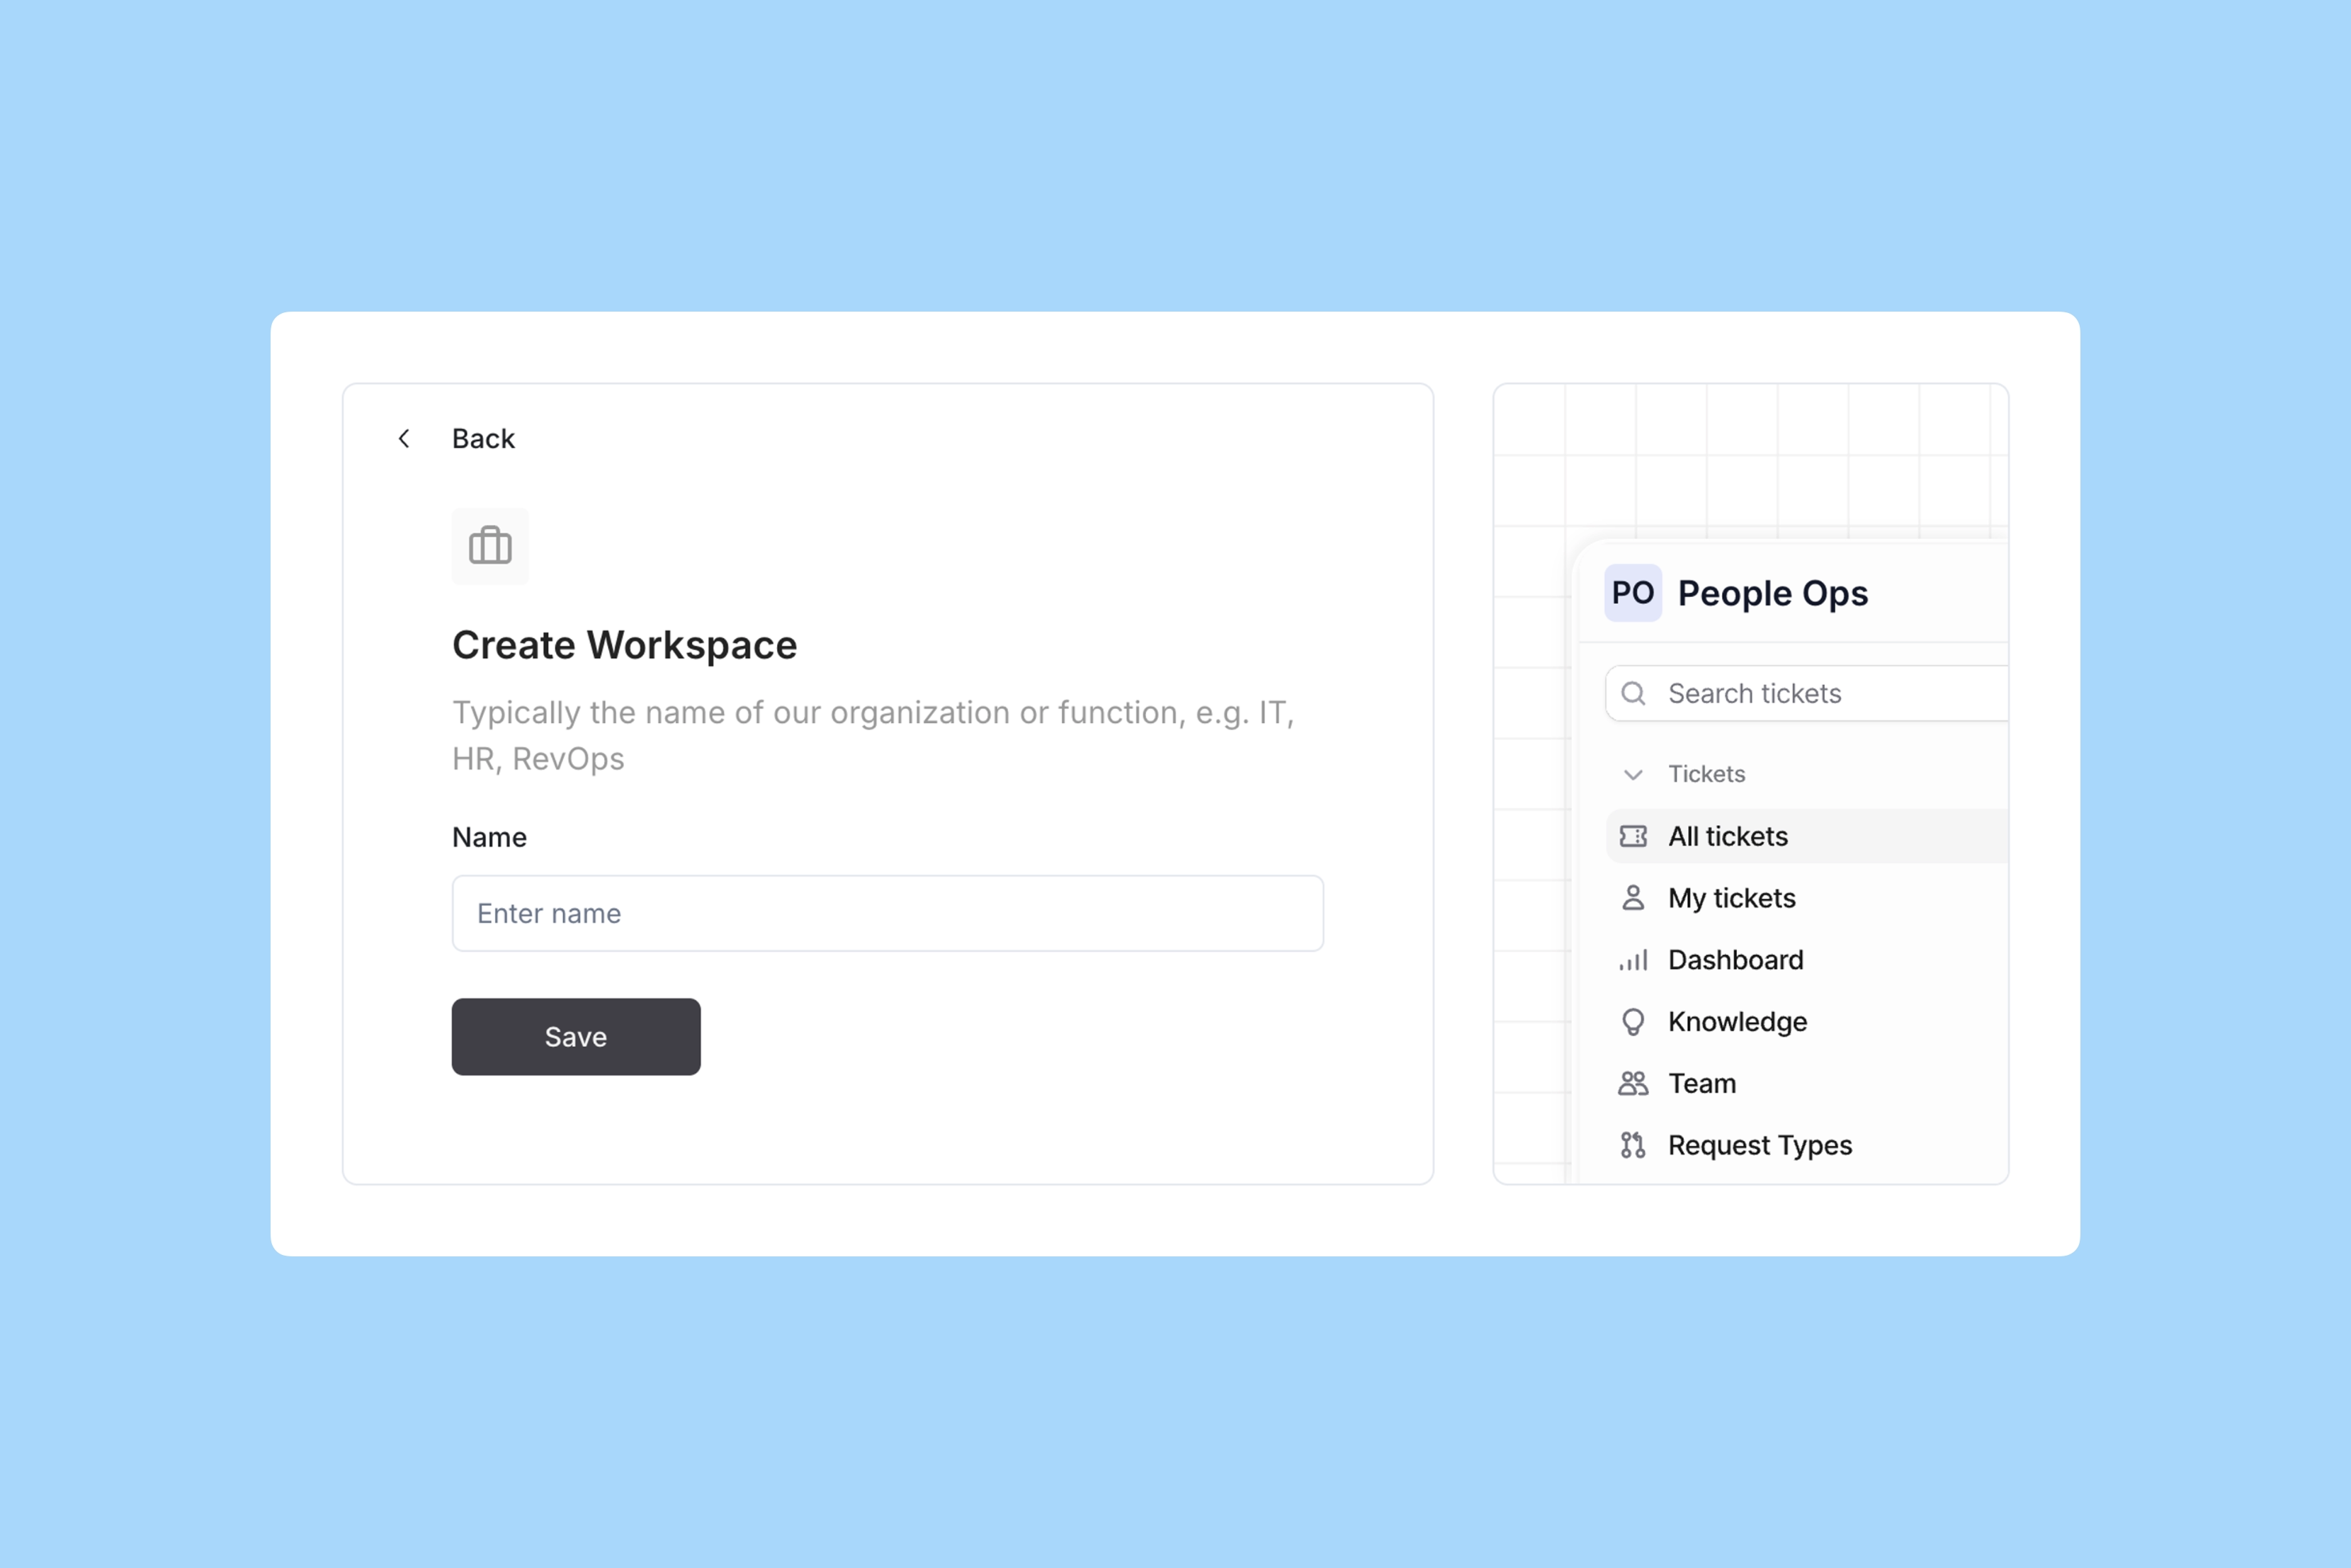
        Each team in your Organization can create its own Workspace to manage support requests and connect Slack channels. When you first log in, Ravenna prompts you to create a Workspace.
        <Frame>
          ![Create Workspace](https://d1kzozfjh72w00.cloudfront.net/documentation/screenshots/guides/getting-started/workspace-setup/2.webp)
        </Frame>

        <Tip>
          Use a clear, descriptive name like “IT Operations” or “People Operations.” This helps everyone understand the purpose of the Workspace. You can rename it later if needed.
        </Tip>
      </Step>

      <Step title="Connect Slack">
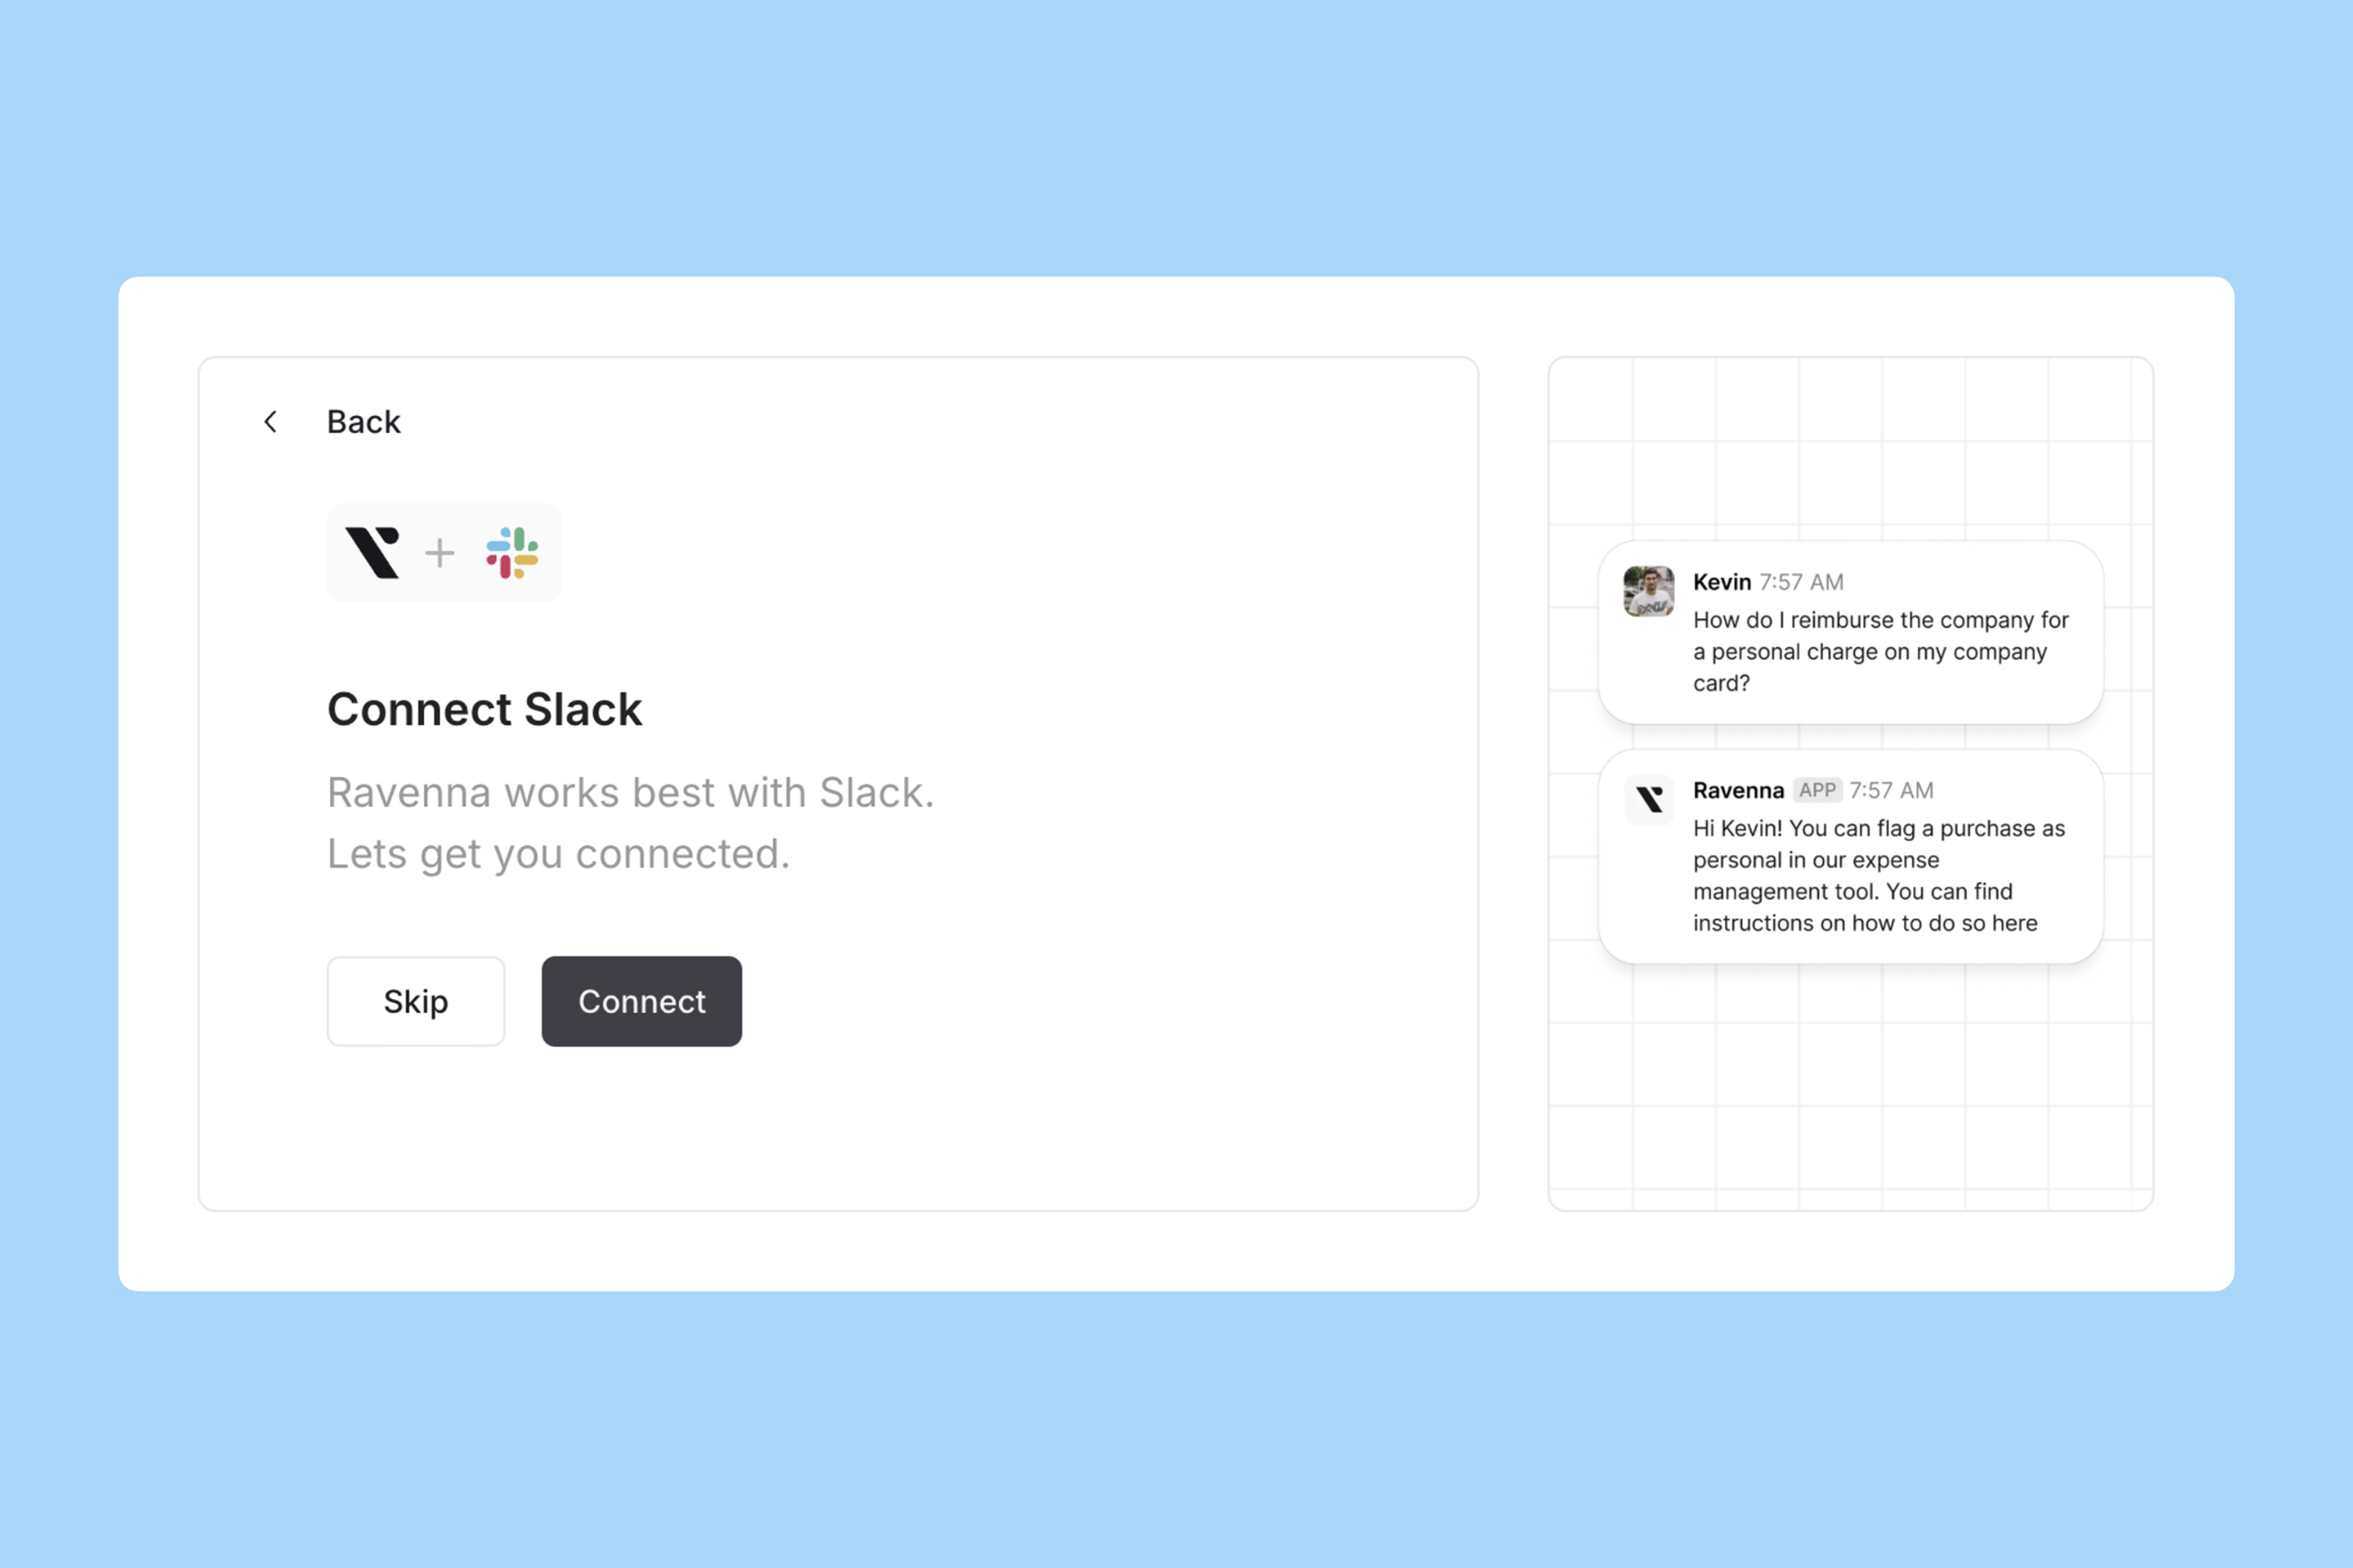
        Click the <strong>Connect</strong> button and follow the authentication steps. This installs Ravenna into your Slack workspace for your entire team.
        <Frame>
          ![Connect Slack](https://d1kzozfjh72w00.cloudfront.net/documentation/screenshots/guides/getting-started/workspace-setup/3.webp)
        </Frame>

        After authorizing Slack, you can start fine-tuning your Workspace settings.
      </Step>
    </Steps>
  </Tab>
</Tabs>
