A Form in Ravenna acts as a form template that captures the exact information your team needs when someone submits a request. Use system fields like requester, description, and priority — and add custom fields for team-specific details. This ensures every request is clear and actionable from the start.
Note: Forms were previously called Request Types. All existing functionality remains the same.
Interactive Walkthrough
Step-by-step
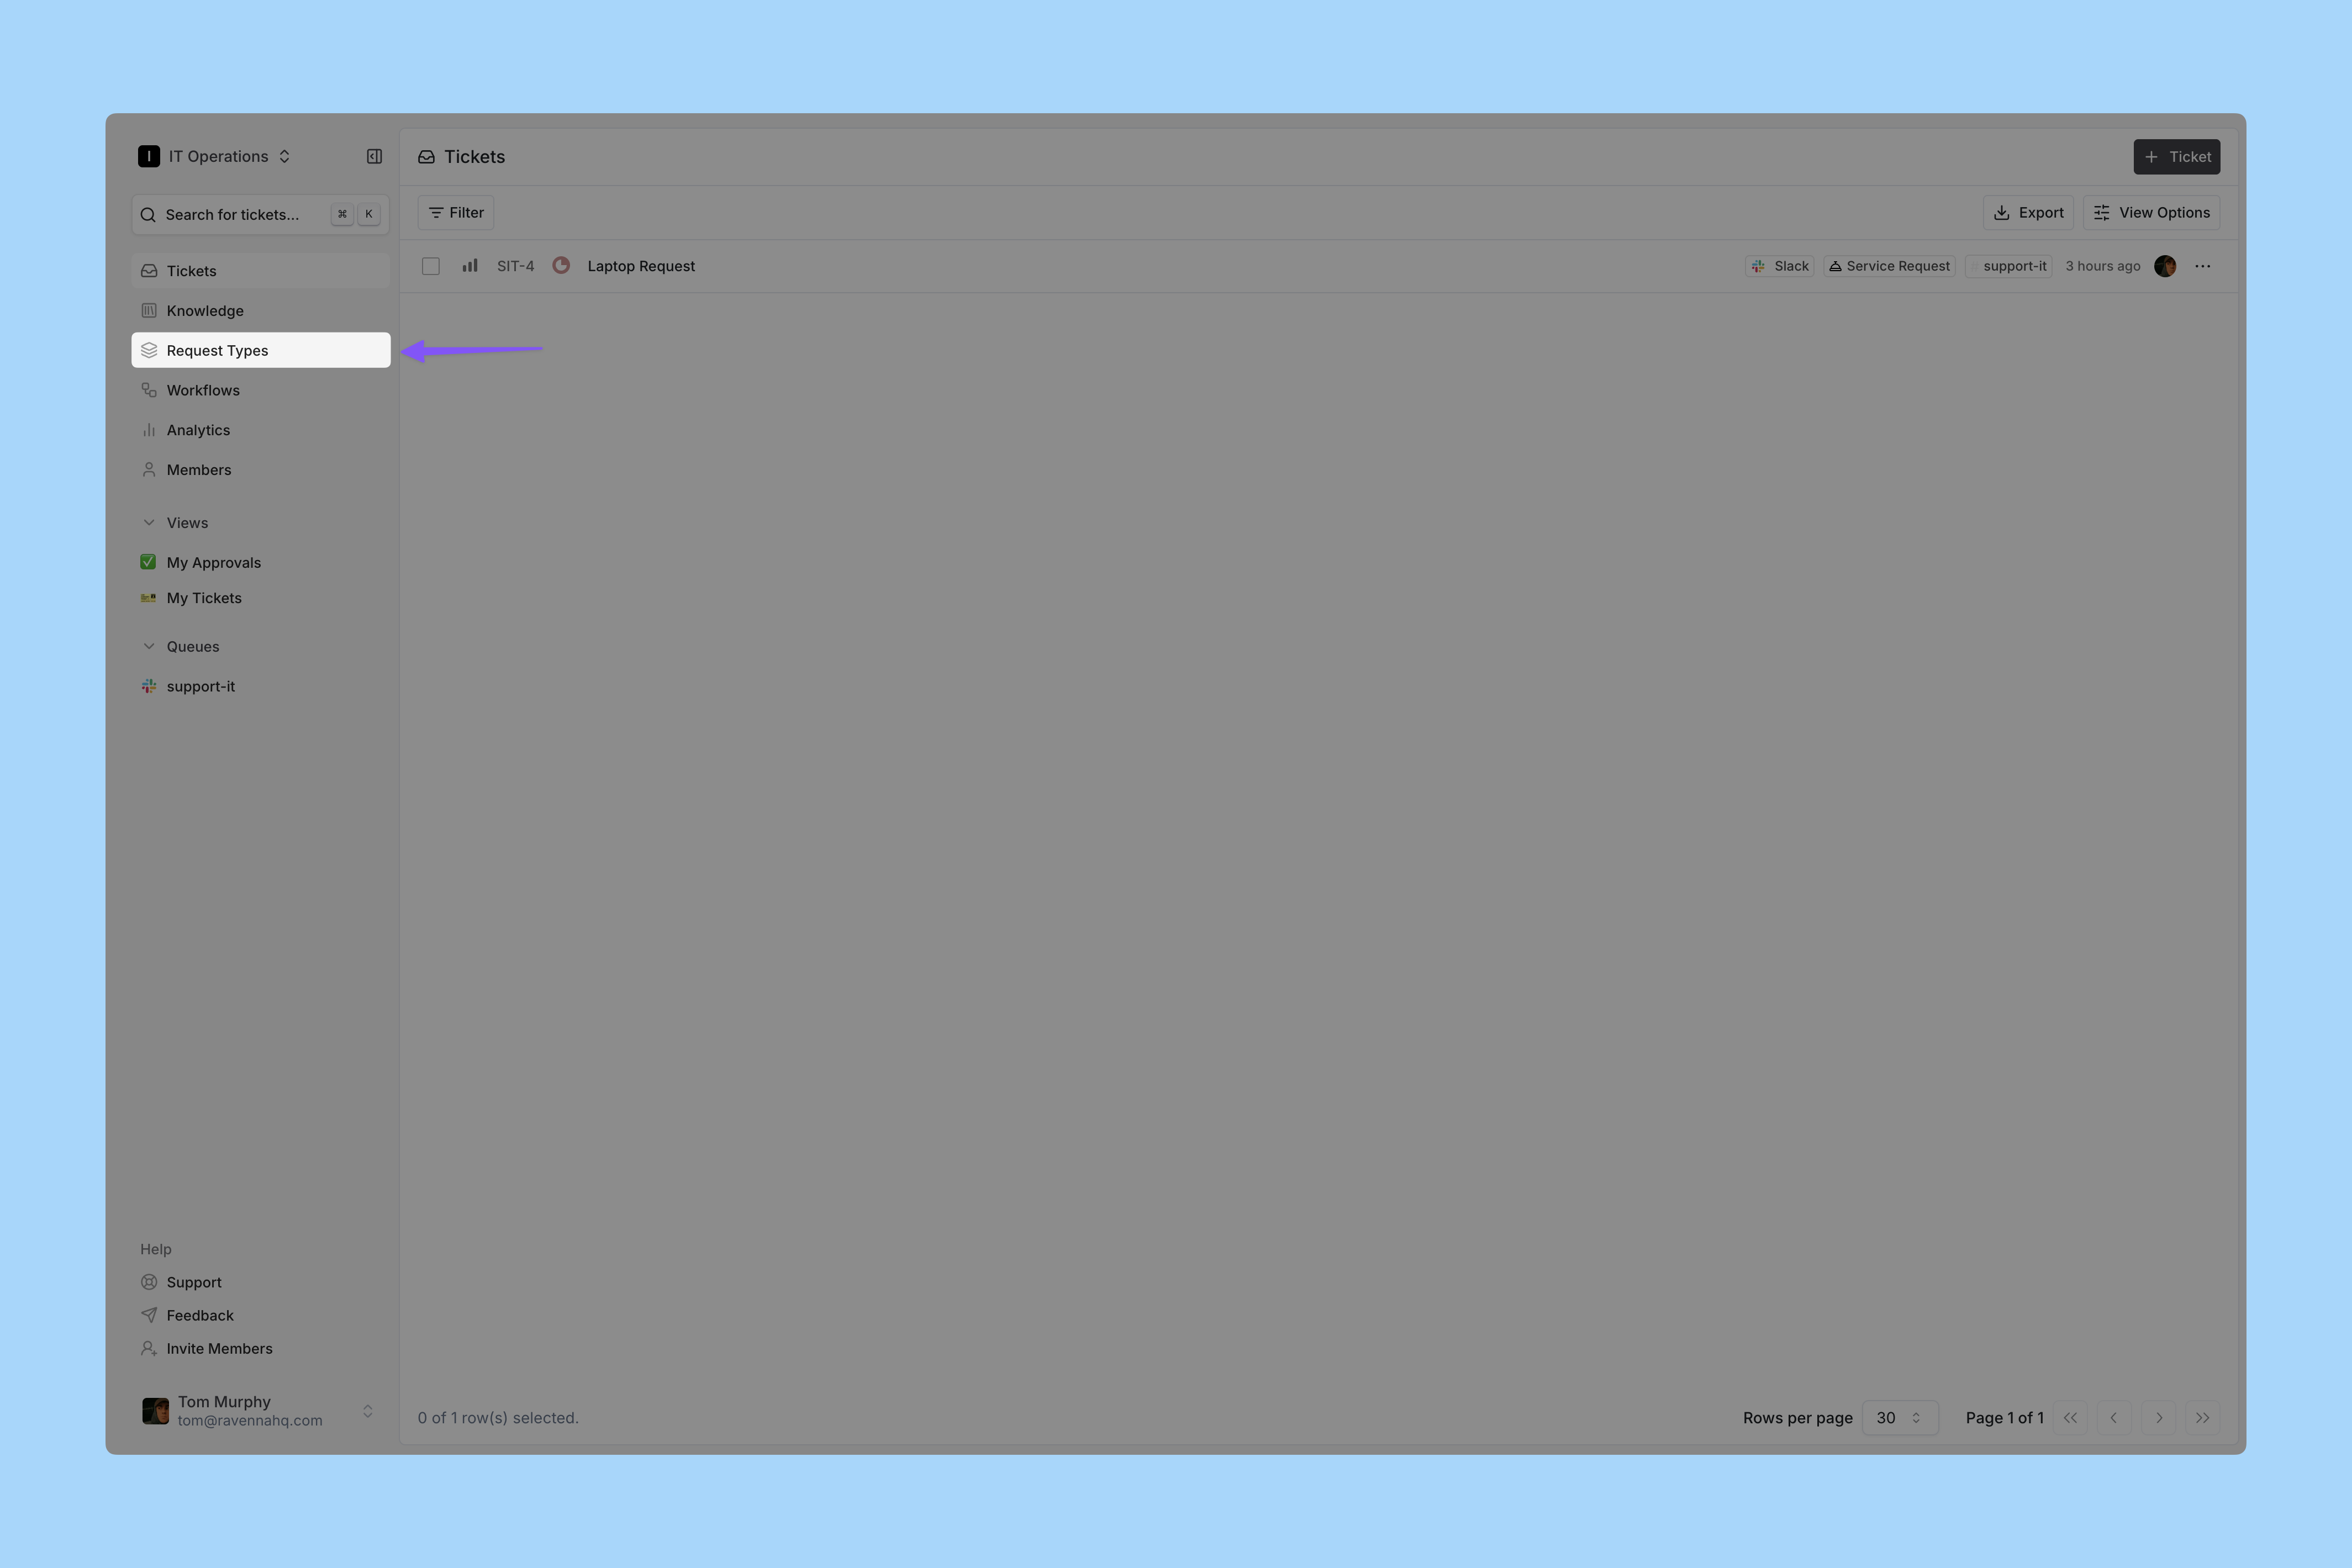
Go to Forms
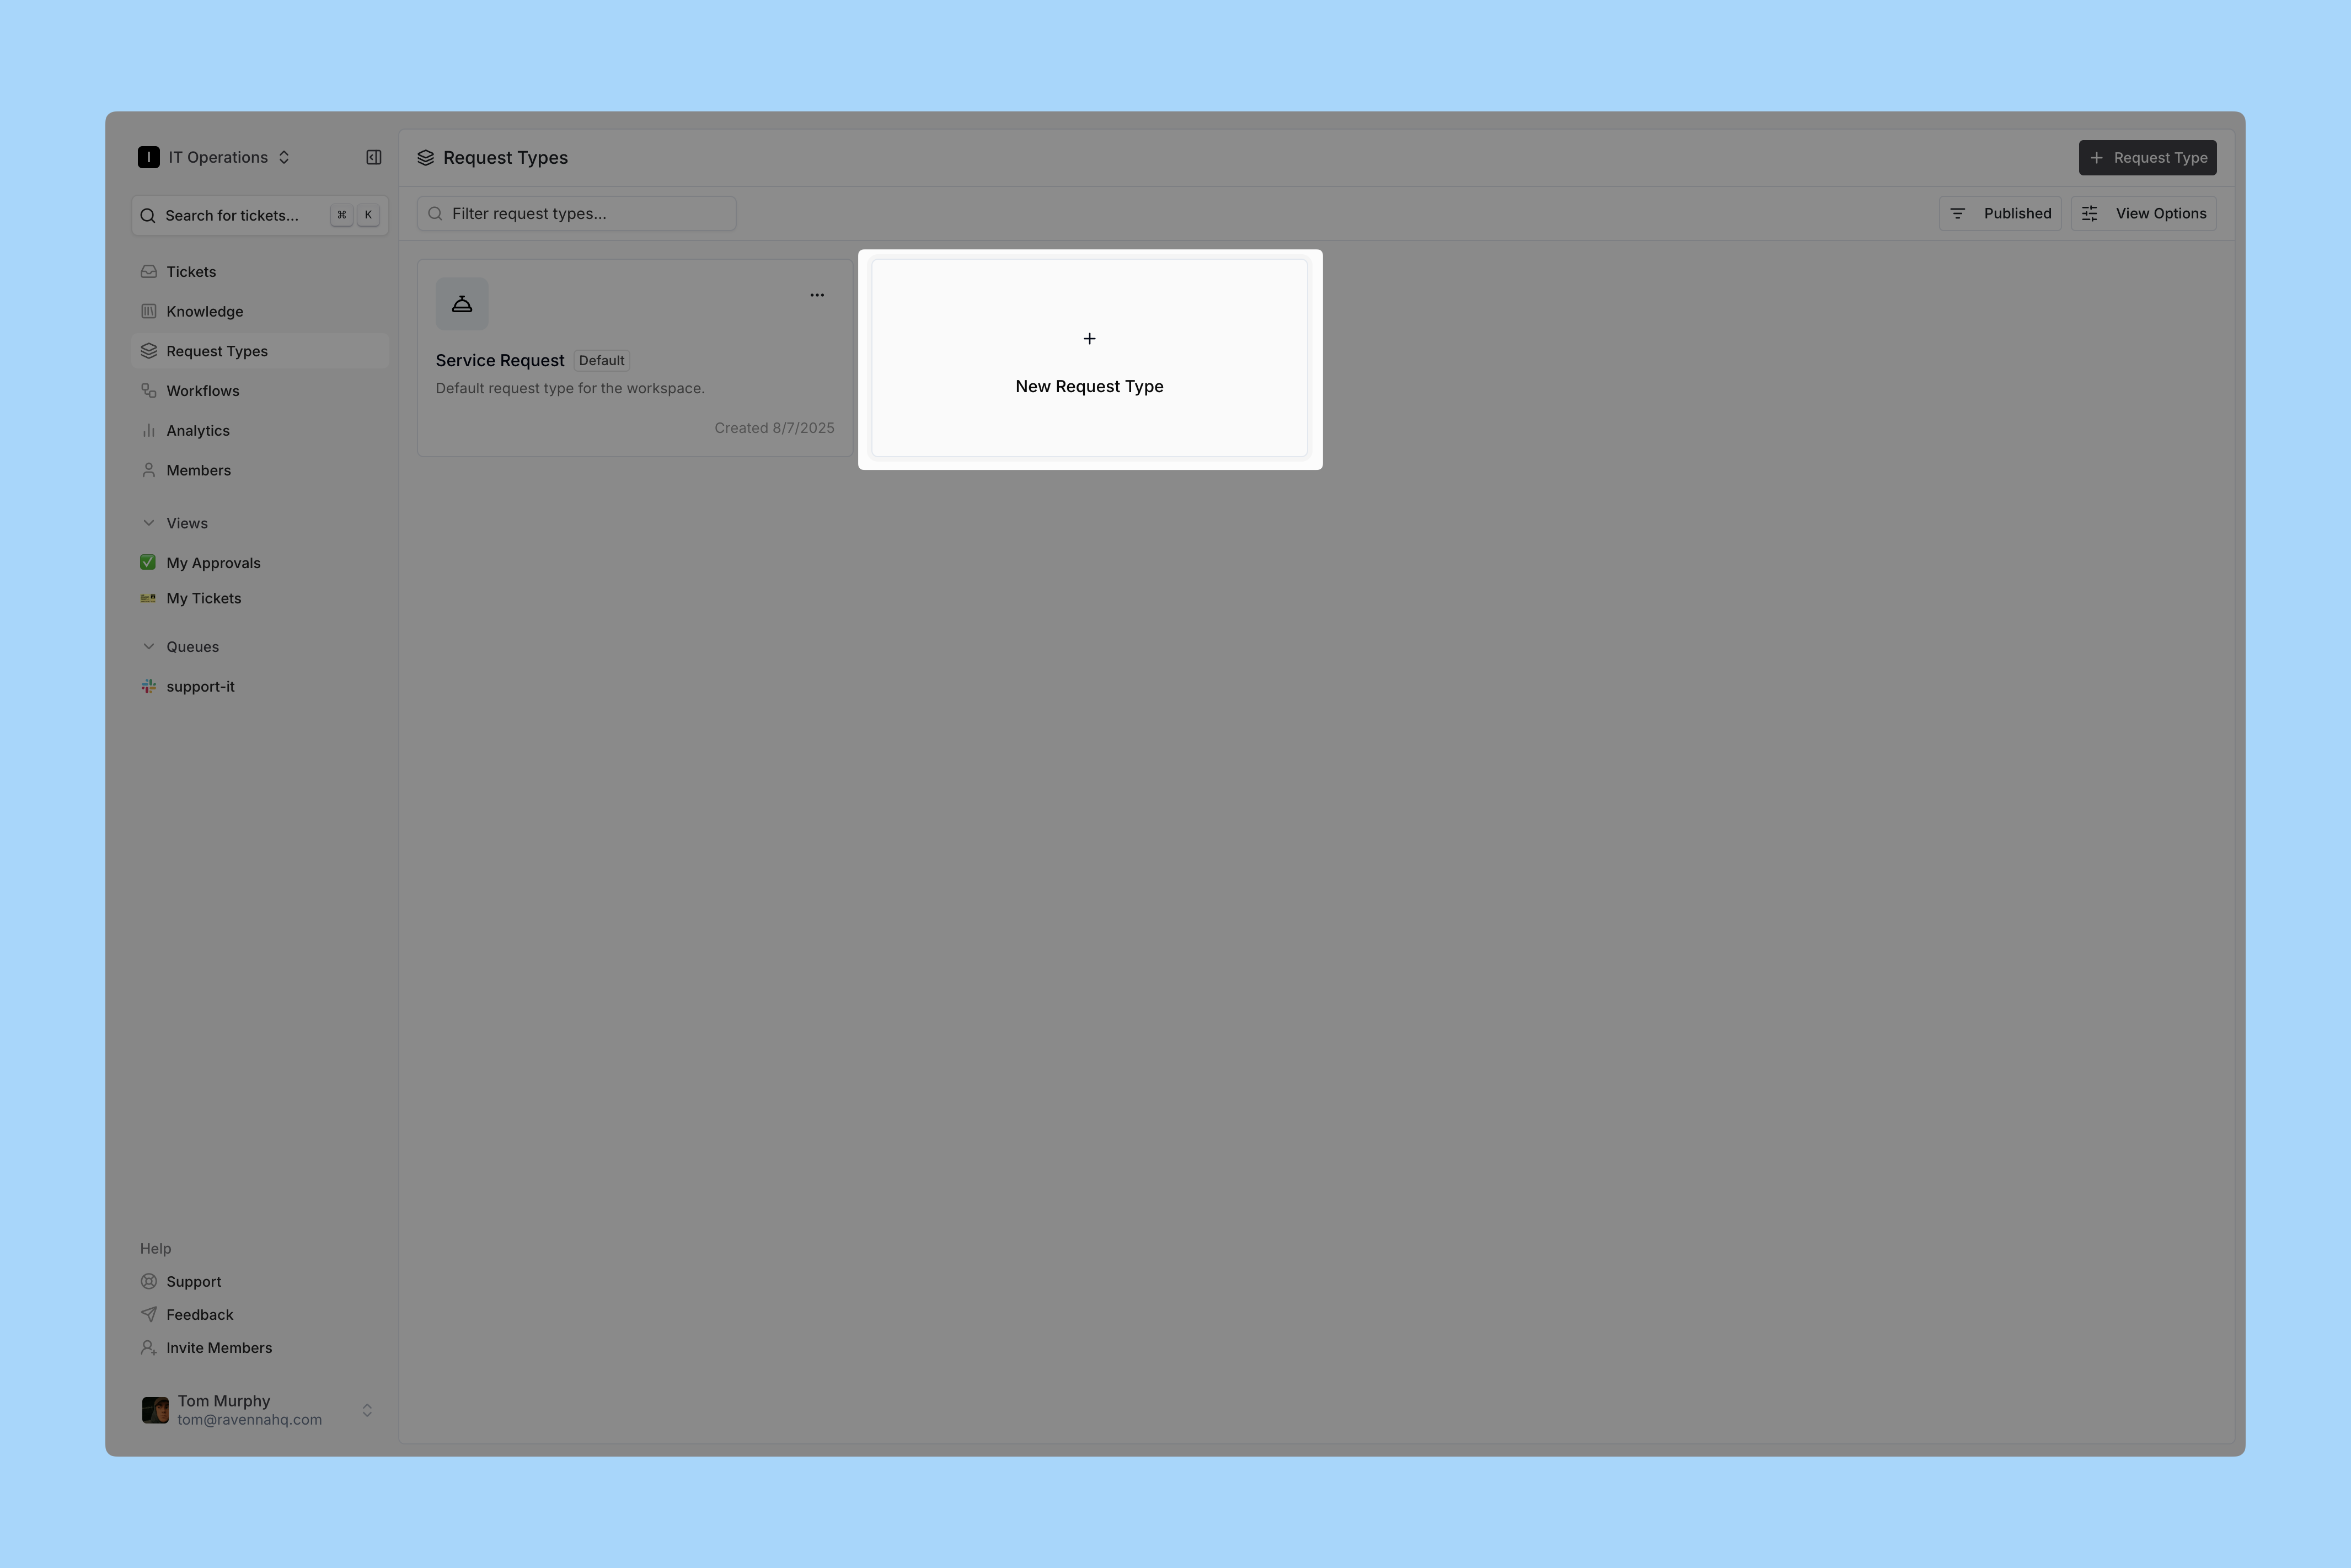
Click Forms in the left sidebar. Add a new Form
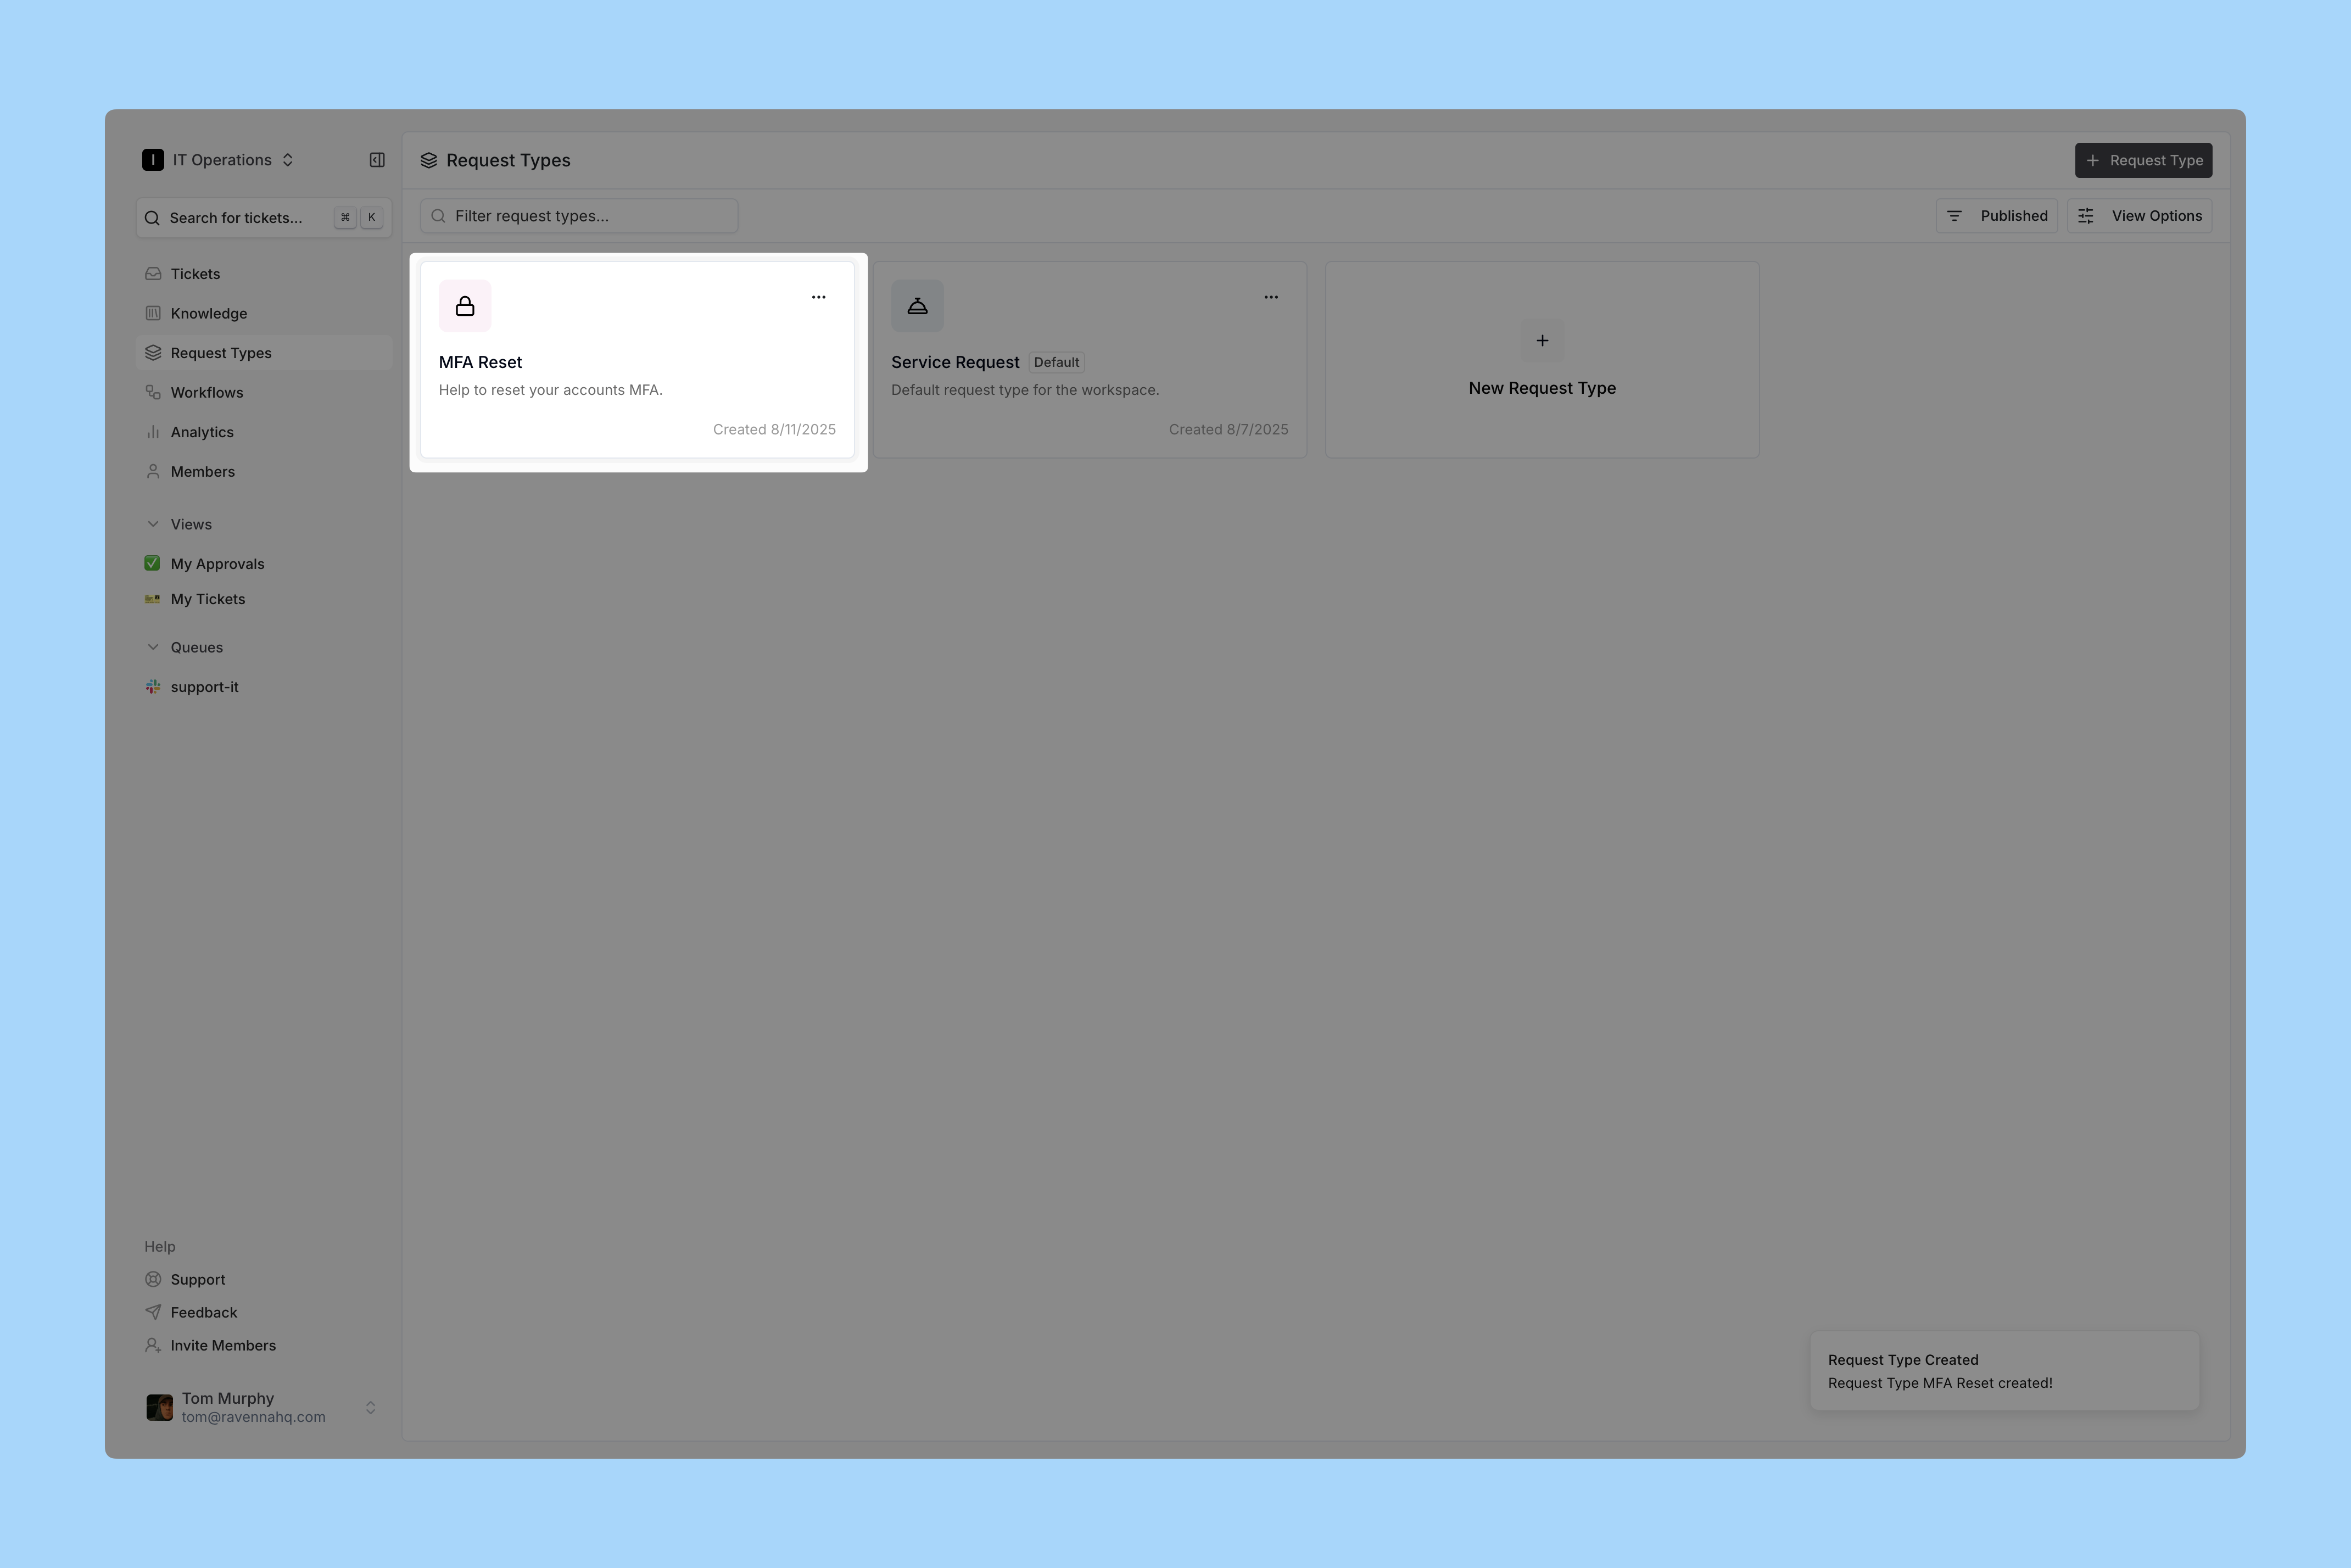
Click the box to create a new Form. Enter Form details
Fill in the form by:
- Selecting an icon that represents your form
- Naming it clearly and simply; employees see this name in Slack
- Adding a description that explains when to use this form
For this demo, we create an MFA Reset form. Open your new Form
Open it by clicking the card or selecting Edit from the three-dot menu. Add fields
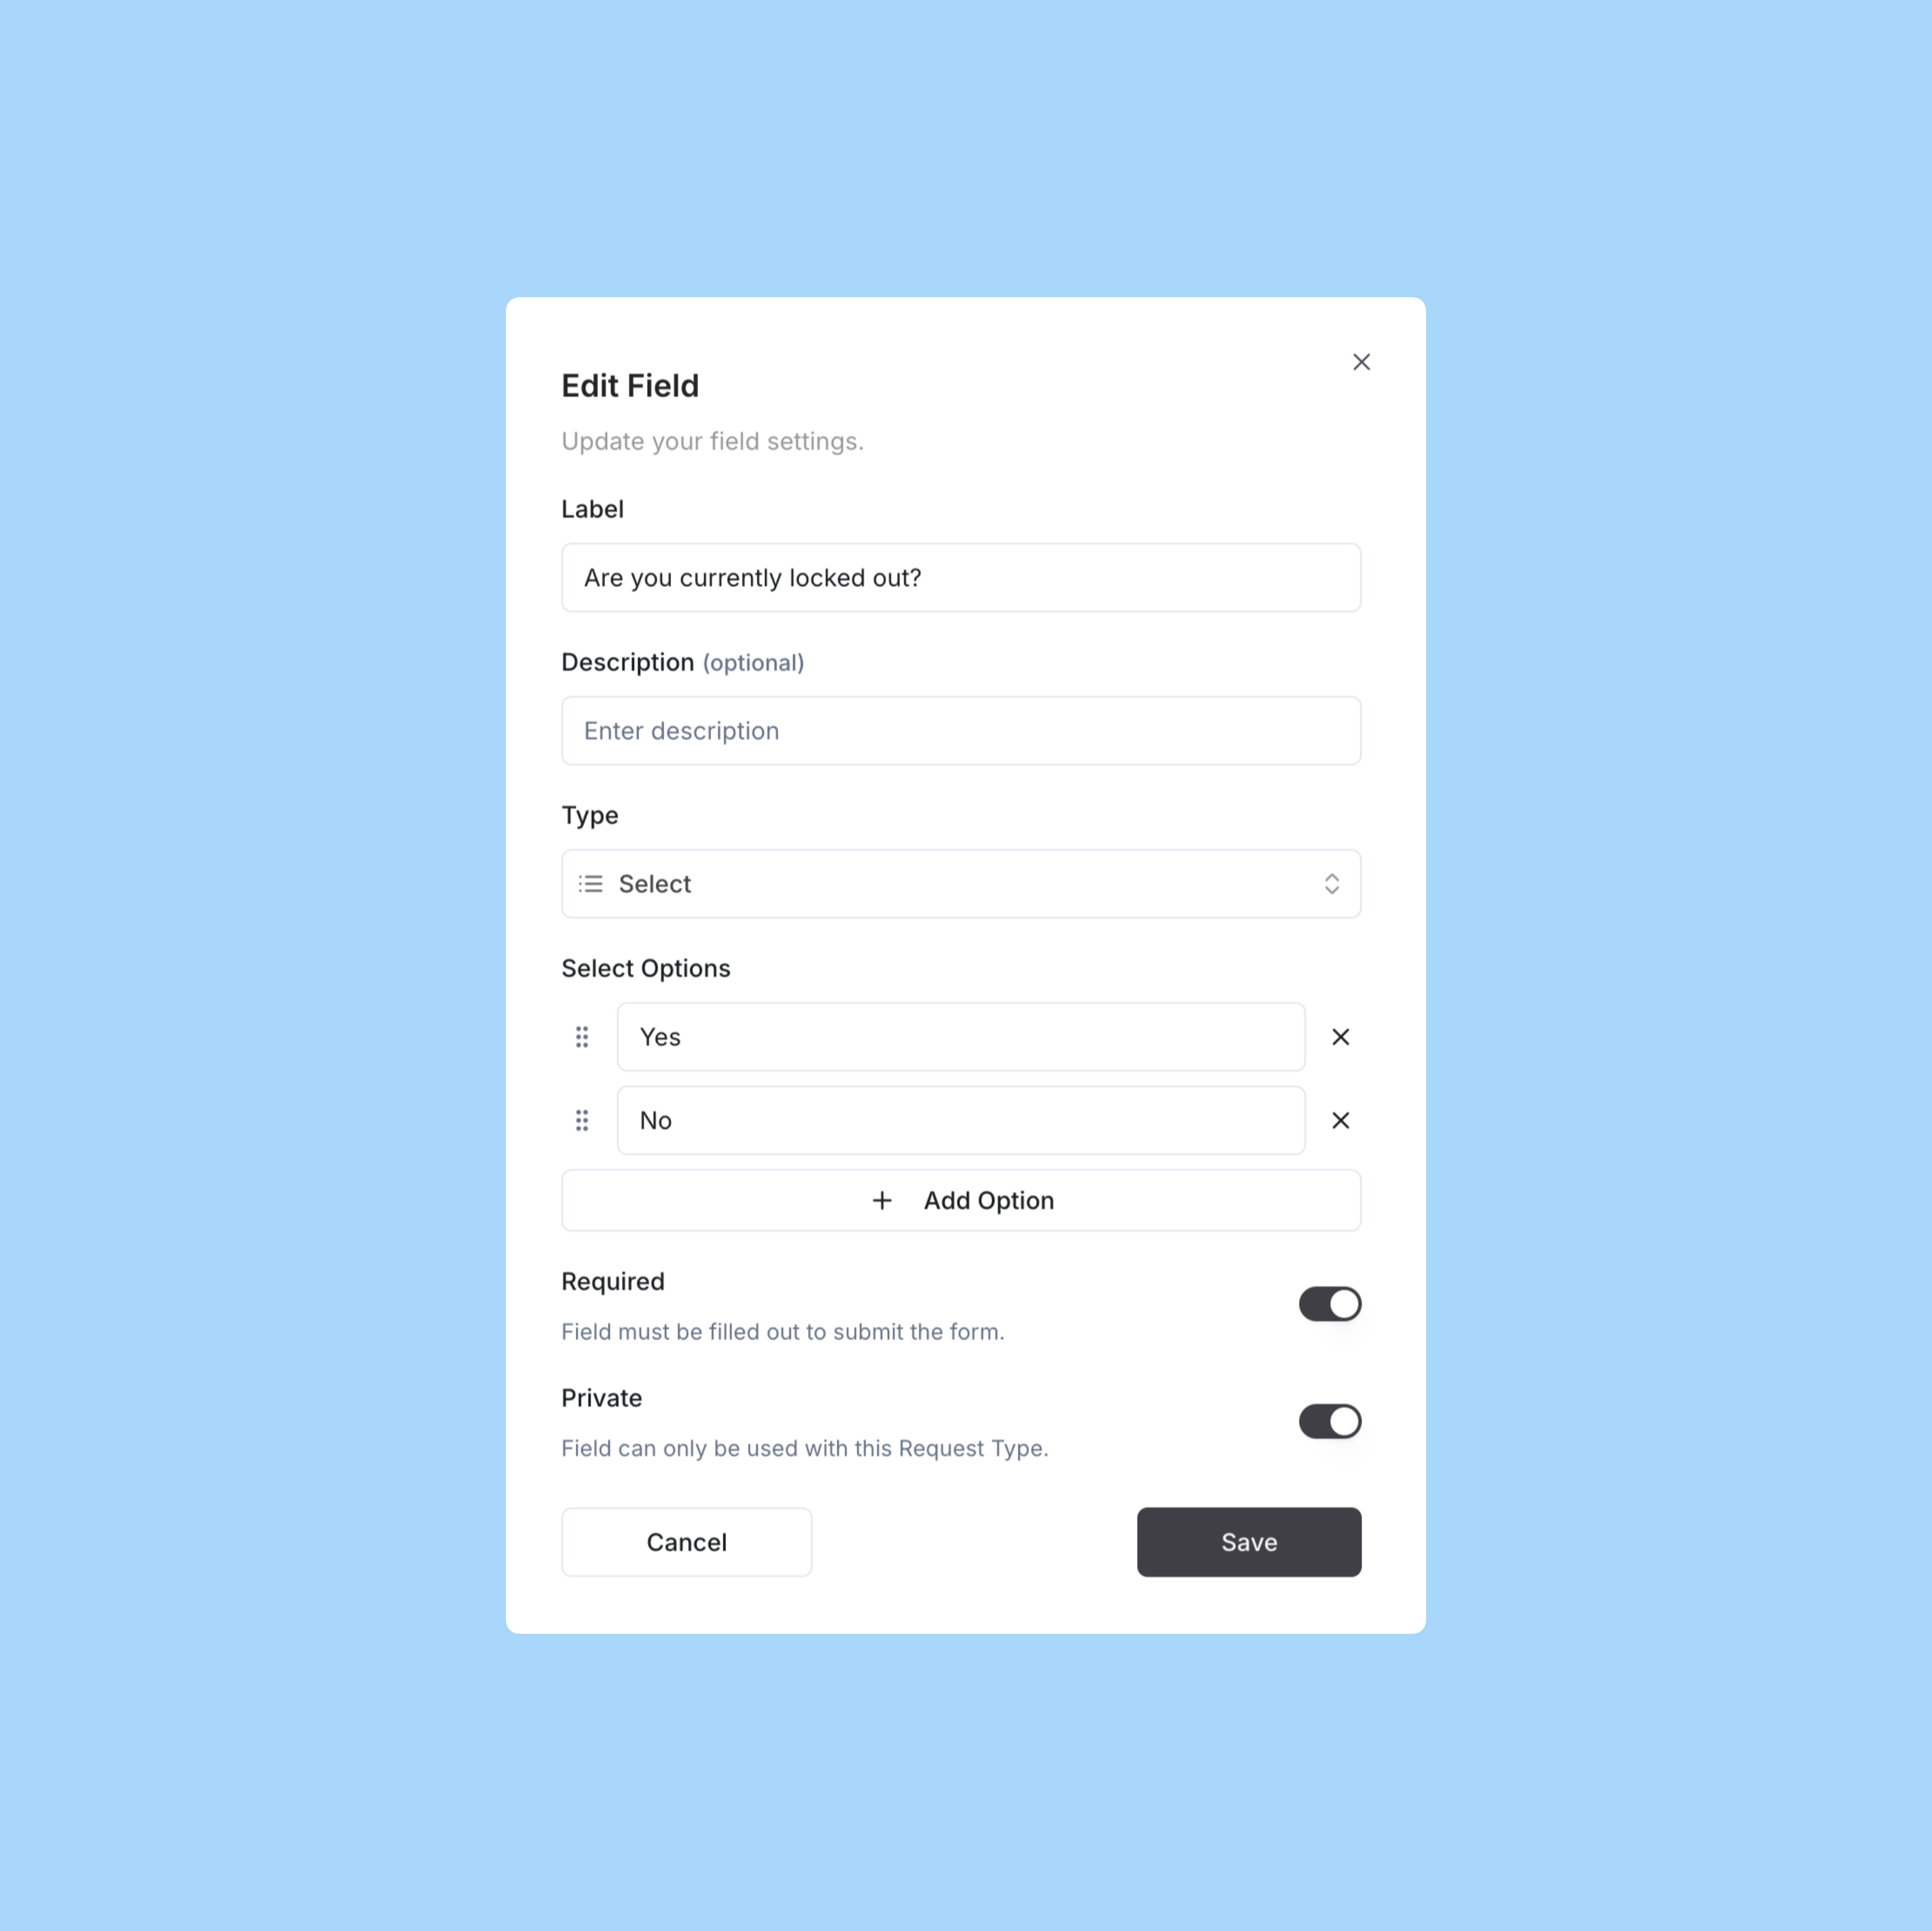
Build your Form structure. Every form must have at least one field configured.For the MFA Reset type, add:
- A custom Select option to find out if the user is locked out
- A custom Text field to confirm the email for the MFA reset
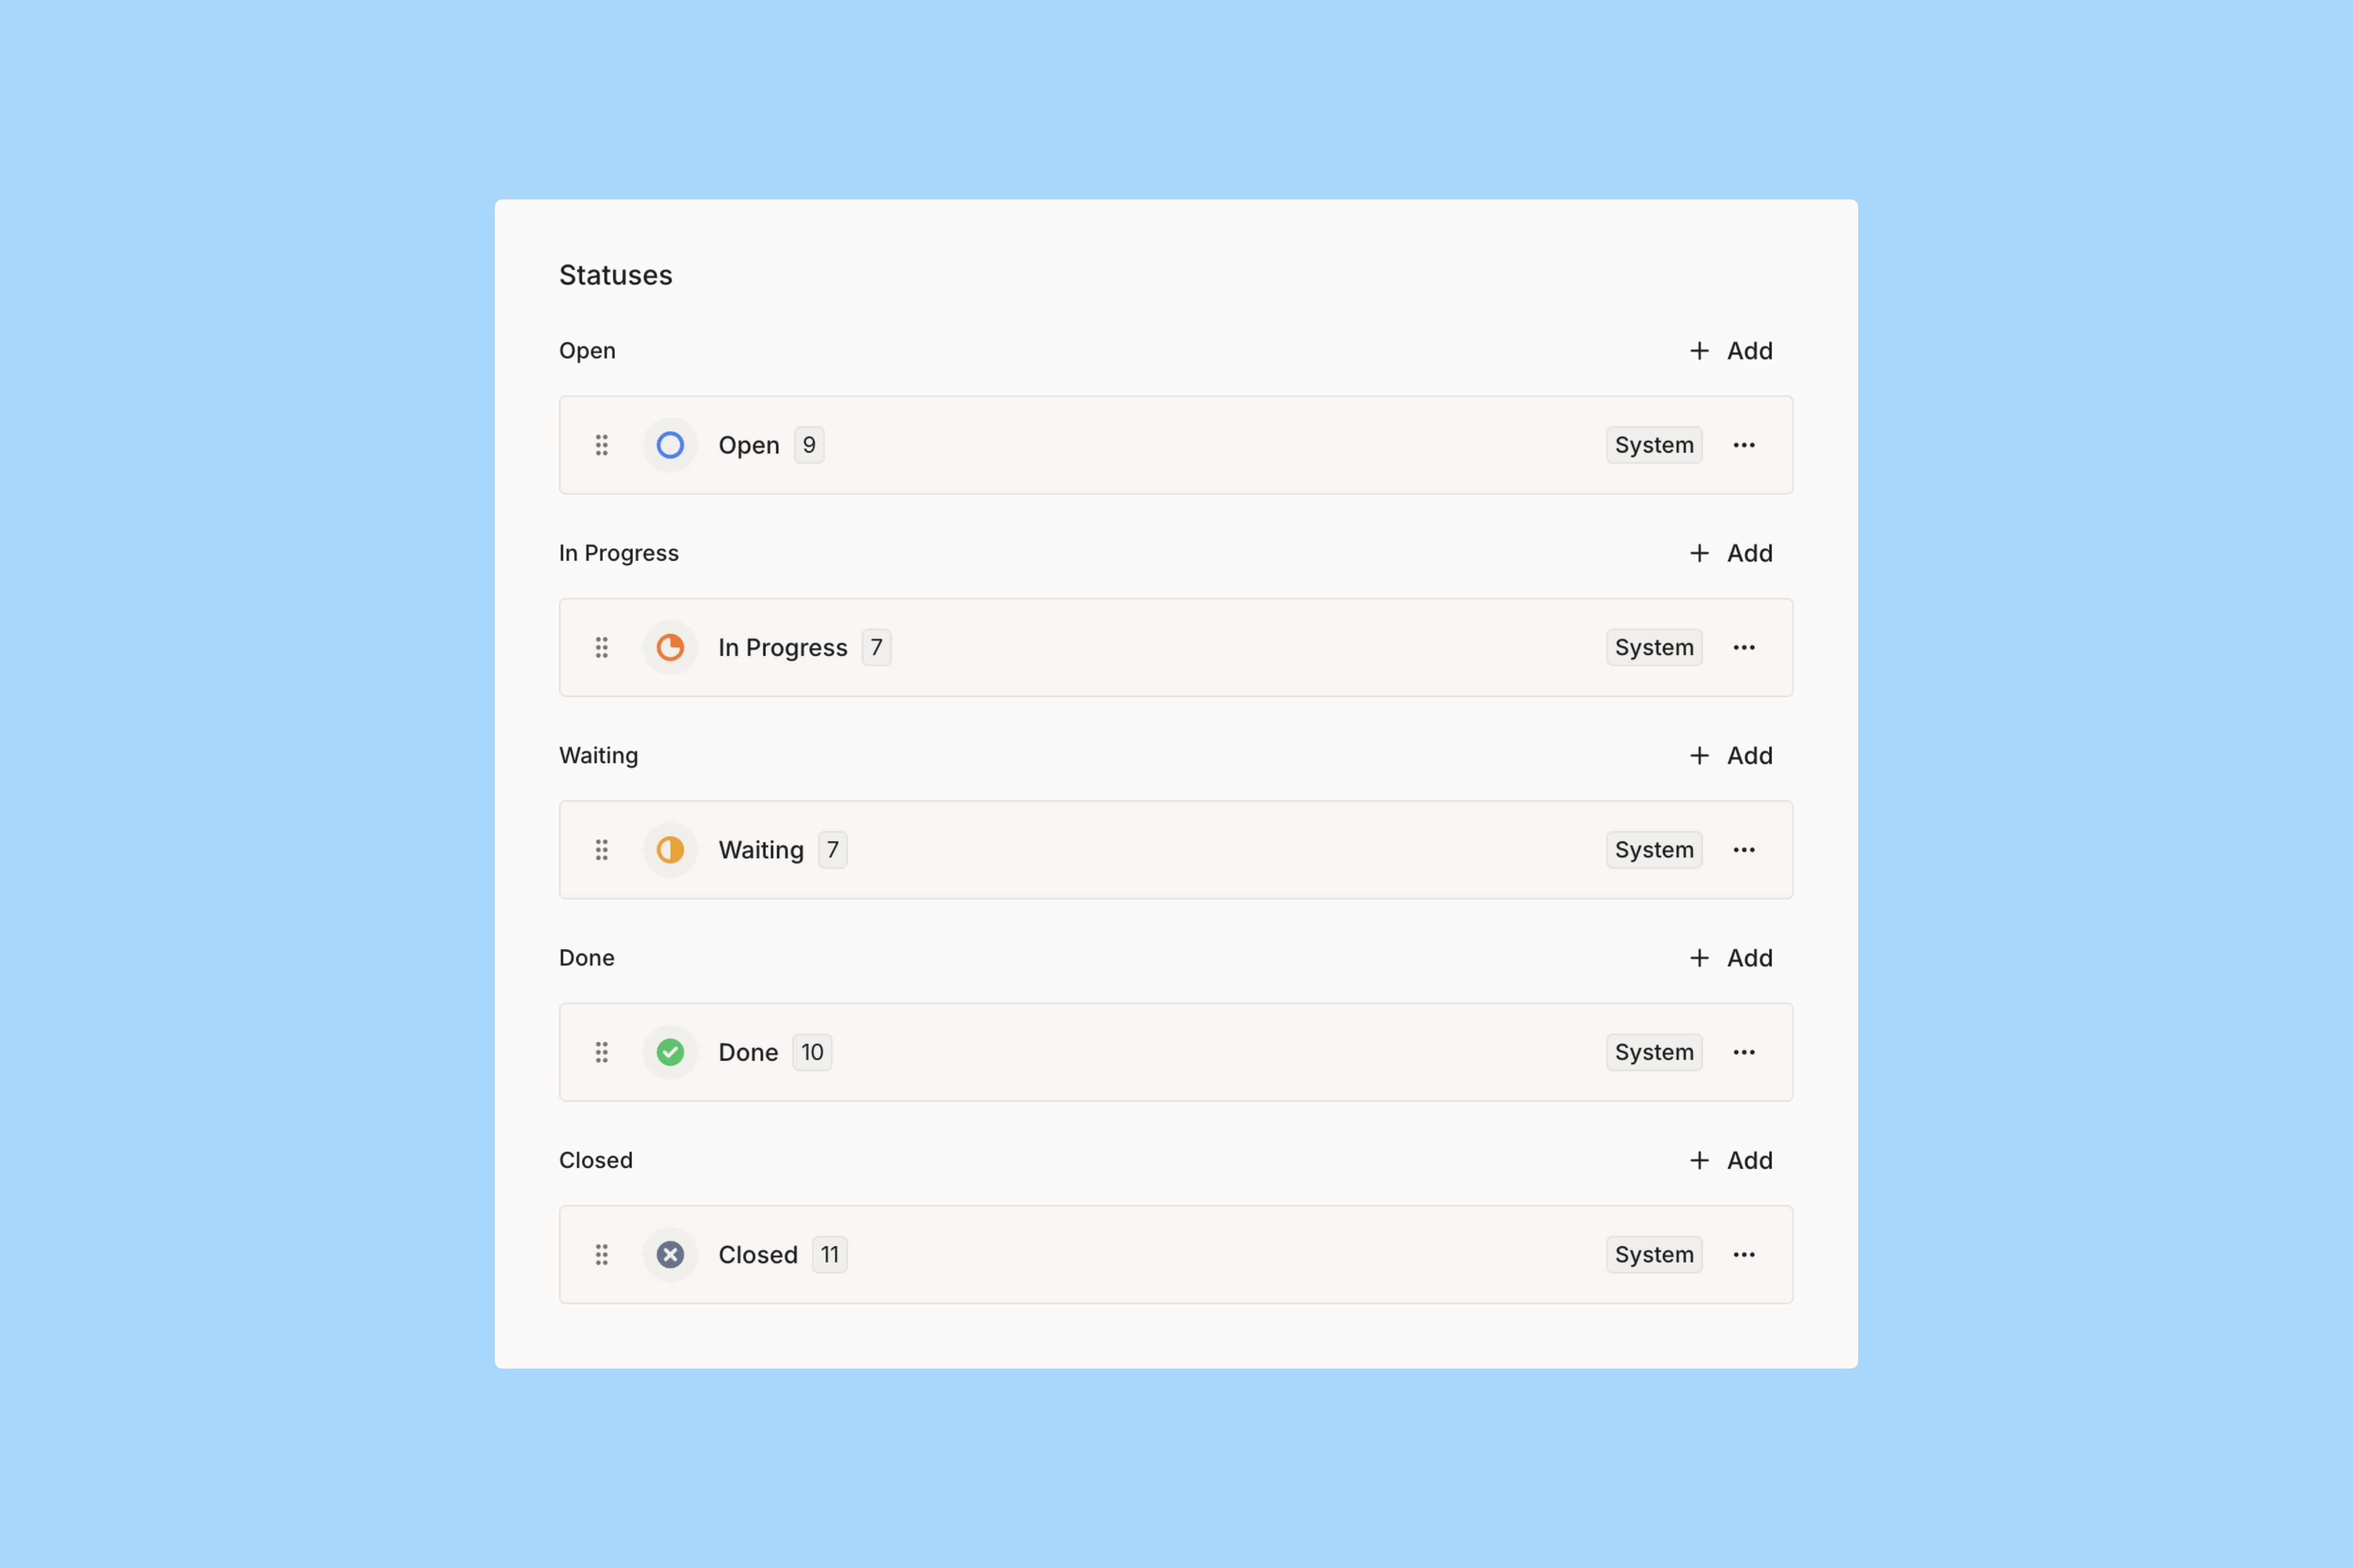
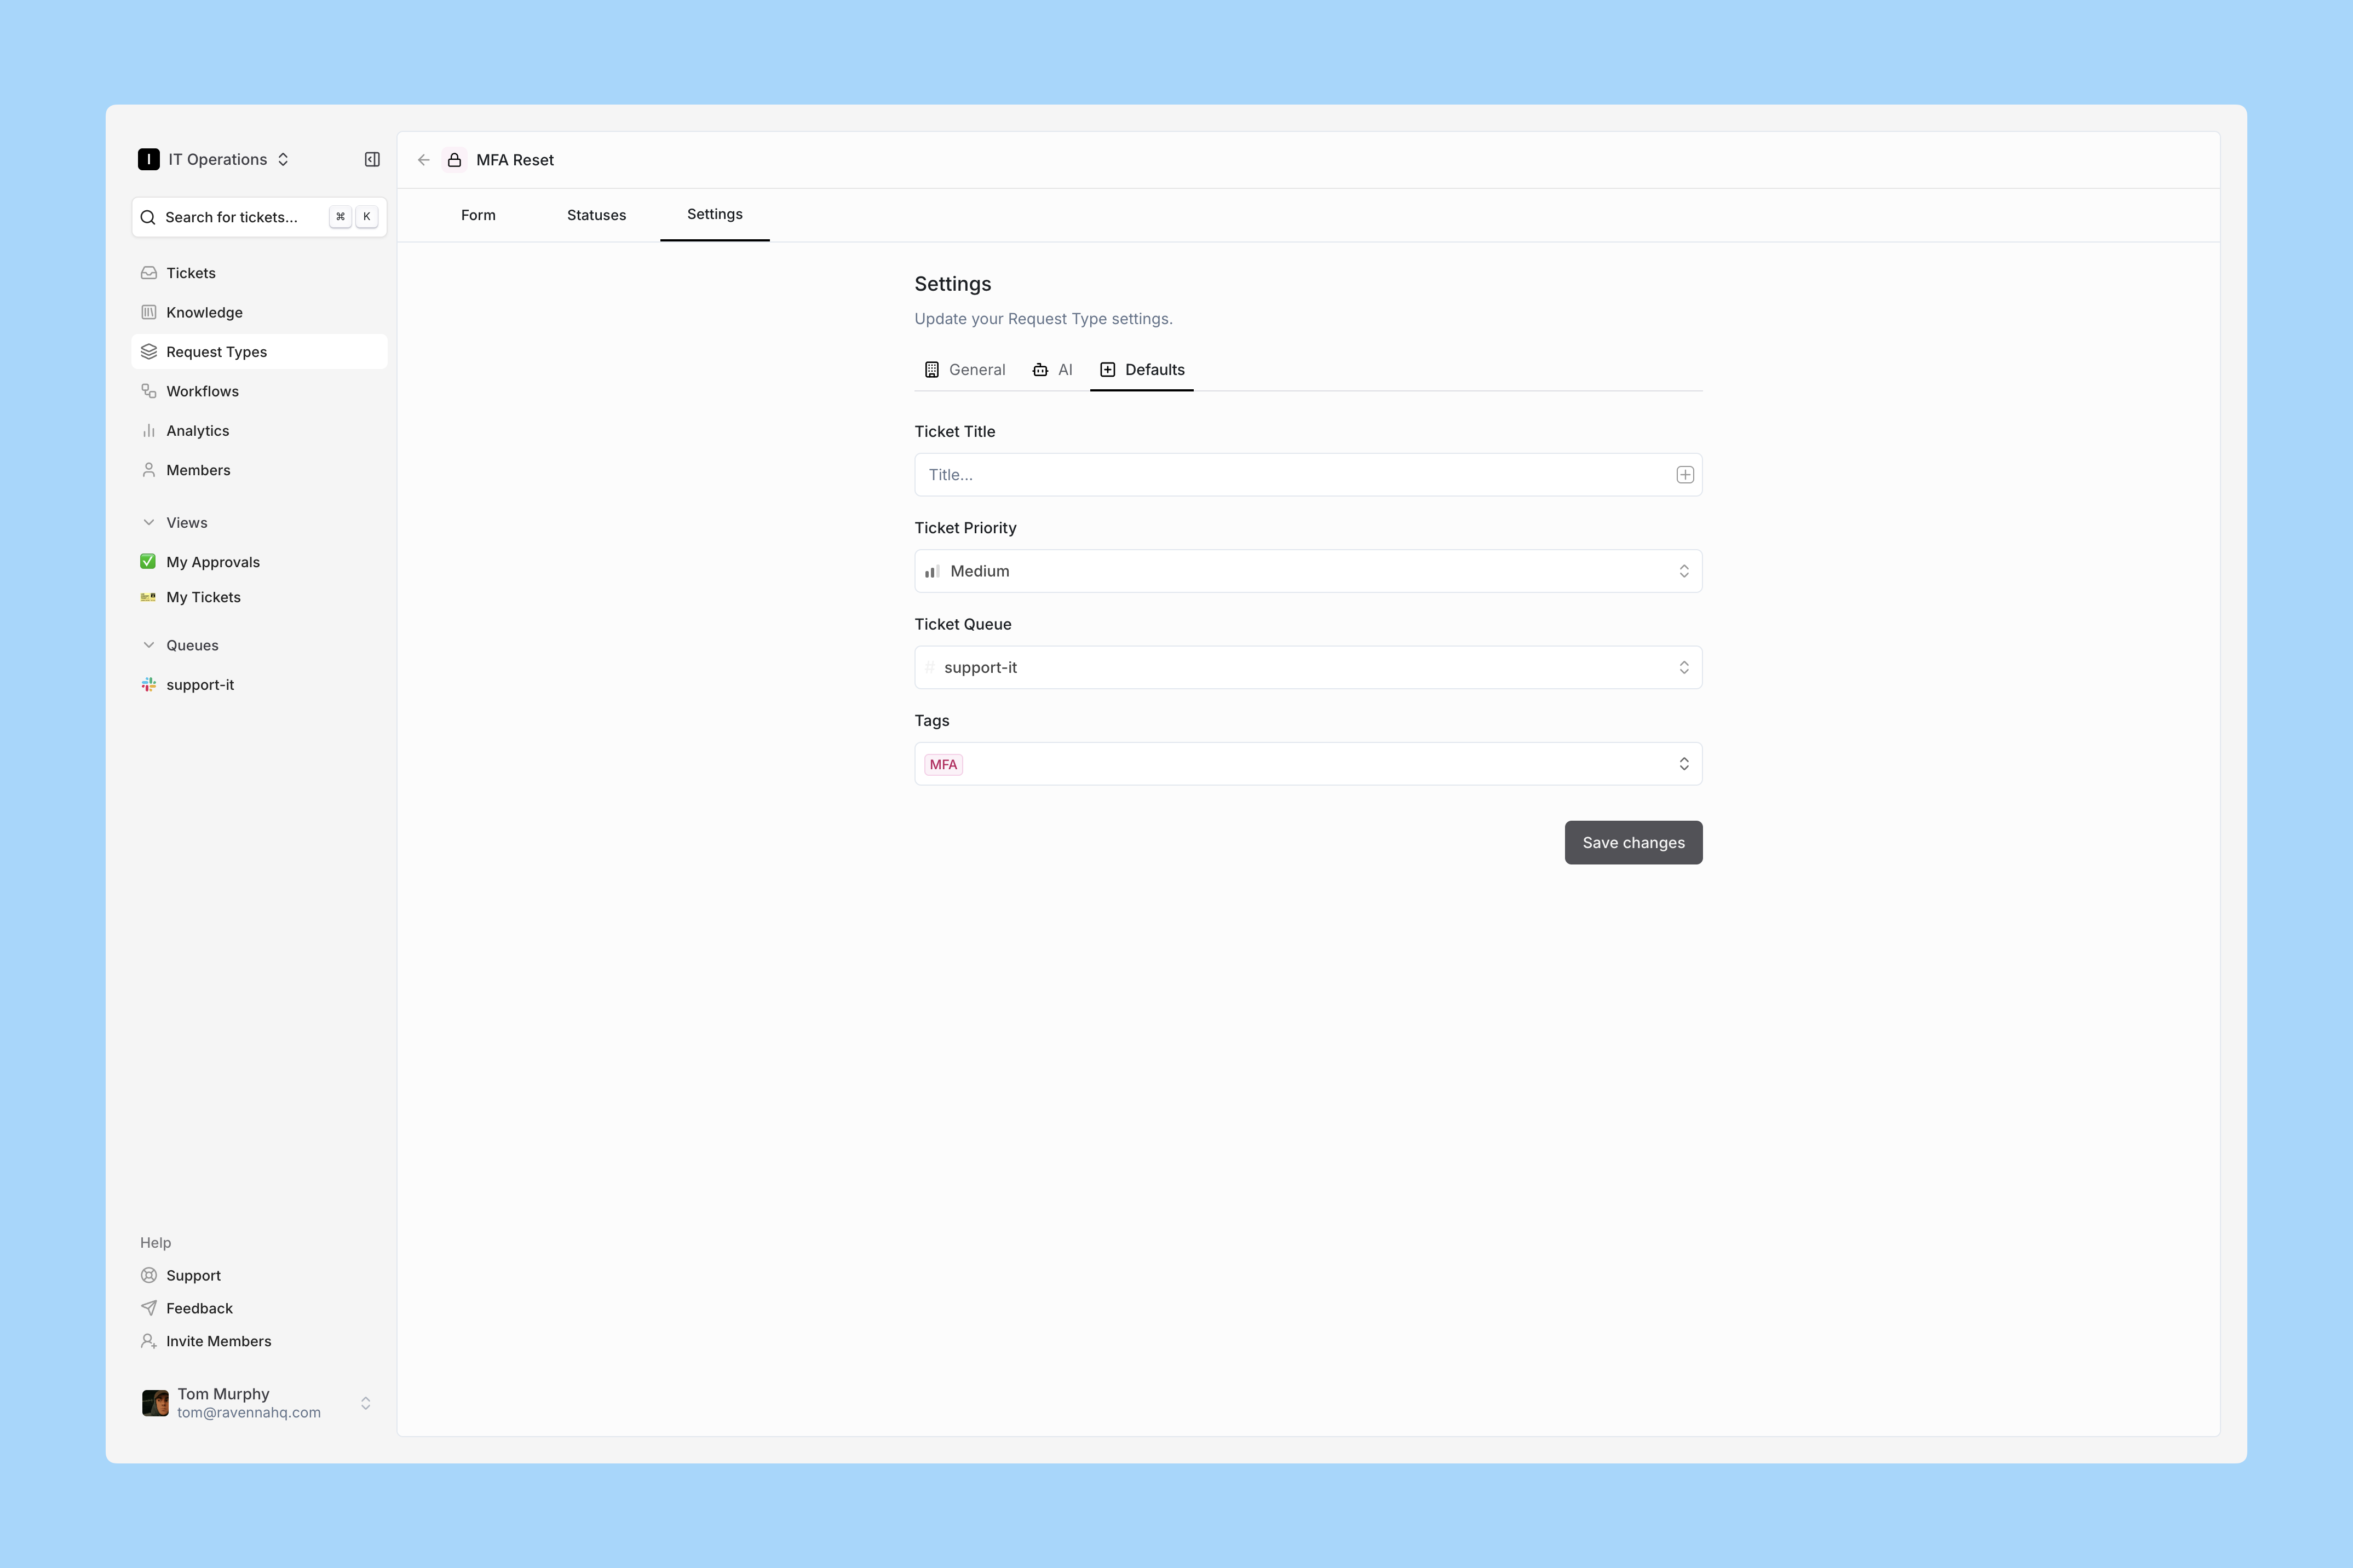
Set Default Ticket Options
Click the Defaults tab.Pre-set defaults apply to all tickets using this form. For example:
- Priority level
- Tags
- Assignee (to assign ownership)
- Channel (to publish tickets to a public channel)
In this demo, the Tag and Channel ensure tickets always post a Ticket Mirror in the public channel and auto-tag with MFA.You can further automate tickets with Workflows, which we cover next.