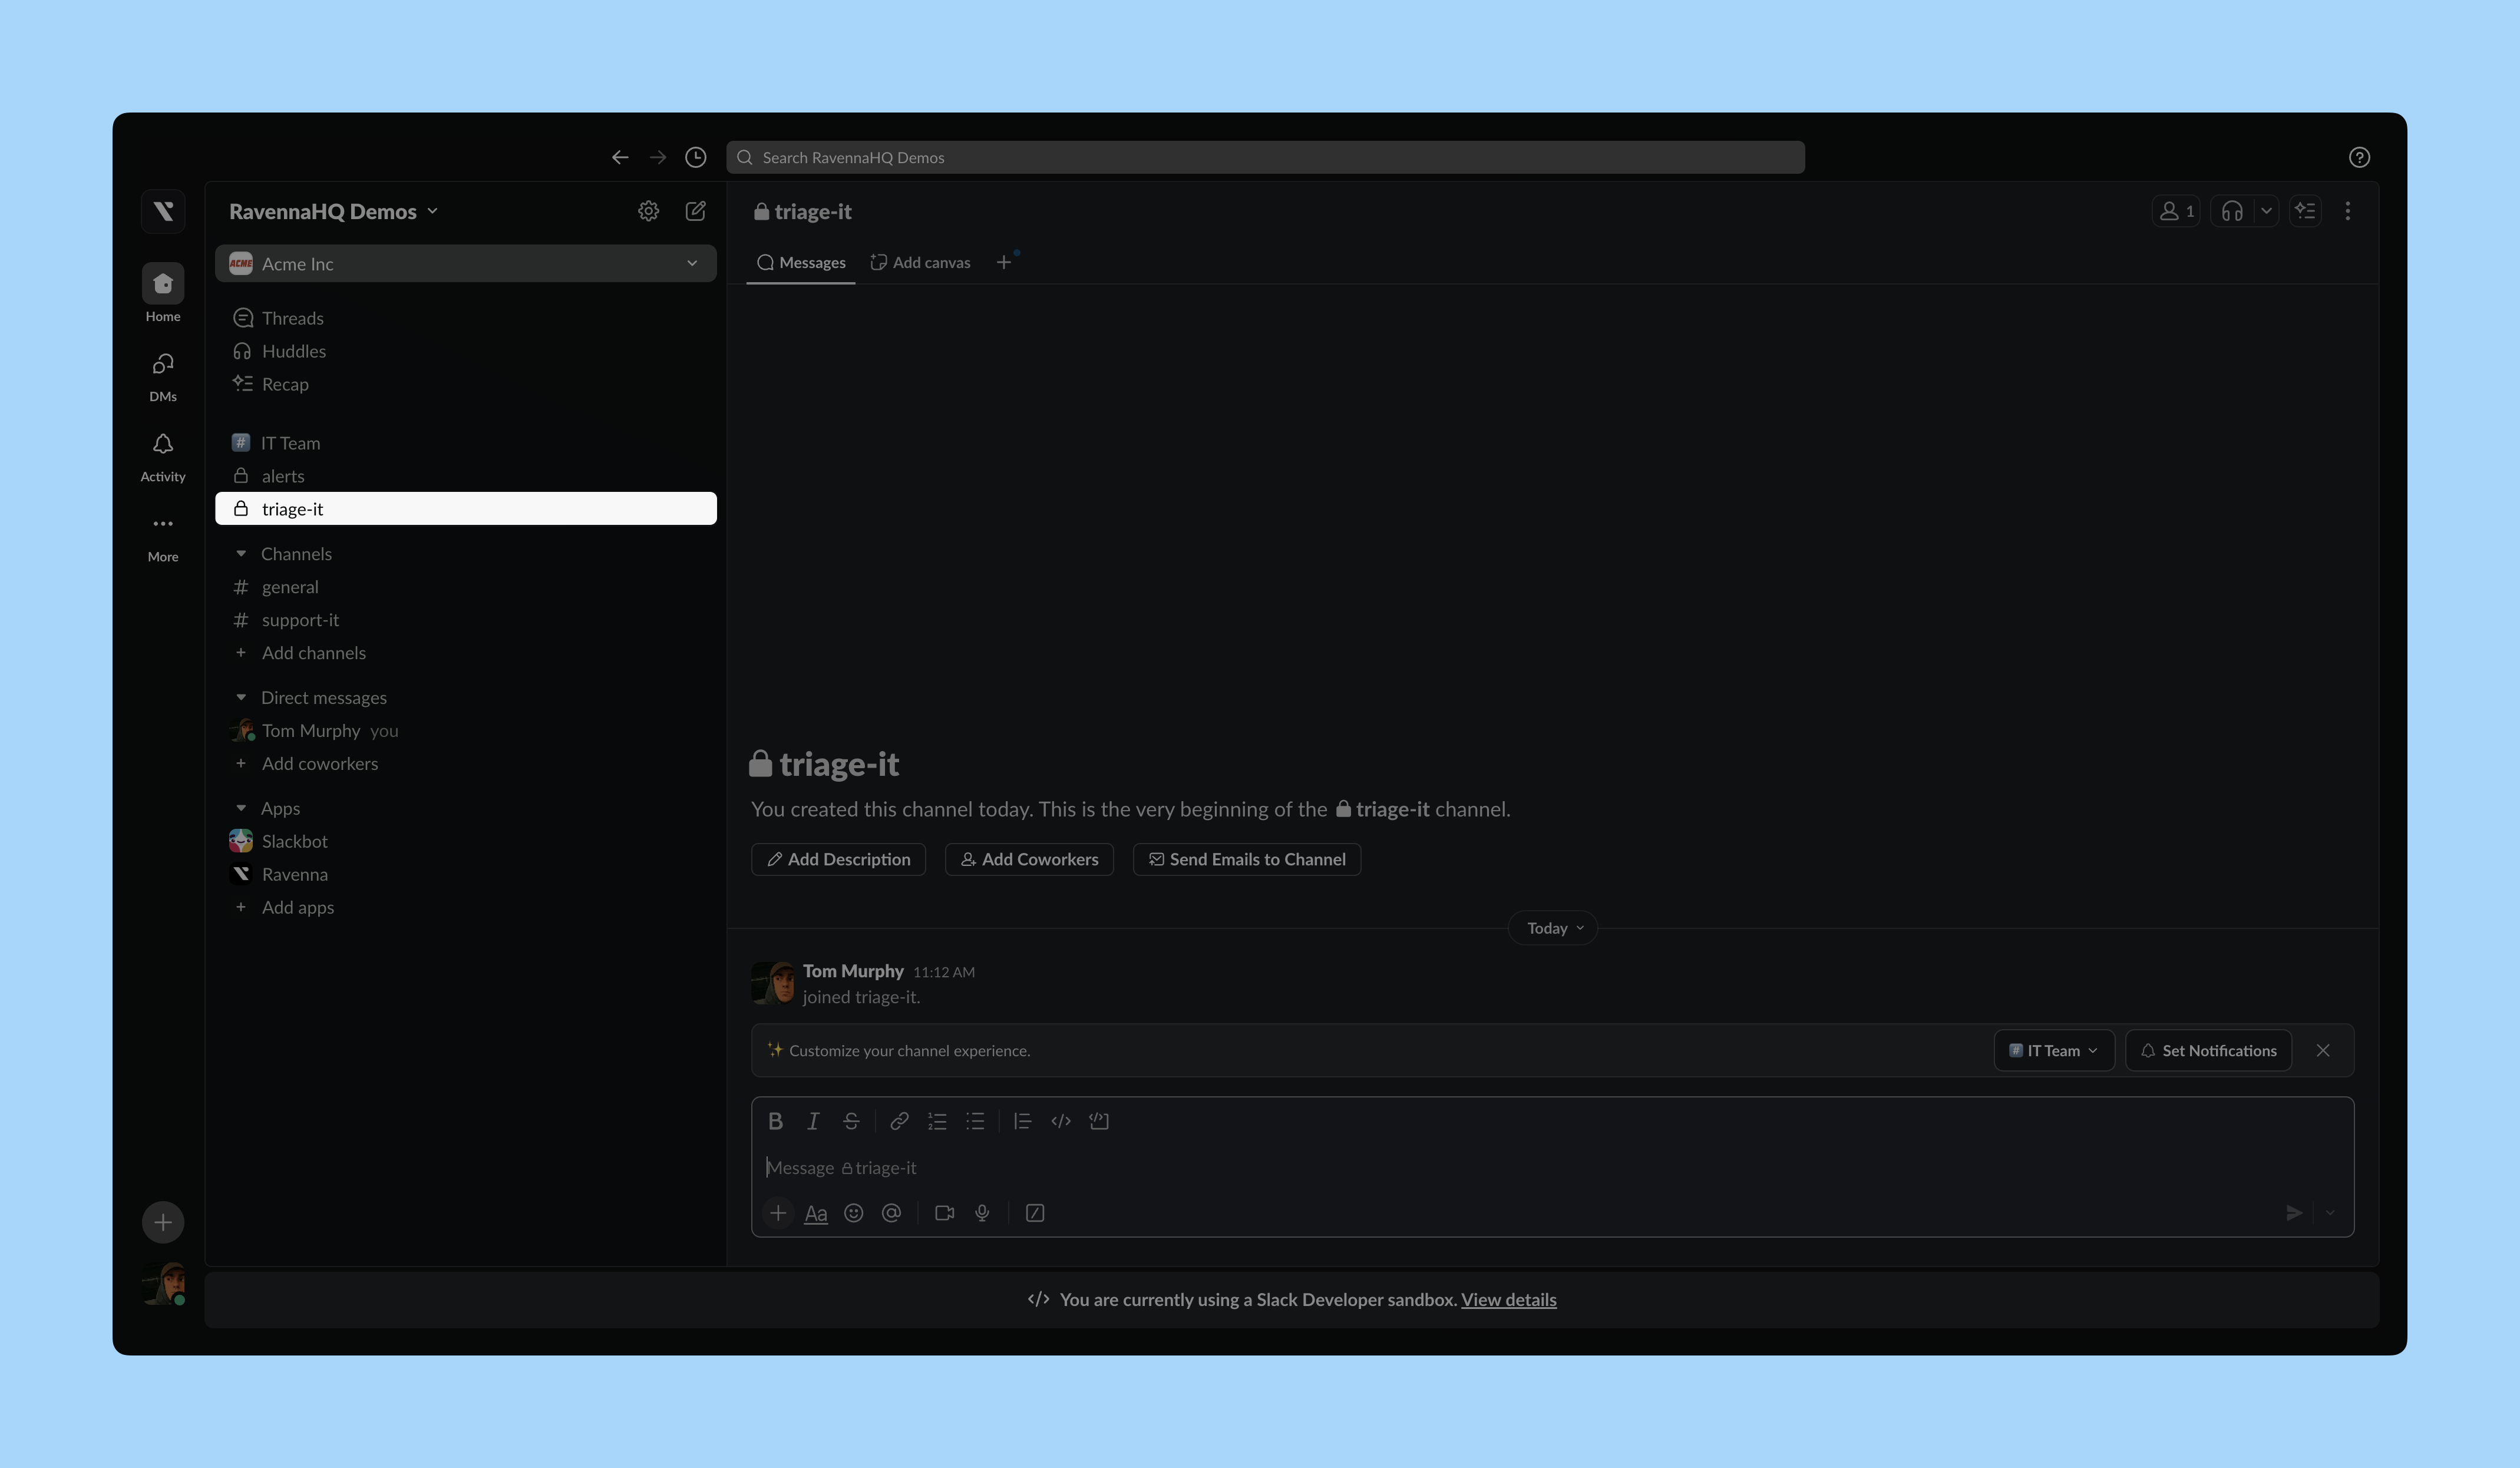
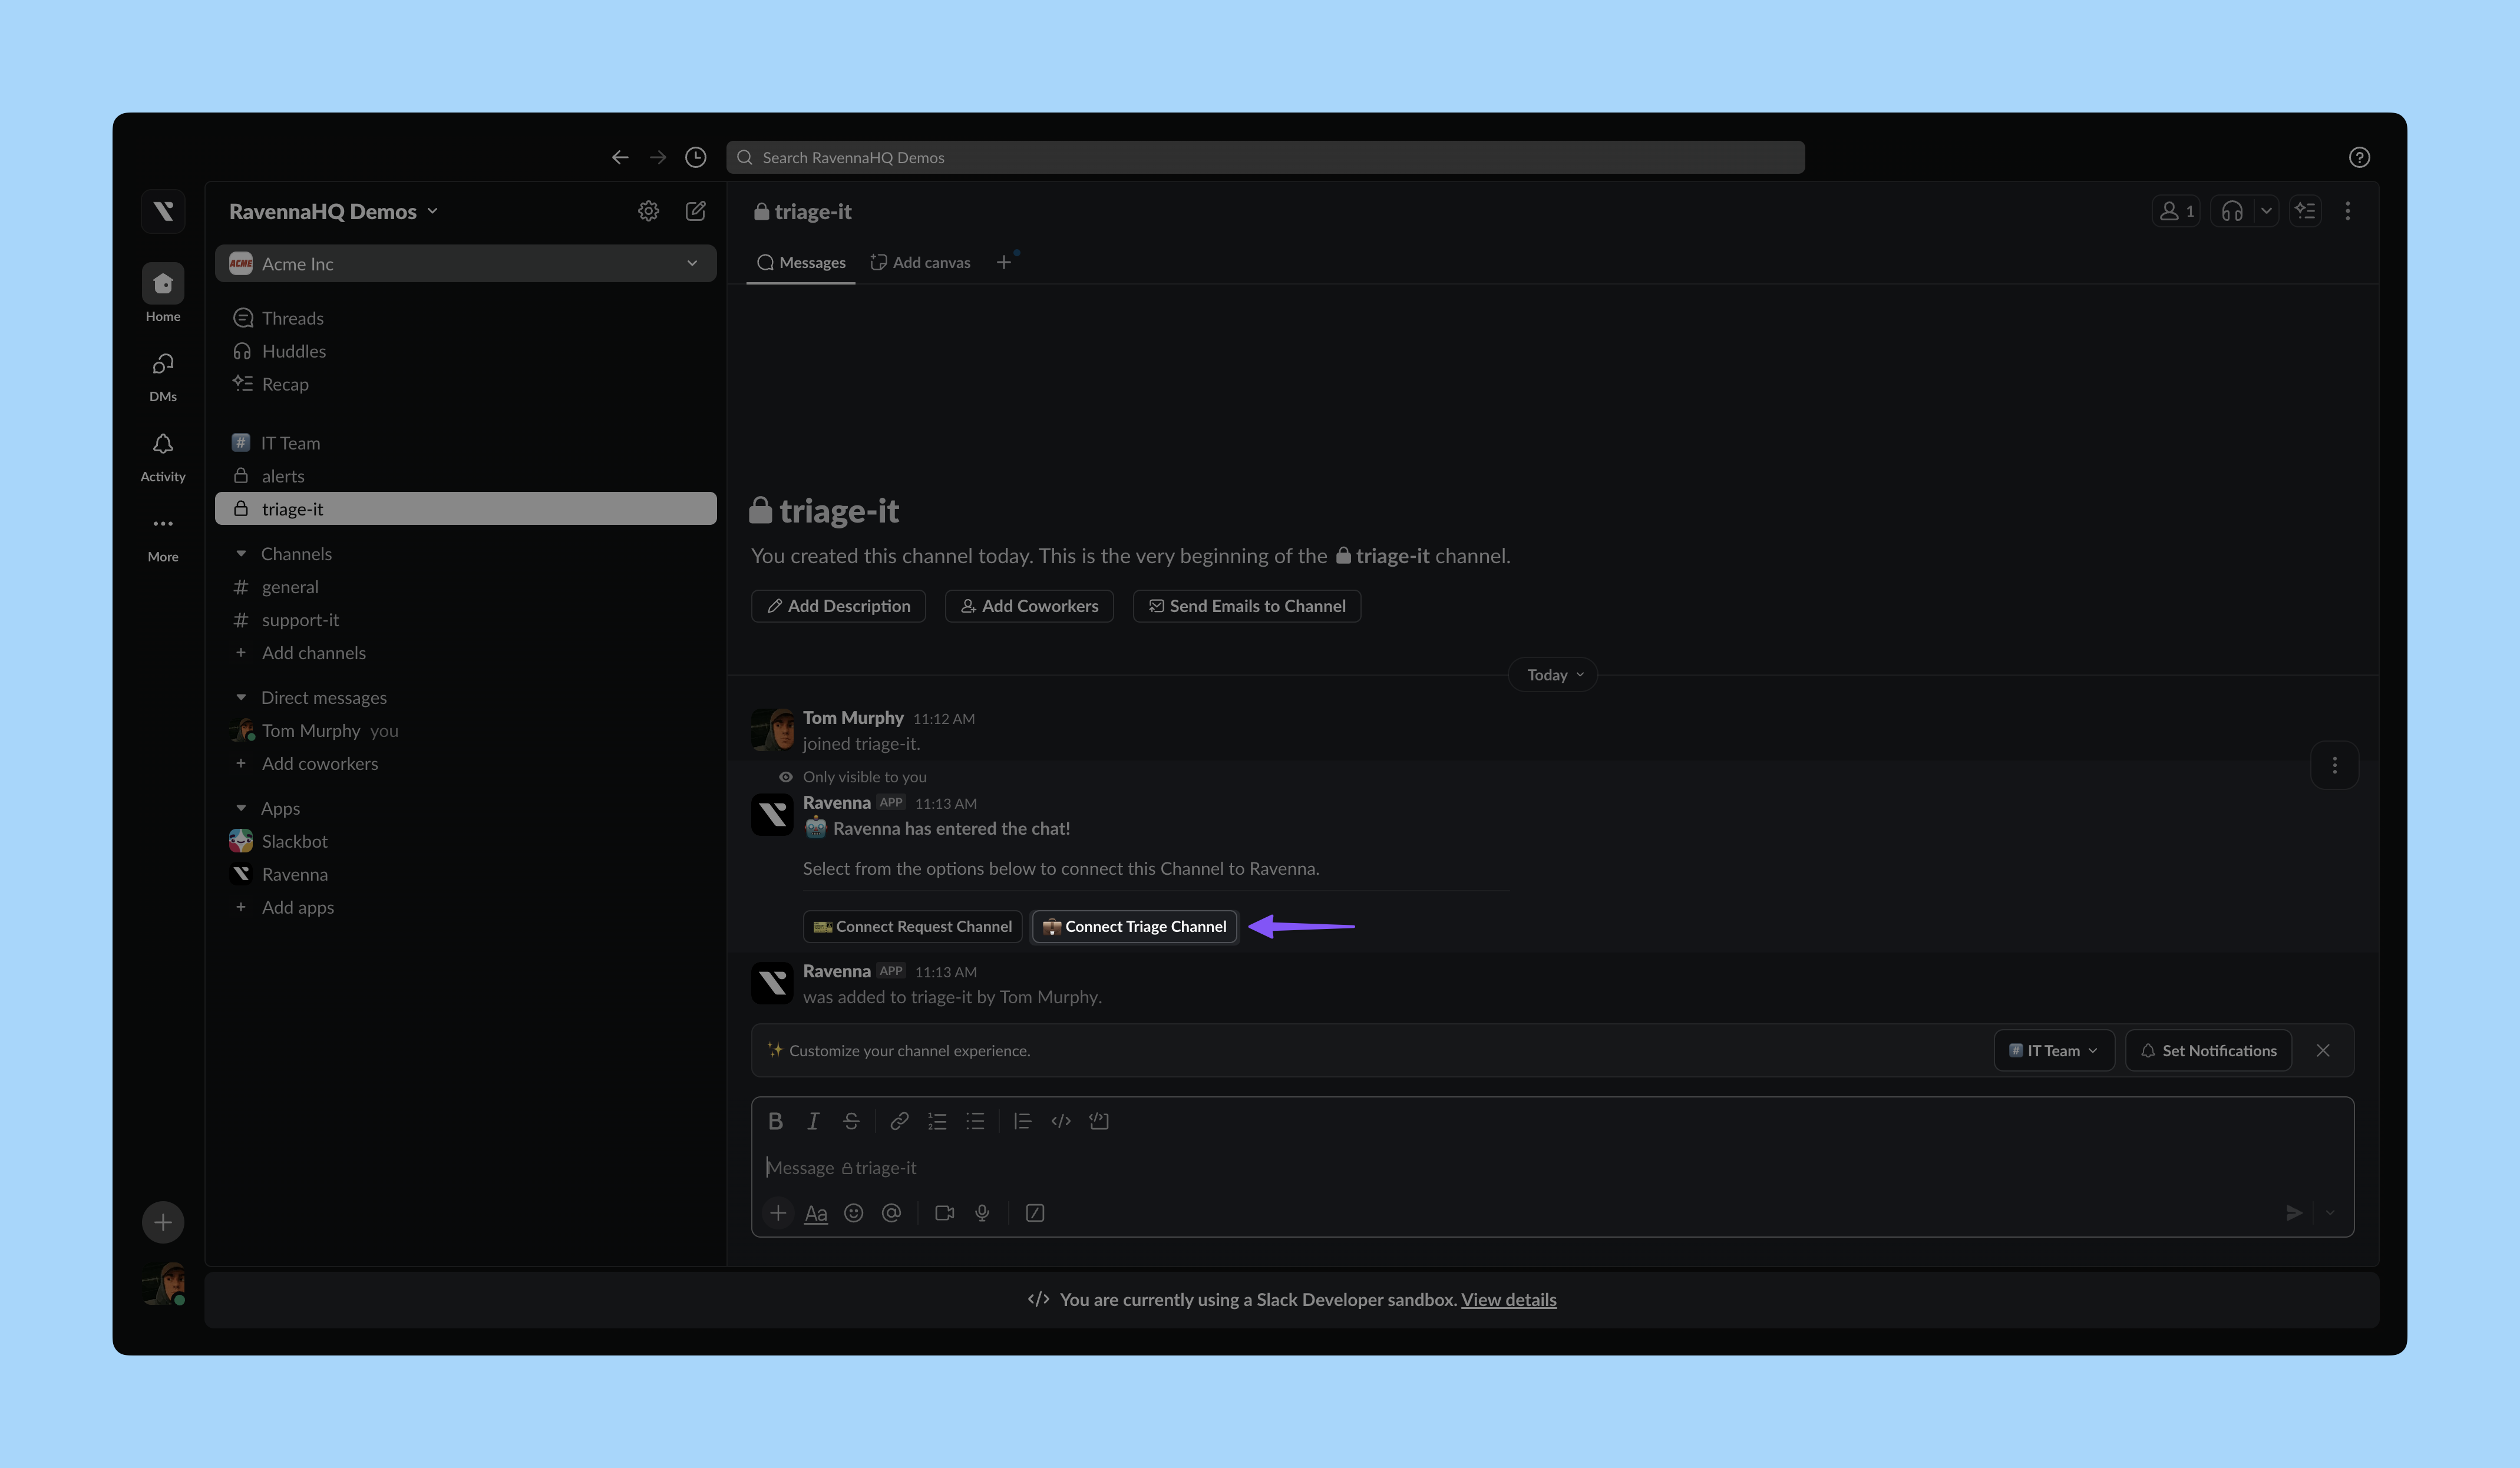
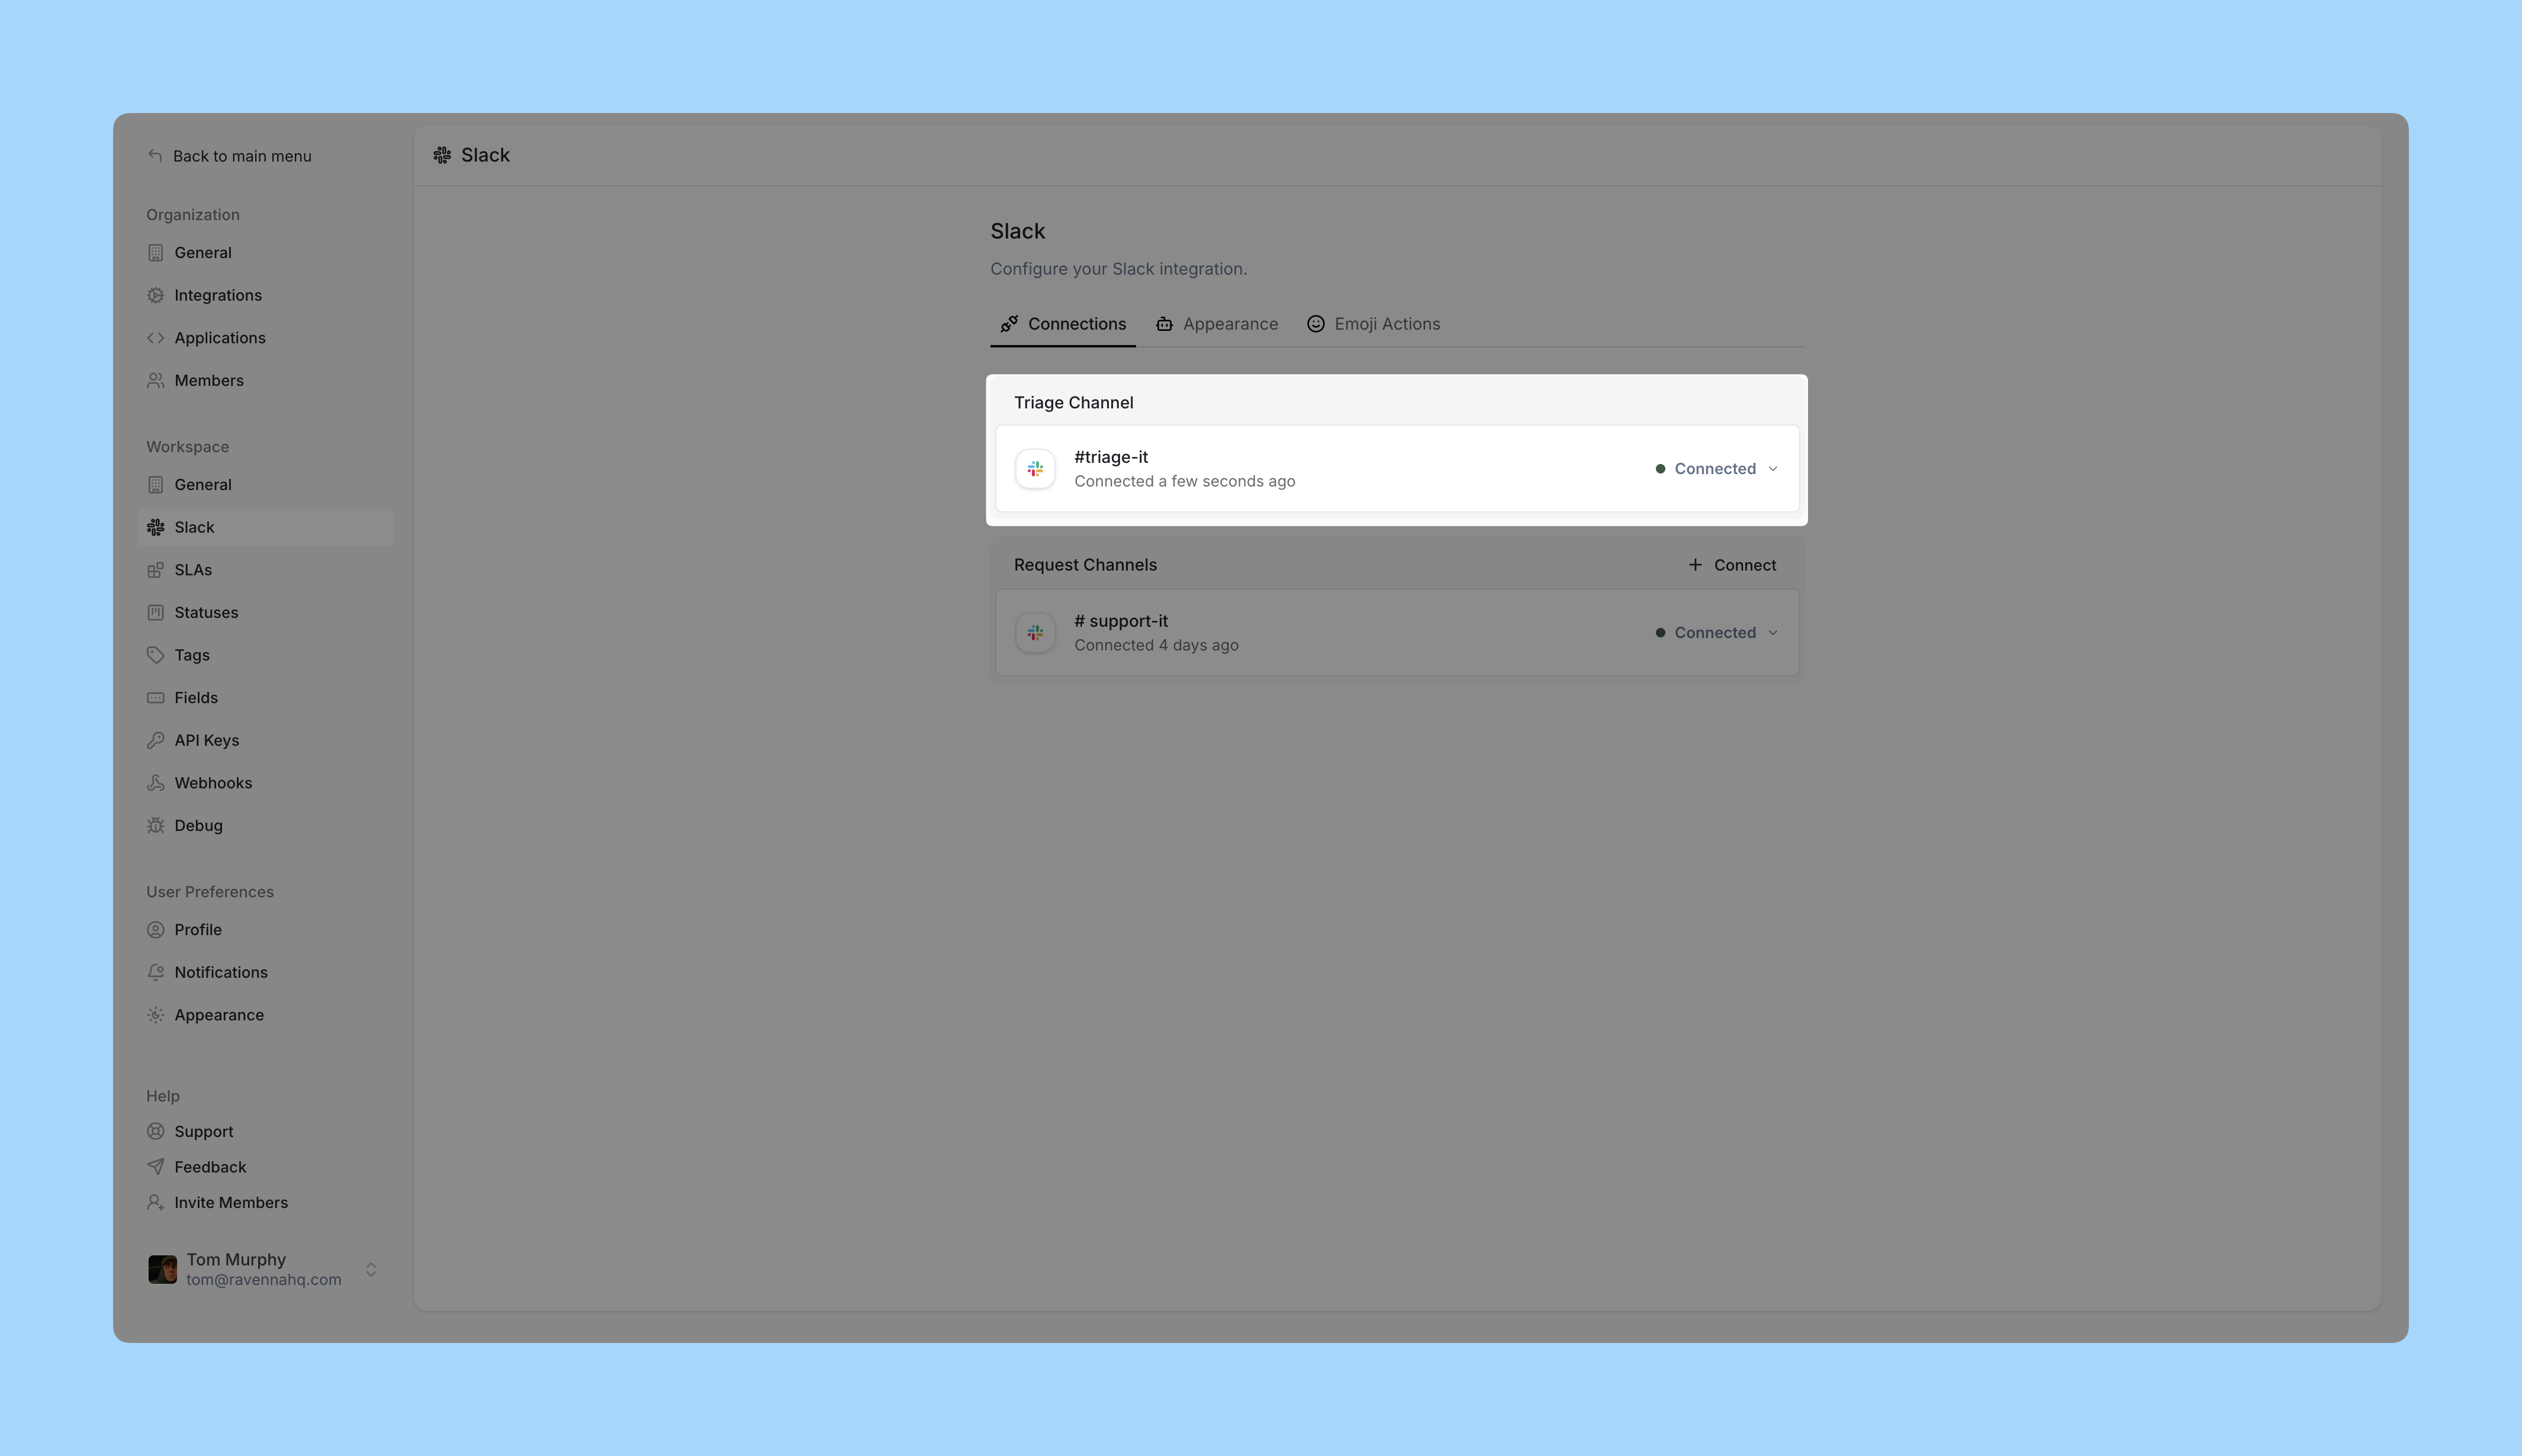
Setting up a Triage channel in Slack helps your team manage incoming requests more efficiently, all without leaving Slack. Each workspace can have one Triage channel, which is a private space where mirrors of new requests are automatically sent. This makes it easier to track, collaborate, and take action in one place.
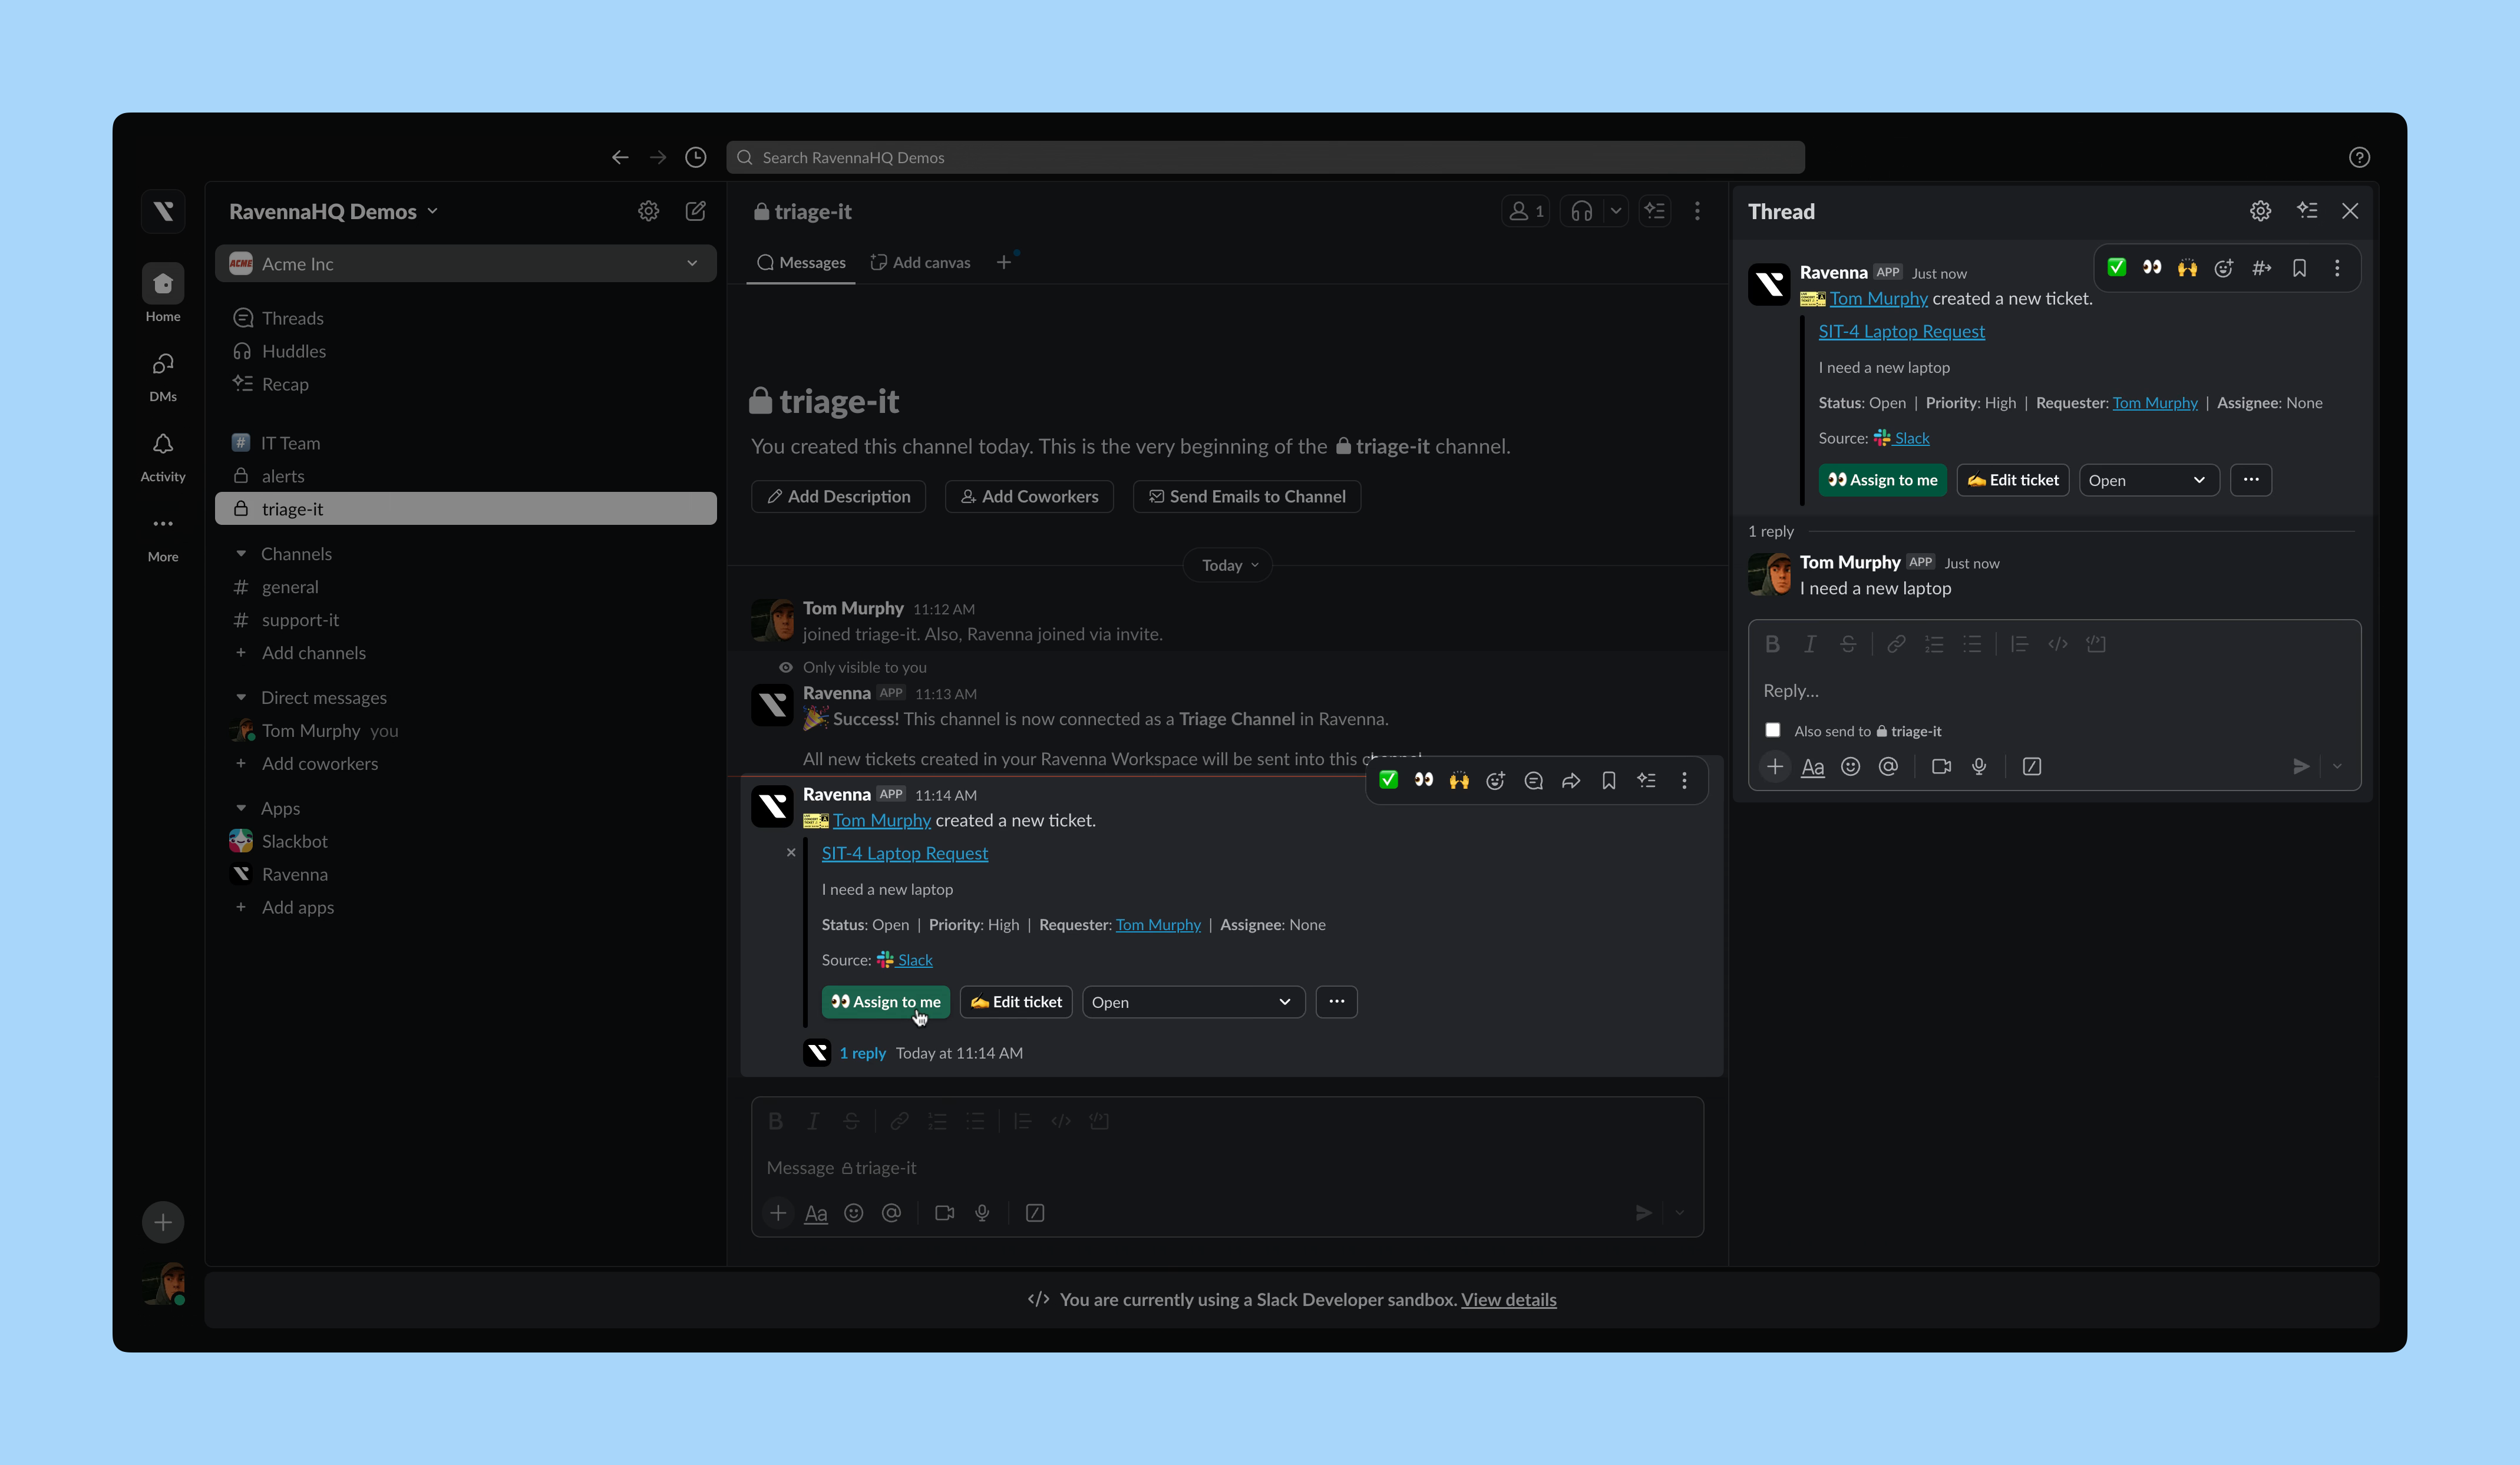
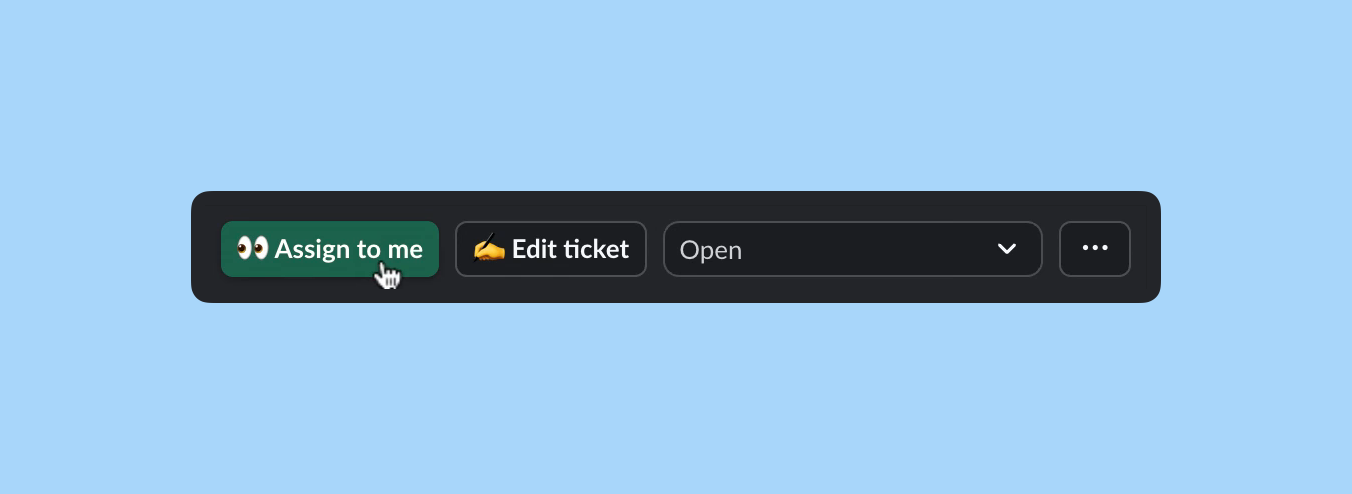
Agents in your workspace can take action on tickets directly within the Triage channel, just like they do in Ravenna or a public request Slack channel. All actions sync back to the original request thread and Ravenna, so everything stays up to date.
Interactive Walkthrough
Step-by-step
1
Setup your Slack
Create a private Slack channel for your Triage channel if you haven’t done so already. In this example, we set up the Triage channel for the IT Operations team. This Slack channel will be the main place agents are alerted to new tickets in the workspace.
2
Invite Ravenna to your channel
Send /invite @Ravenna in your Slack channel to invite Ravenna to the Slack channel.
3
Connect the Agent Channel
After inviting Ravenna, you will see a confirmation message visible only to you. Click Connect Agent Channel.
Select your Workspace and click Save. This connects your Ravenna Workspace to the Slack channel as a Triage channel. You will see a confirmation in Slack.
4
Confirm in Workspace Settings
In Ravenna, go to and click Slack in the left sidebar.You should see your Workspace connected to the Triage channel.
5
Send a test ticket
In your request Slack channel (for example, #it-support), send a message to trigger a test ticket.You will see a notification in the Triage channel. Check it out!
This Ticket Mirror looks similar to the one in the request channel but has extra action buttons for agents.
Agents can manage and respond to tickets directly here without using the Ravenna web app.