Connect to Jira using OAuth authentication for Jira Software, Work Management, and Service Management
Prerequisites
Before you begin, ensure you have:- Admin access to your Jira workspace
- Active Jira projects (Software, Work Management, or Service Management)
- Atlassian account with appropriate permissions
- An available user seat in your Atlassian organization for the dedicated Ravenna account
Atlassian User Directory requirement: Users must exist in your Atlassian User Directory for Ravenna to sync them and match them with Ravenna profiles. This is required for correctly mapping users to ticket roles (reporter, assignee, etc.). If a ticket is opened by someone not in your user directory, the request will be created as unassigned with an internal note containing the user’s email.
Create a dedicated user account
Ravenna needs a standard Atlassian user account (with a user seat) to perform actions in Jira. This account acts on behalf of Ravenna when creating tickets, adding comments, and transitioning issues, so the account’s display name is visible across Jira on any action Ravenna takes.1
Create a new Atlassian user
- Go to your Atlassian Admin page
- Navigate to Users and create a new user account
- Choose a display name that your team will recognize as Ravenna (e.g., “Ravenna” or “Ravenna Bot”). This name appears as the reporter and commenter on Jira tickets, so pick something clear for your team.
- Save the account credentials securely
2
Assign required roles
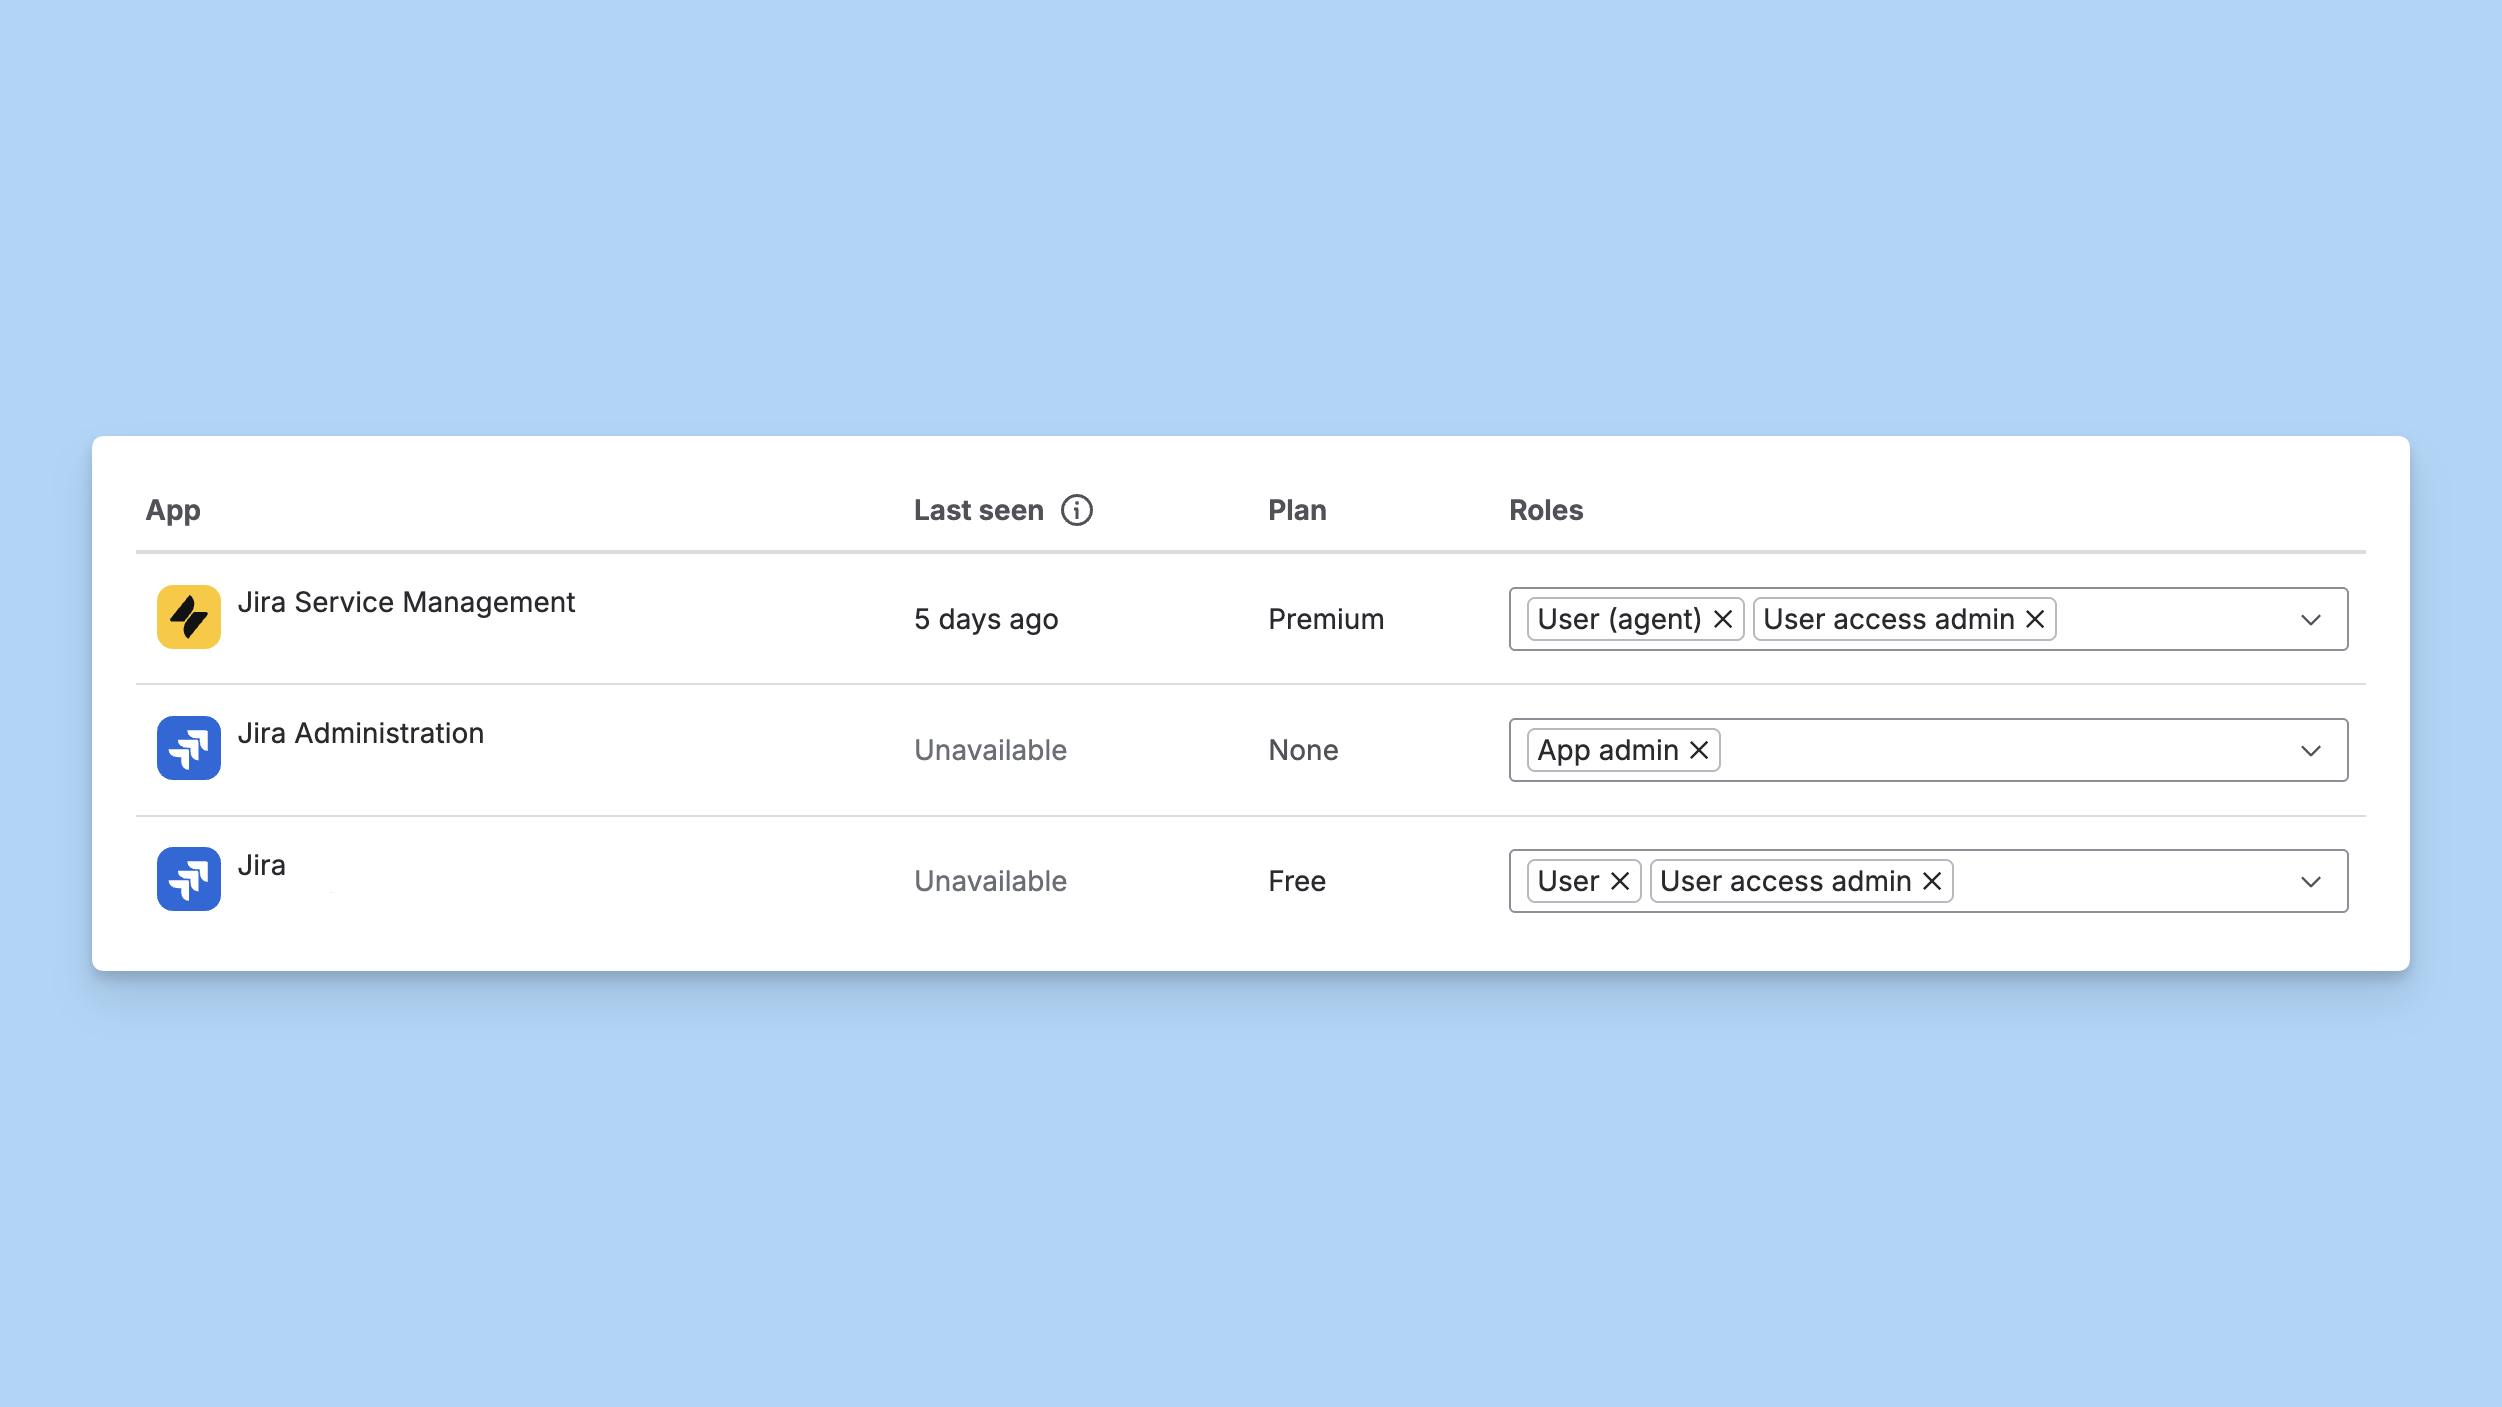
- In the Atlassian User Directory, grant the
User (Agent)andUser Access Adminroles. - In your Jira Service Desk Space Settings > Access > People and access, add the Ravenna account and grant the
Service Desk TeamandAdministratorsroles.
- In the Atlassian User Directory, grant the
UserandUser Access Adminroles. - In your Jira Space Settings > Access, add the Ravenna account and grant the
Administratorrole.
3
Verify permissions
Ensure the Ravenna account has:
- Read/write access to tickets and issues
- Read access to users and knowledge base articles (for JSM)
- Permission to add comments and transition issues
Ravenna performs all actions in Jira through this account. Any ticket created, comment added, or status change made by Ravenna will appear under this account’s name in Jira.
Setup guide
1
Navigate to integrations
- Go to Settings > Integrations
- Find Jira in the Ticketing section
2
Select Jira integration
Click Connect on the Jira integration card
3
Authorize with Atlassian
- You’ll be redirected to Atlassian’s authorization page
- Log in with the dedicated Ravenna user account credentials (not your personal account)
- Select your Jira site from the dropdown
- Review the requested permissions:
- Read and write issues and requests
- Read projects and service desks
- Read and write comments
- Read, write, and delete comment properties
- Manage webhooks
- Click Accept to grant access
4
Complete setup
After authorization, you’ll be redirected back with the integration connected. All your Jira projects will be available.
Troubleshooting
Missing projects or service desks
Missing projects or service desks
Cause: Projects not accessible or integration needs refreshSolution:
- Refresh the integration by disconnecting and reconnecting
- Ensure your Jira site has active projects
- Verify the Ravenna account has access to the projects/service desks
- Check project permissions in Jira admin
- For JSM: Ensure service desk projects are not archived
JSM forms not showing
JSM forms not showing
Cause: Service desk configuration or permissions issueSolution:
- Verify the service desk has published forms
- Check that forms are not hidden or restricted
- Ensure the Ravenna account has service desk agent permissions
- Confirm the jira-servicedesk-users and Service Desk Team roles are assigned
- Refresh the integration to fetch latest configuration
Permission errors
Permission errors
Cause: OAuth authorization missing required permissionsSolution:
- Verify the OAuth authorization granted all required permissions
- Re-authorize the integration with full permissions
- Check Jira site settings for app restrictions
- Ensure the Ravenna account has appropriate admin/agent access
- Verify account roles in Atlassian Admin
Tickets are being created with no Reporter or Requester
Tickets are being created with no Reporter or Requester
Cause: The user does not exist in your Atlassian User Directory, or they don’t have permissions on the specific project/space to open issues.Solution:
- Verify the user exists in your Atlassian User Directory
- Invite the user to your Atlassian account if they’re missing
- Check that the user has the required permissions on the specific Jira project or JSM space to create issues
- Review project permission schemes in Jira admin settings
Sync interval configuration
Control how frequently Ravenna synchronizes data from your Jira workspace. By default, Ravenna syncs every 5 minutes, but you can adjust this based on your organization’s needs.1
Navigate to integration settings
Go to Settings > Integrations and click your connected Jira integration.
2
Configure sync interval
In the integration settings, locate the Sync Interval field and enter your desired interval in minutes.Recommended intervals:
- 5 minutes (default): Best for active teams needing near-real-time sync
- 15 minutes: Good balance for most teams
- 30-60 minutes: Suitable for less active projects or to reduce API usage
3
Save changes
Click Save to apply the new sync interval.
The sync interval affects how quickly changes in Jira appear in Ravenna and vice versa. Lower intervals provide faster updates but increase API usage.