- Interactive Walkthrough
- Step-by-step
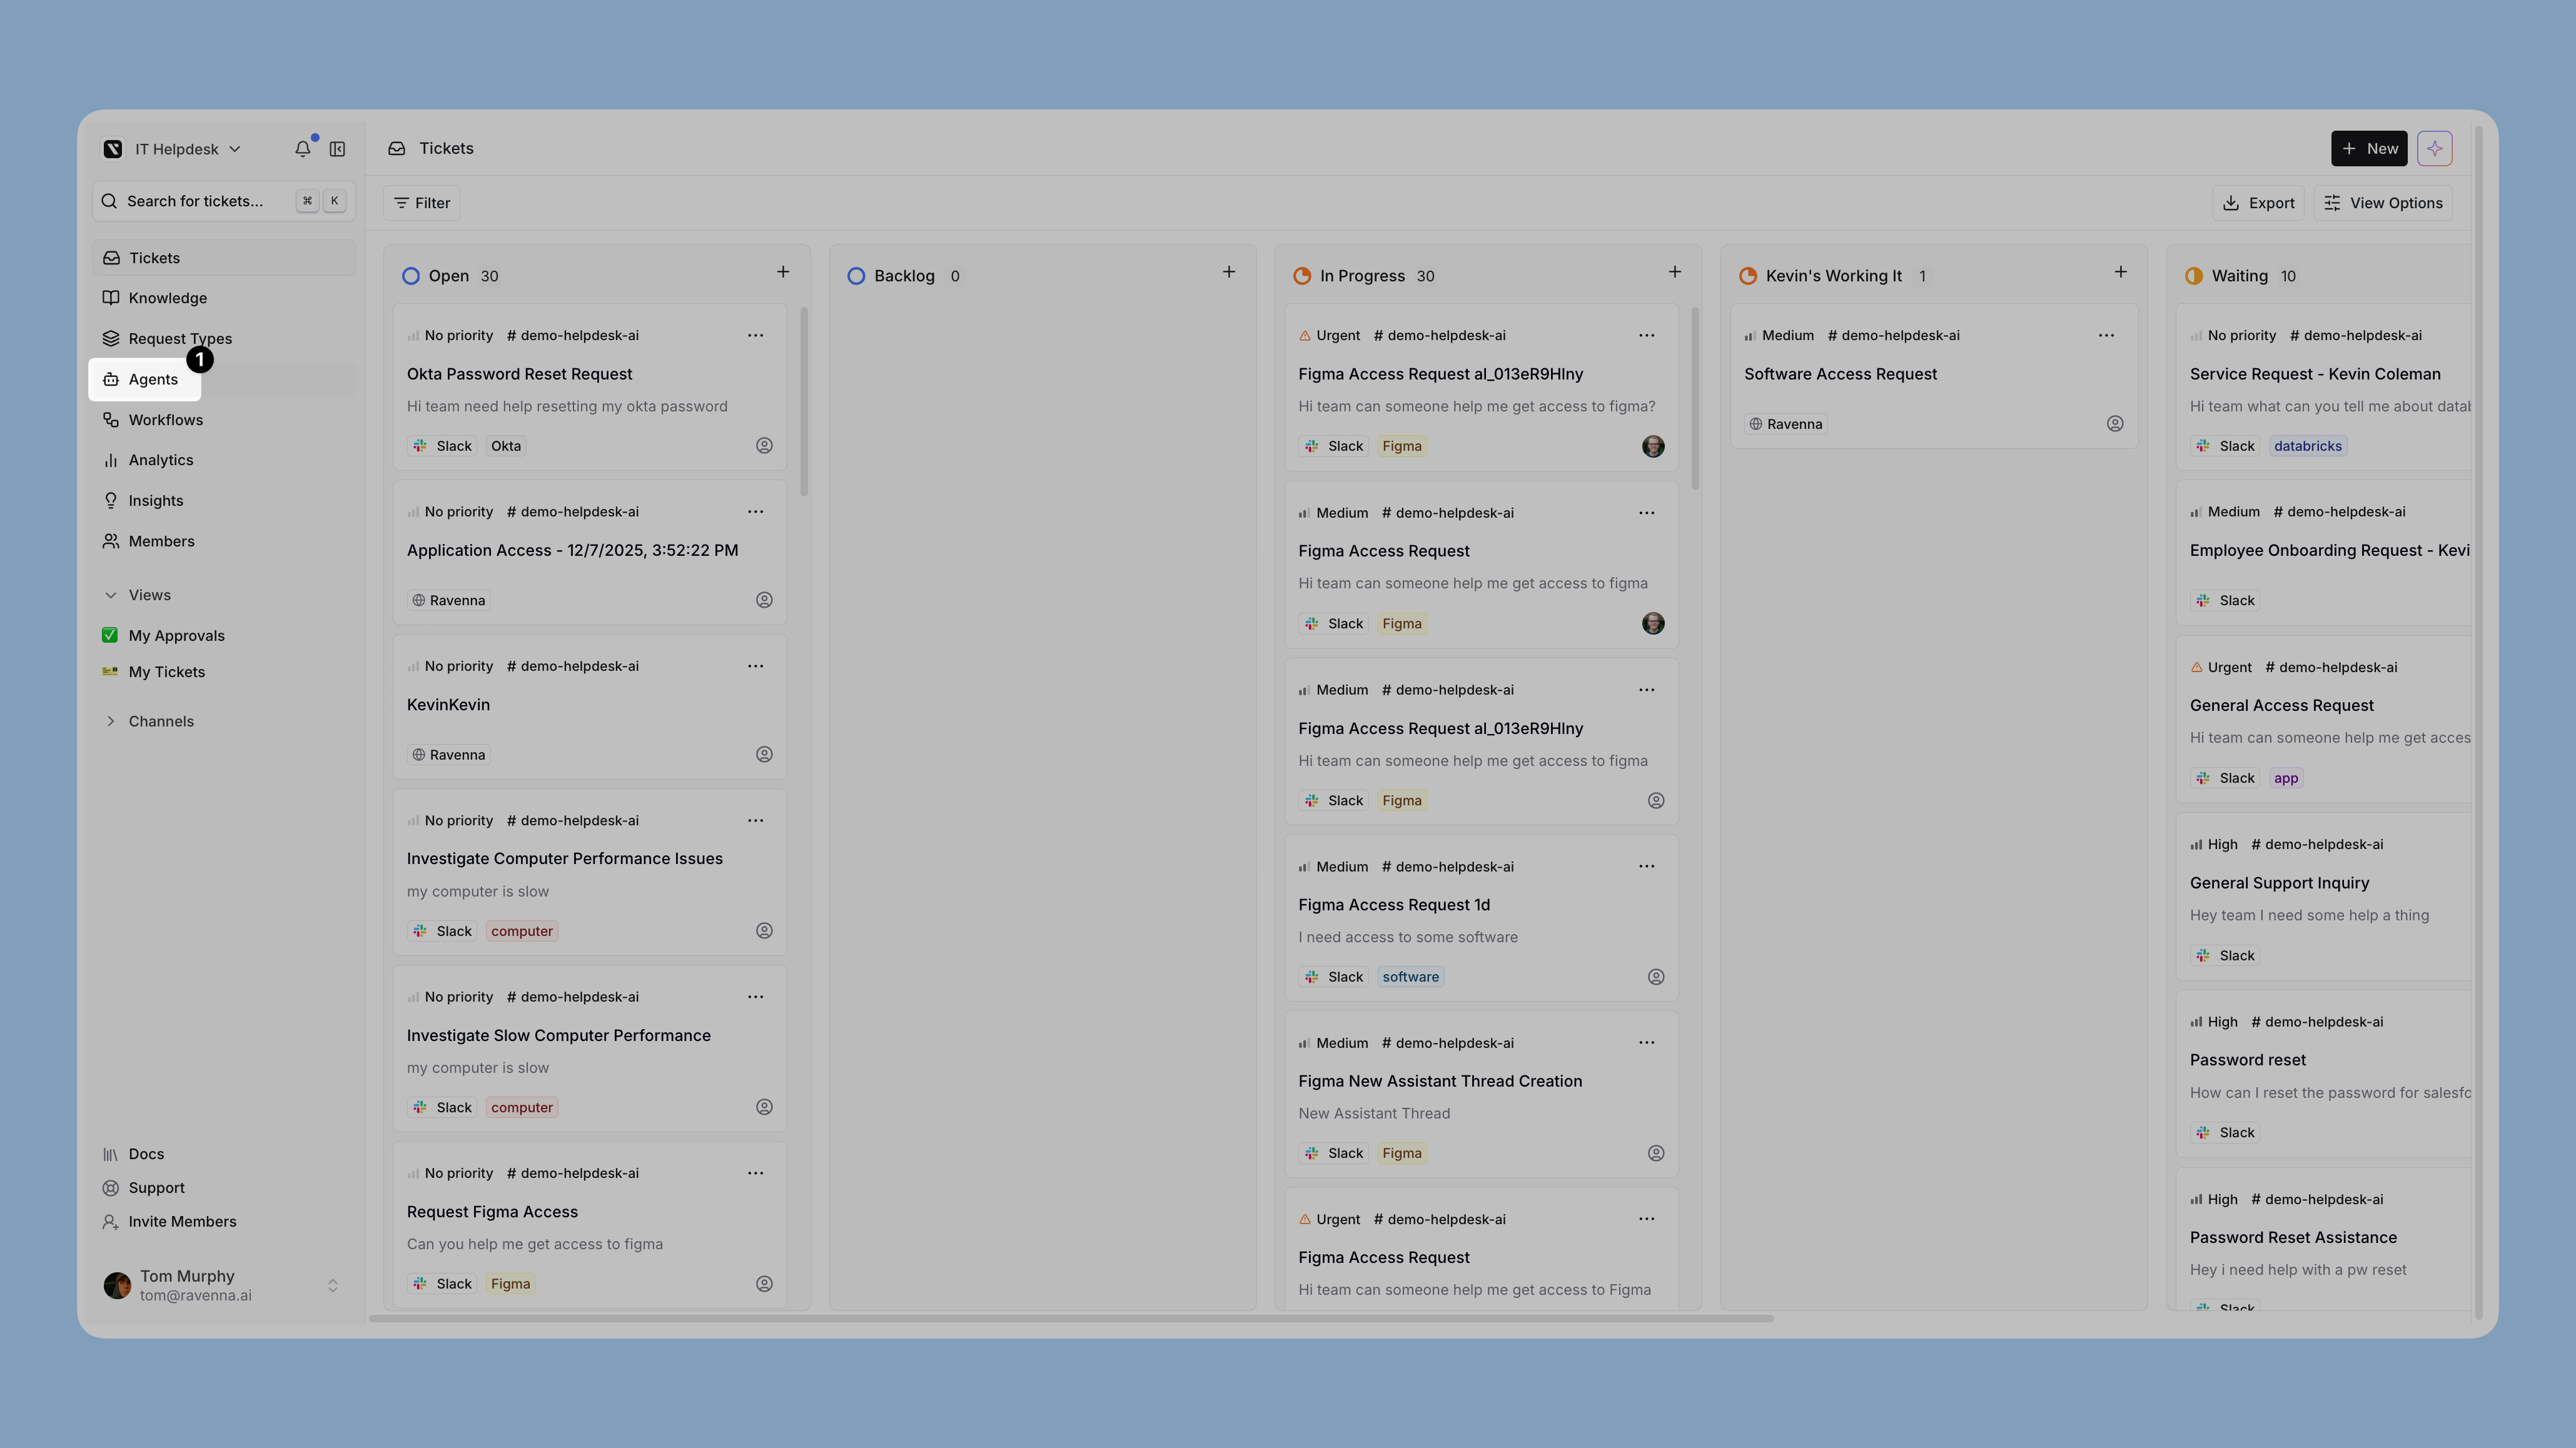
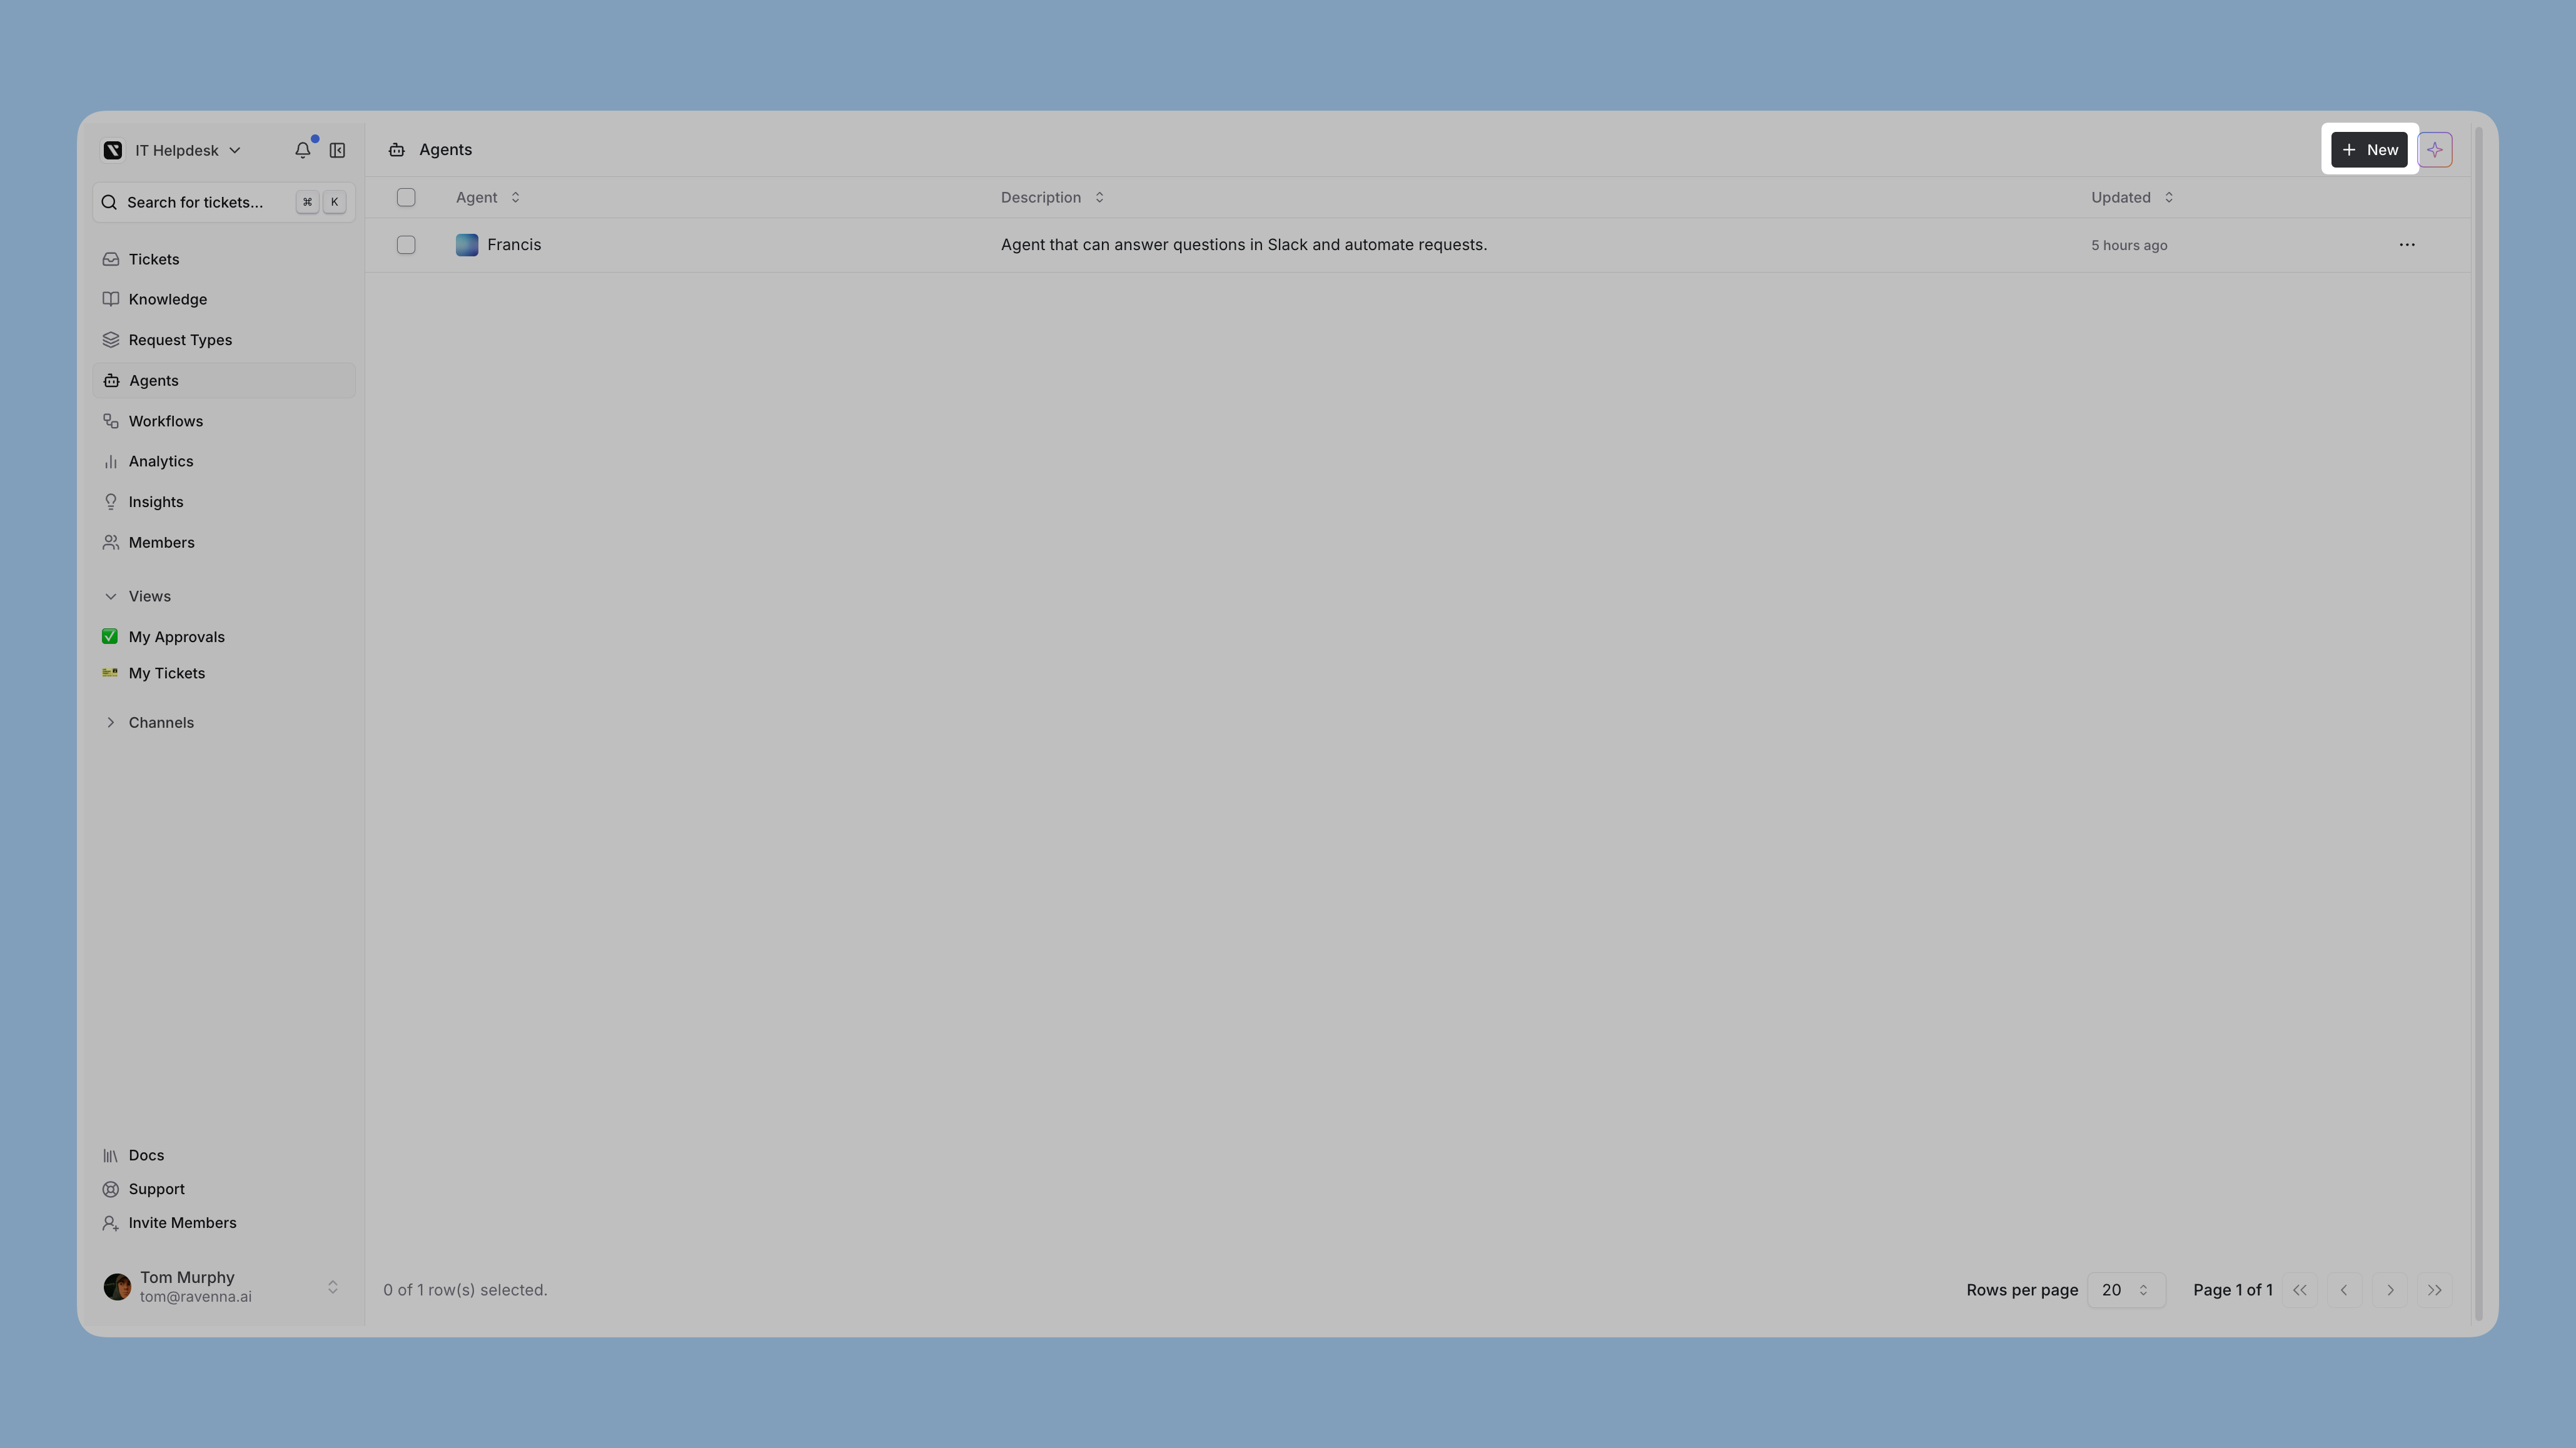
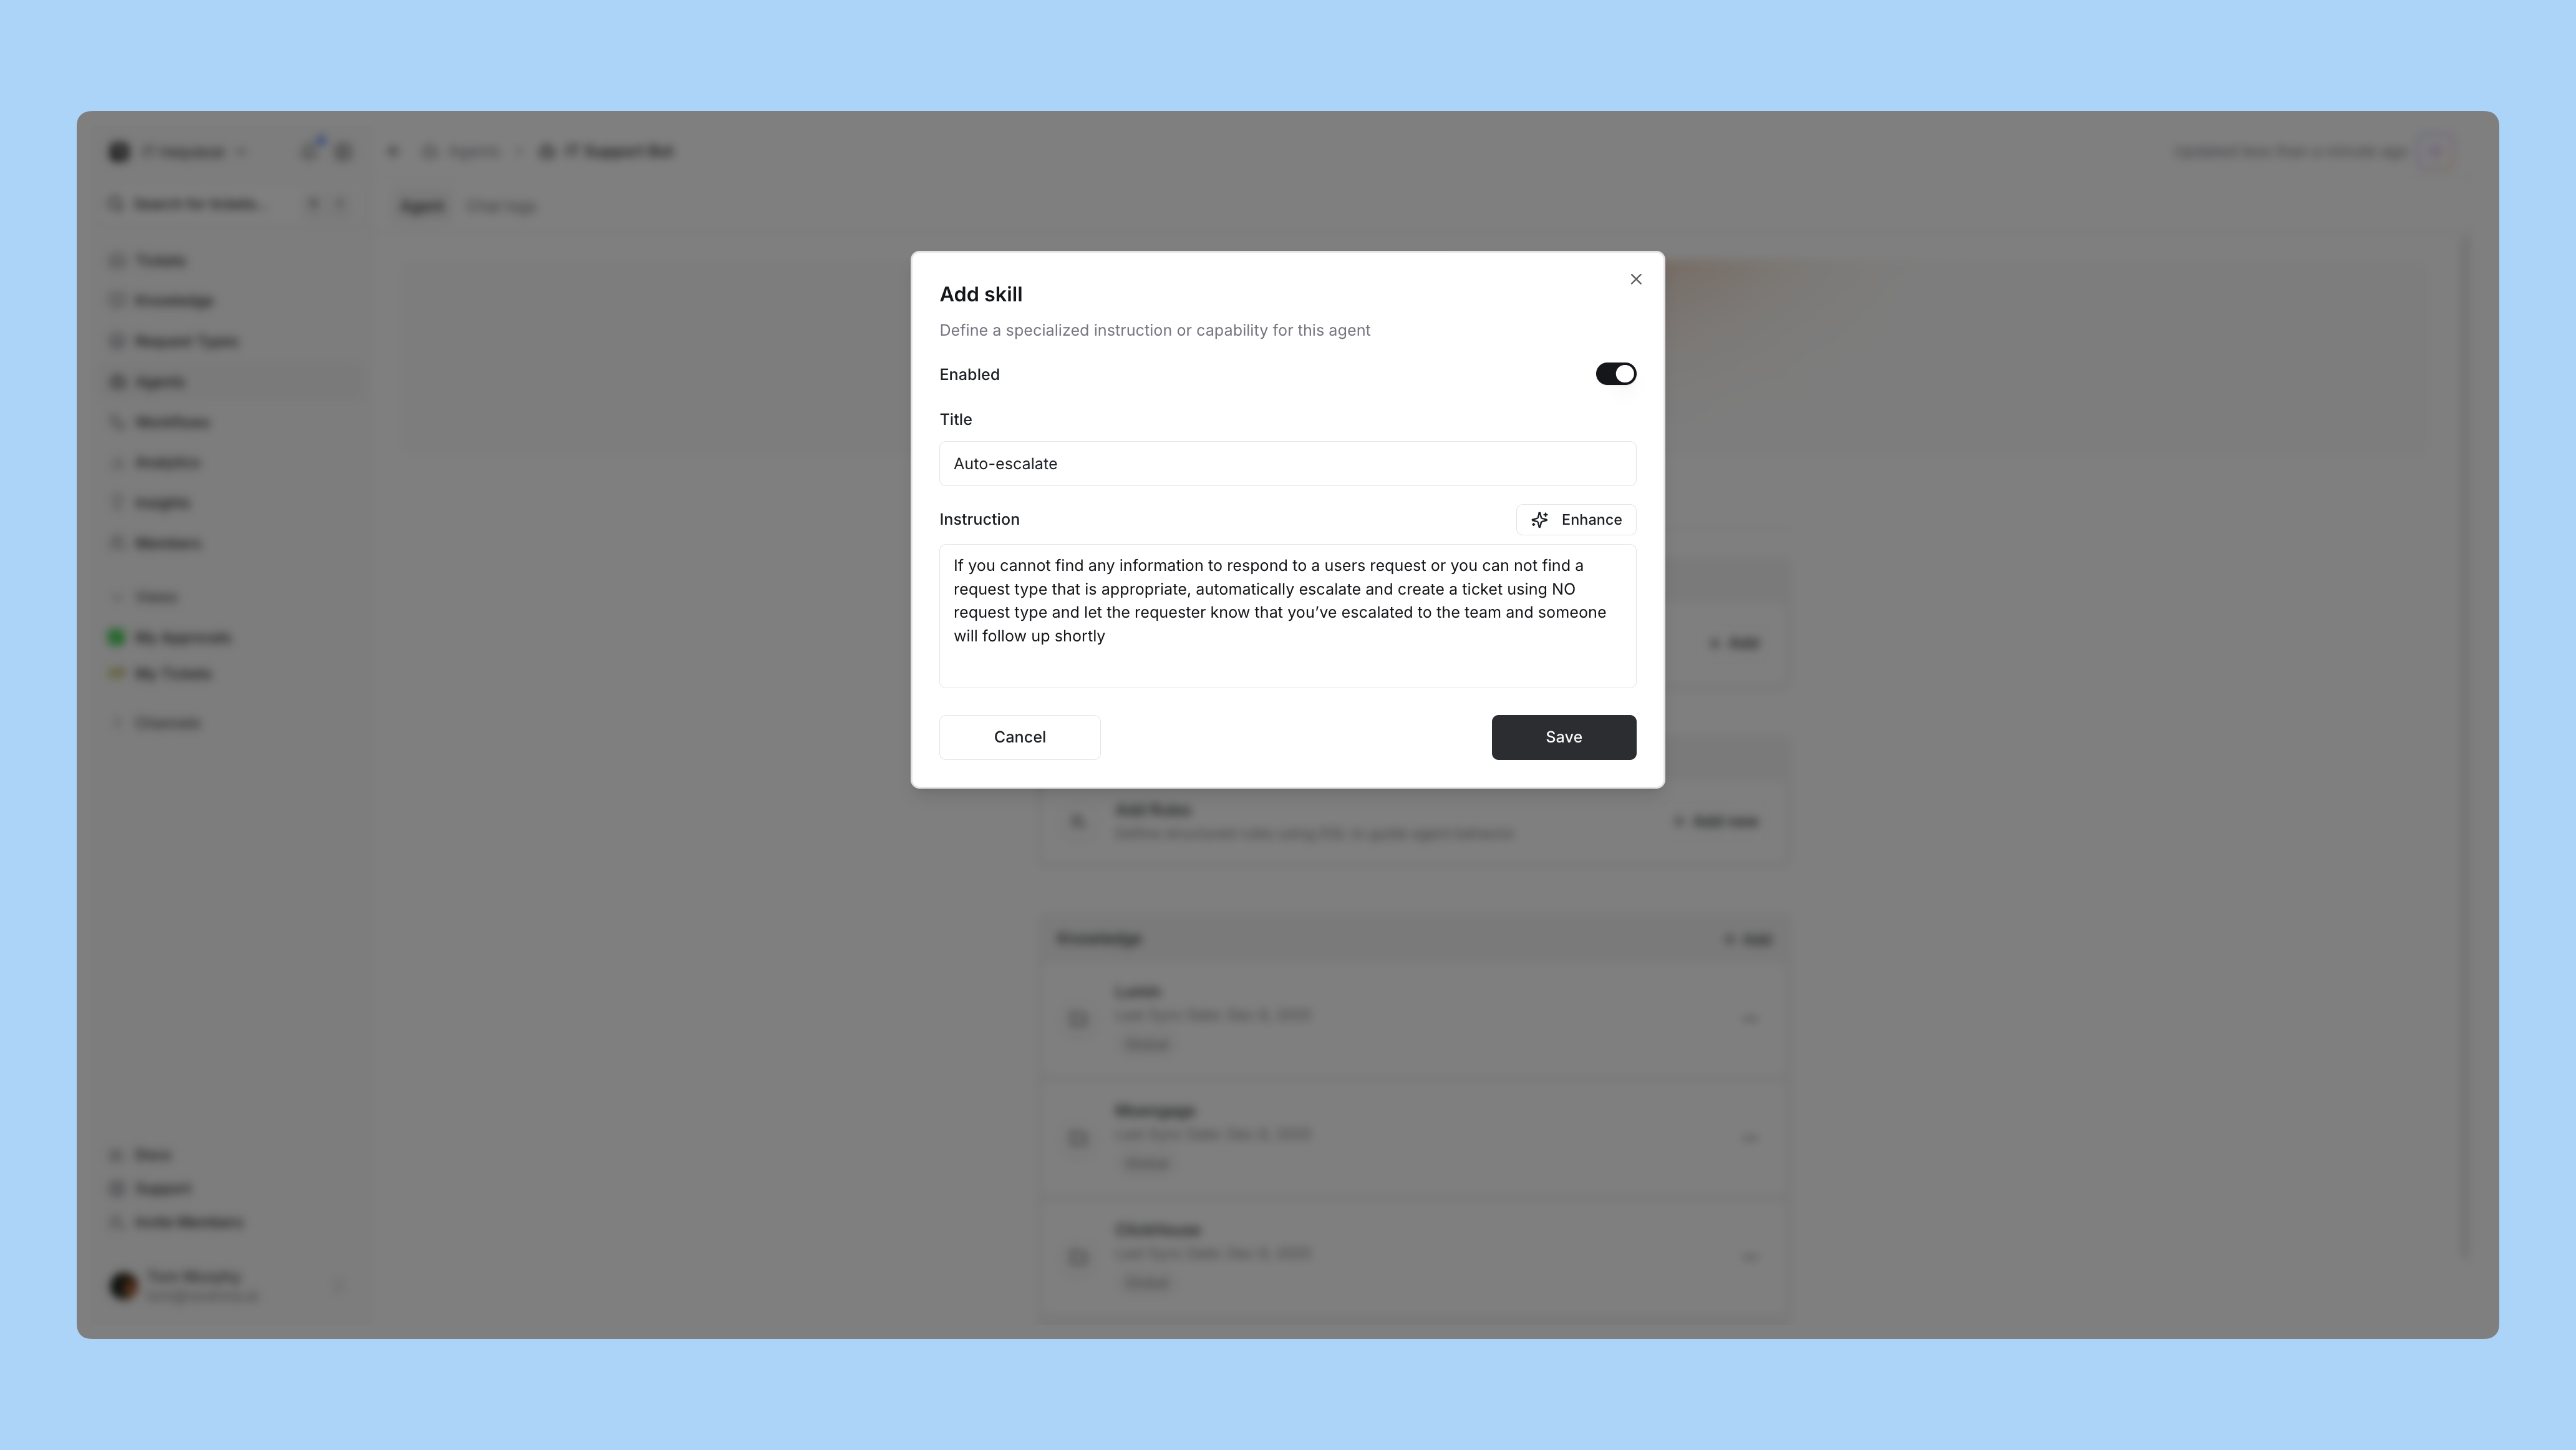
AI Agents are your customizable AI assistants that automate ticket creation, routing, and responses across your support channels. Create agents with specific rules, personalities, and capabilities to handle different types of requests.


Was this page helpful?
⌘I