Agents have been released to all organizations. For details about the rollout and migration from Ravenna AI, see the release notes.
What agents can do
What agents can do
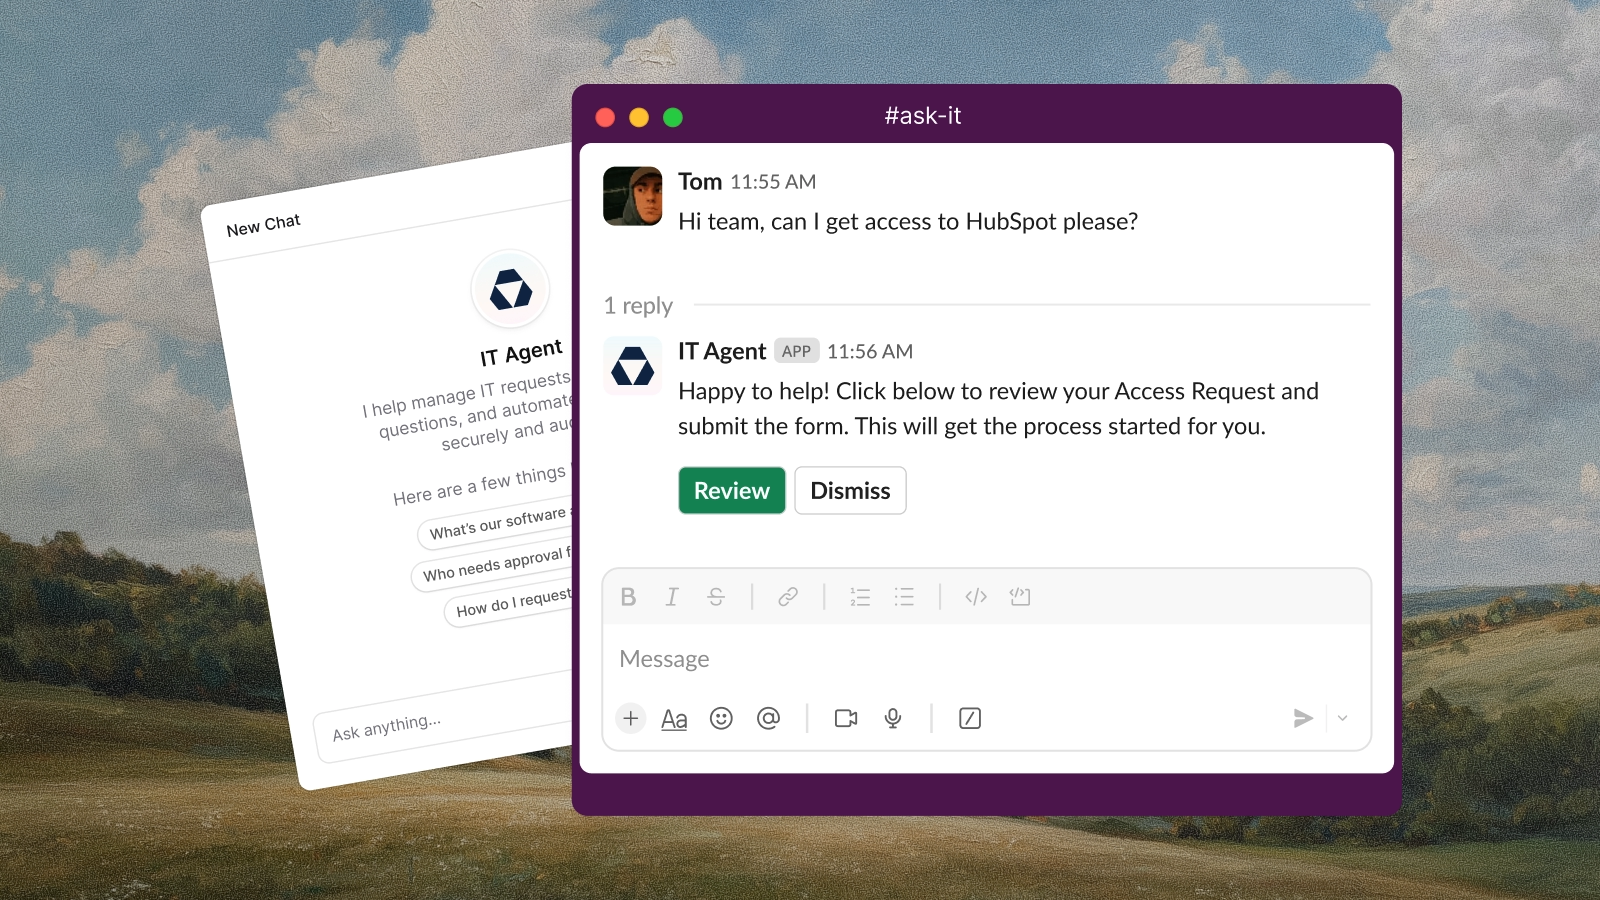
Answer questions using your knowledge base, create tickets with specific forms, trigger workflows, execute actions through integrated tools like Fleet or HubSpot, and escalate complex requests to human agents.
Where agents work
Where agents work
Deploy agents to Slack channels for real-time support, enable auto-response for email tickets, and configure automatic responses to tickets from integrations like Jira, Linear, and GitHub.
How agents learn
How agents learn
Define agent behavior through natural language rules, connect knowledge folders for accurate answers, configure escalation instructions for handling complex requests, and integrate external tools for specialized actions.
Getting started
Set up your first agent
Follow the step-by-step guide to create, configure, and deploy an AI agent