How Custom Fields Work
Custom fields are tied to specific request types. When someone creates a ticket using a particular request type, they’ll see both the standard system fields (like title and description) plus any custom fields you’ve configured for that request type. For example:- A “Bug Report” request type might include custom fields for bug severity, browser type, and steps to reproduce
- A “Feature Request” request type might include custom fields for business justification, priority level, and target users
Custom fields are only available when creating tickets through request types. To learn more about request types and how they work, see our Request Types documentation.
Custom Field Types
Ravenna supports 9 different types of custom fields to capture various kinds of information:Text
Single-line text input for short responses
Text Area
Multi-line text input for longer descriptions
Number
Numeric input with validation
Date
Date picker for scheduling and deadlines
Boolean
Yes/No checkbox
Select
Single-choice dropdown menu
Multi Select
Multiple-choice dropdown menu
User Select
Choose from organization members
Application Select
Select from applications connected to organization
Creating Custom Fields
Method 1: Through Settings
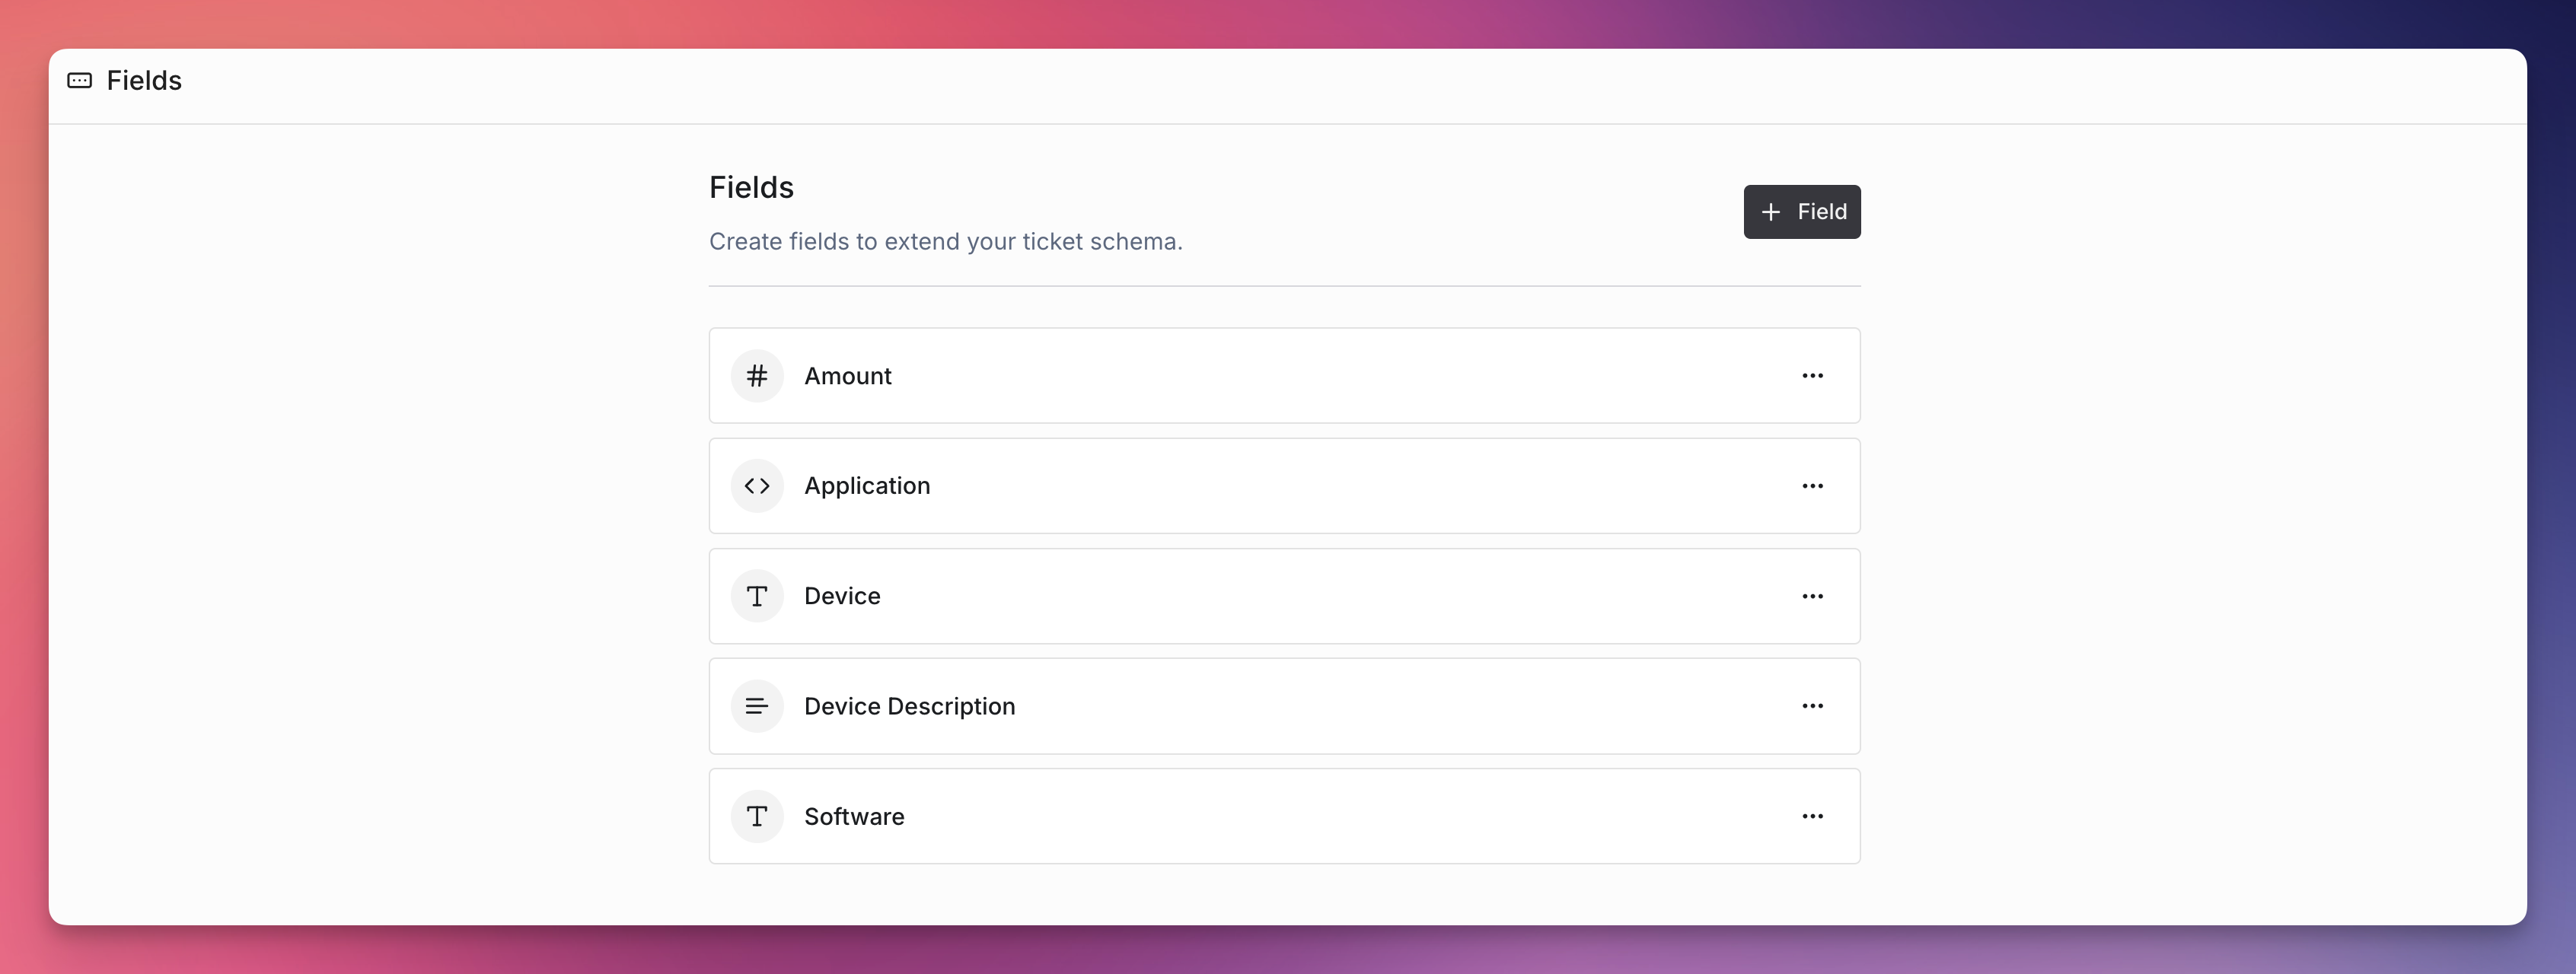
- Navigate to Settings > Fields in your workspace
- Click Create Custom Field
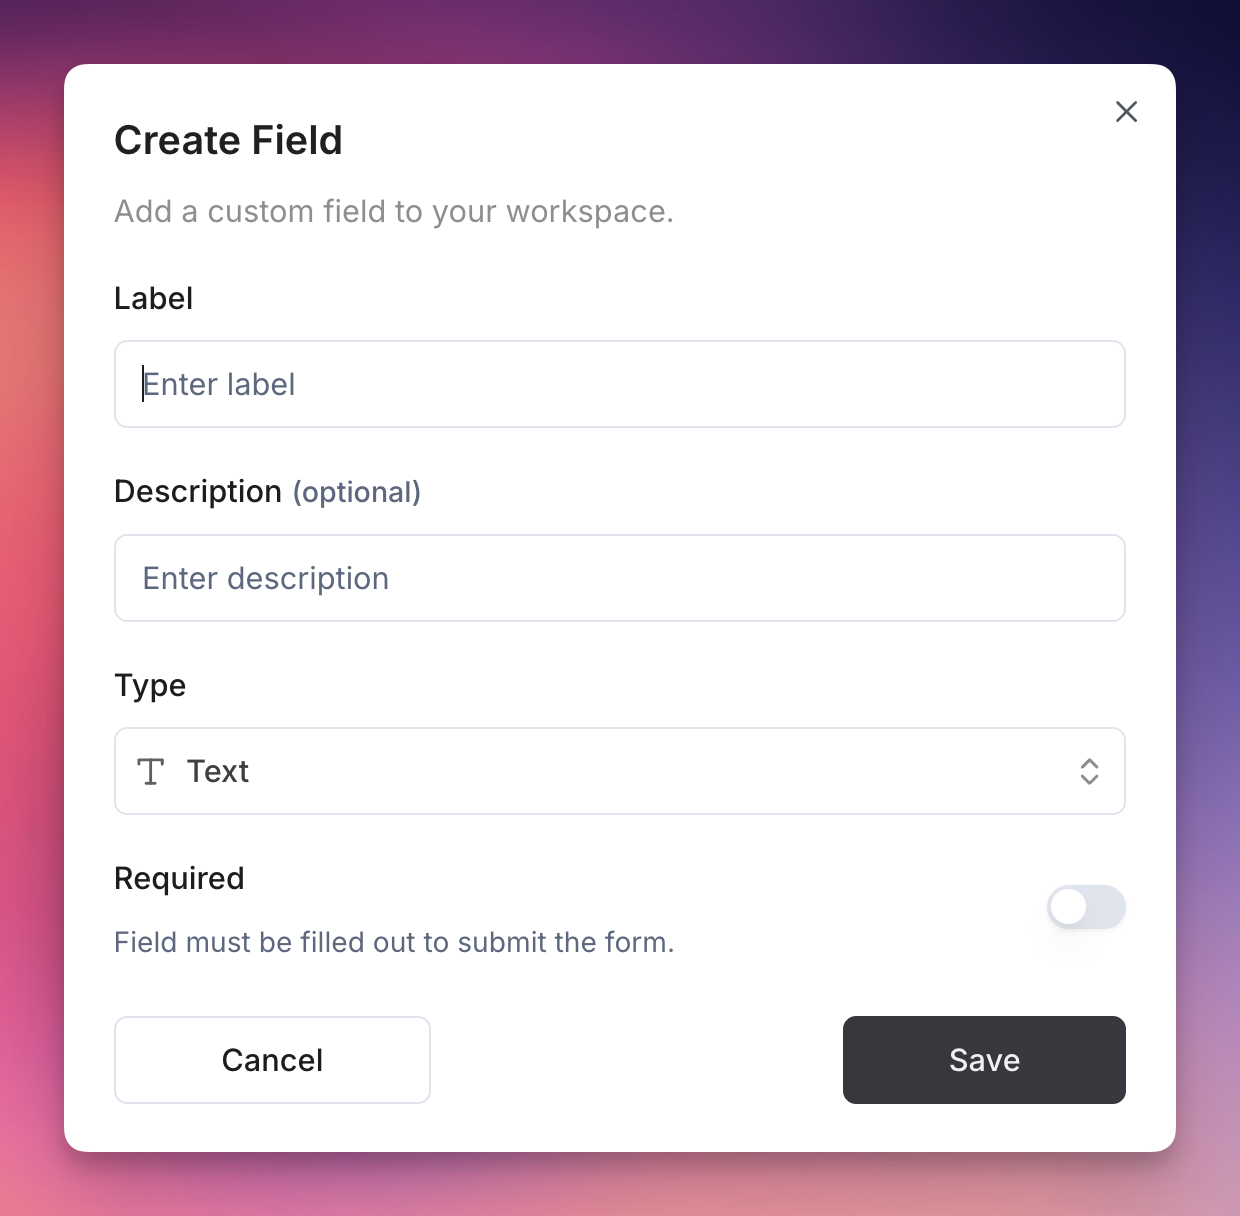
- Fill in the required information:
- Label: The name that appears on the form
- Description: Help text explaining what this field is for
- Type: Choose from the 9 available field types
- Required: Toggle whether this field must be filled out
- Click Create to save your custom field
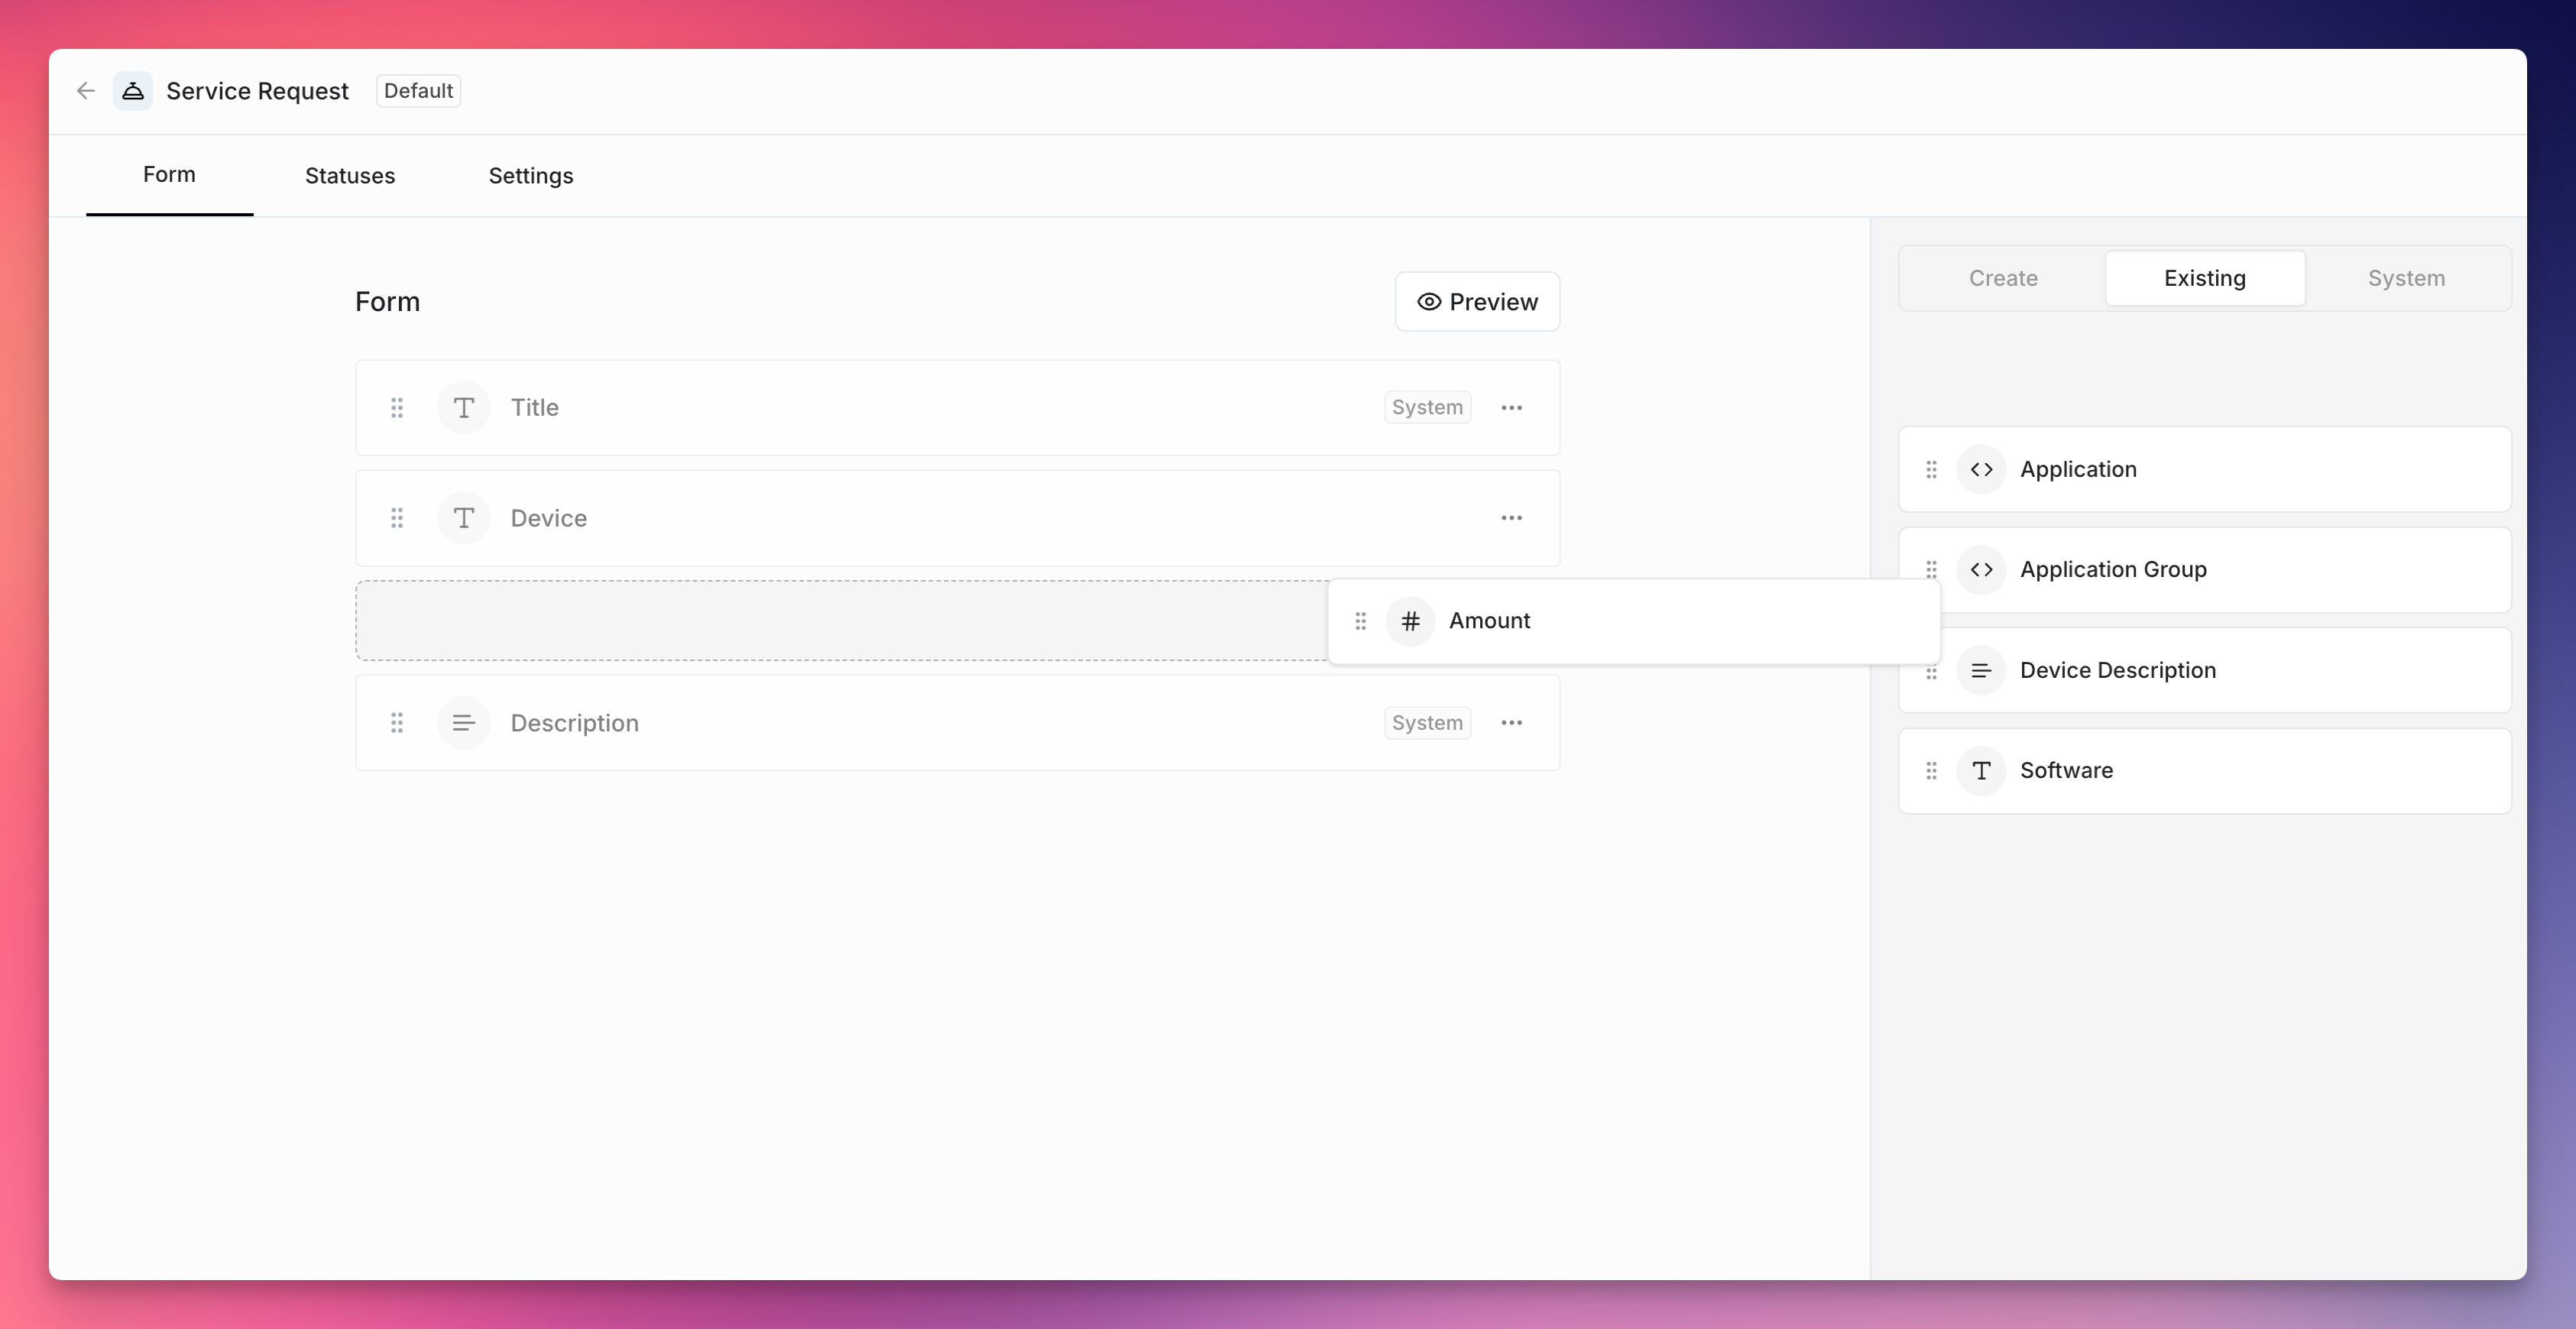
Method 2: Through Request Type Setup

- Navigate to Settings > Request Types
- Select an existing request type or create a new one
- Drag and drop fields from the right panel into your request type. The right panel has three tabs:
- Custom: Create new custom fields
- Existing: Use existing custom fields from other request types
- System: Add system fields
- Edit custom fields using the dropdown menu in each custom field item
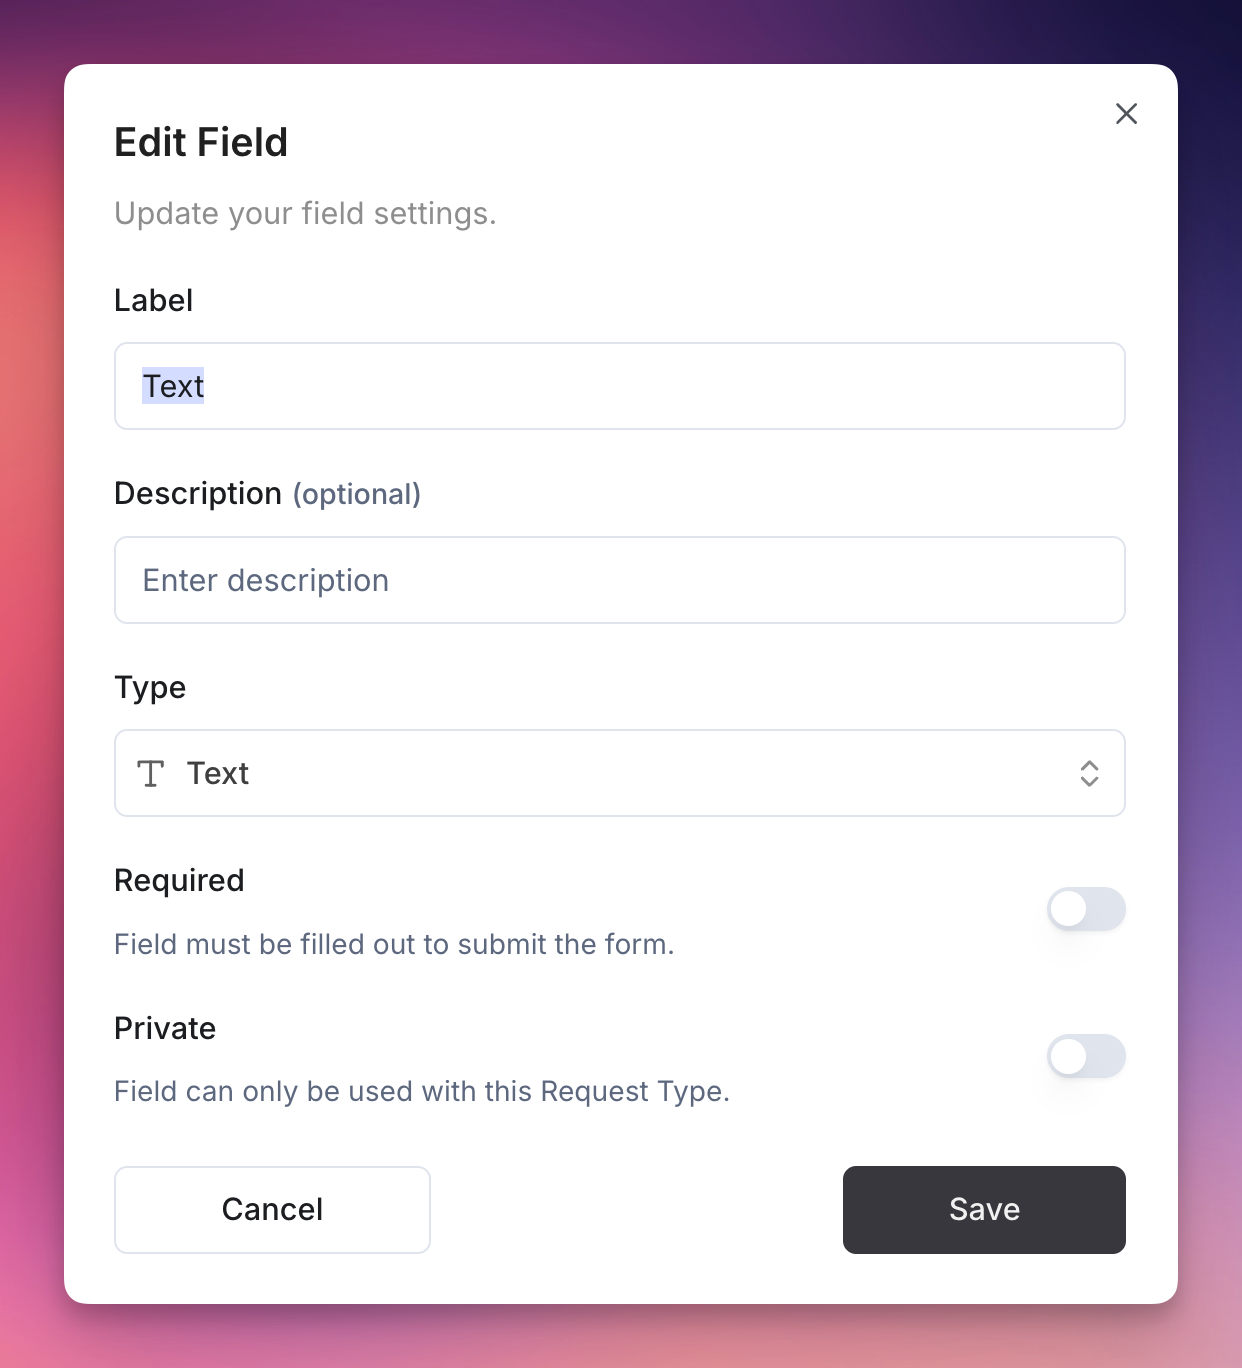
- Make fields private by toggling the private option - this makes the custom field visible only for the current request type
Using Existing Custom Fields
When you update an existing custom field that’s shared across multiple request types, the changes will apply to all request types that use that field.
Custom fields cannot be deleted when they are being used in a request type.
Using Custom Fields
- Ticket Creation: When users create tickets using that request type, they’ll see your custom fields in the form
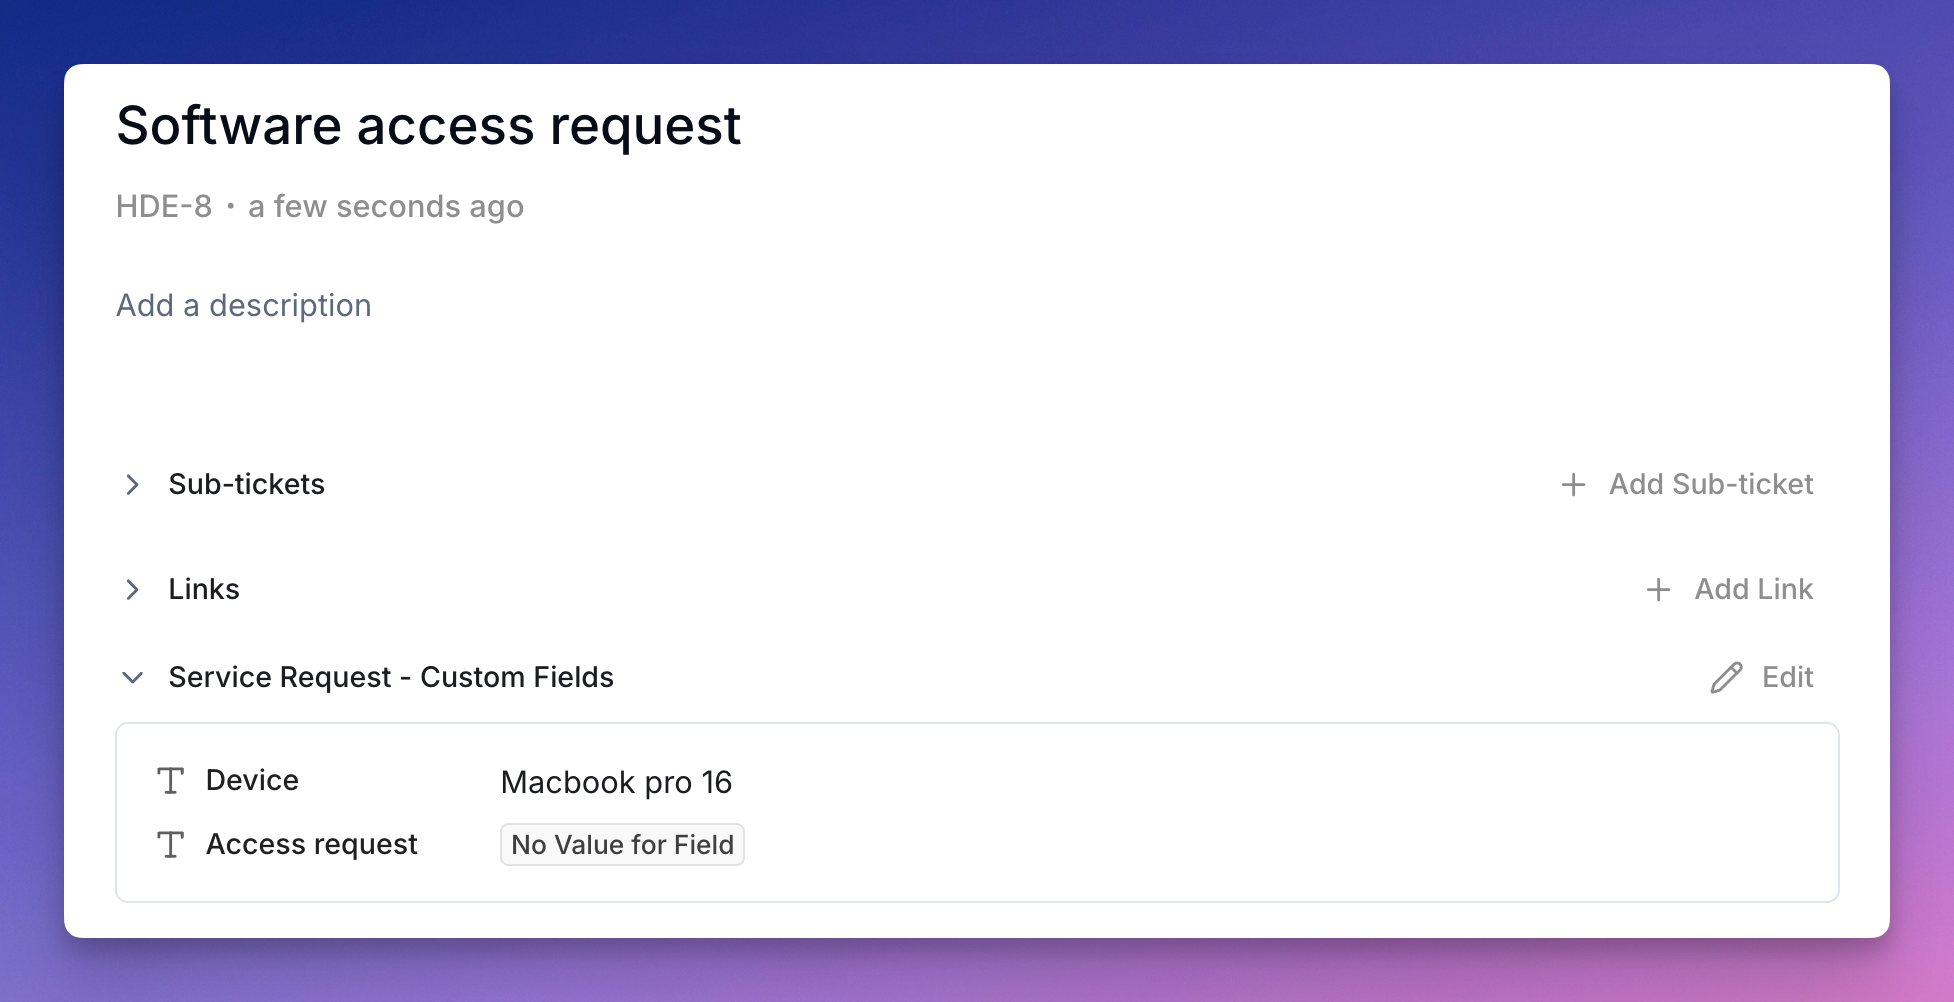
- Ticket Display: Custom field values appear in the ticket details
- Ticket Updates: Custom field values can be updated after ticket creation from the ticket details page
Best Practices
- Use descriptive labels that clearly explain what information you’re collecting
- Add helpful descriptions to guide users on what to enter
- Mark fields as required only when the information is essential
- Choose appropriate field types to ensure data quality (e.g., use Number fields for numeric data)
- Test your forms after creating custom fields to ensure they work as expected
Request Types
Learn how to set up request types and assign custom fields to create complete ticket templates